
- What Does the “The Remote Connection Was Not Made” Error Mean?
- How to Resolve the “The Remote Connection Was Not Made” Error on Windows 10
- Fix 1. Try another VPN
- Fix 2. Reset Winsock and flush the DNS
- Fix 3. Temporarily turn off your antivirus
- Fix 4. Temporarily disable Windows Firewall
- Fix 5. Use Another DNS
- Fix 6. Restart Remote Access Connection Manager
- Fix 7. Turn off proxy settings
- Fix 8. Troubleshoot the connection error via the clean boot
- How to Remove the “The Remote Connection Was Not Made” Error Message: Explained
It is common knowledge that PC users’ internet activity is being monitored. If not by advertisers, then by your ISP, the government, and even cybercriminals. With so many eyes trying to view your internet history, online anonymity and privacy have become of paramount interest.
This is what led to the phenomenal rise of virtual private networks (VPNs) in recent times. They hide your digital footprints (some erase them completely) and make it harder for your online activities to be monitored. While some have free plans, others are wholly paid services with secure servers spread around the world.
Irrespective of the type and nature of the VPN, they all offer varying degrees of IP protection and restriction bypassing. Nowadays, a VPN is considered an important part of your online toolkit.
This is why it becomes frustrating when an attempted VPN connection results in an error that says, “The remote connection was not made.” We have collated some reliable fixes for this error into this handy guide.
What Does the “The Remote Connection Was Not Made” Error Mean?
This error message has been showing up on Windows 10 PCs lately, according to users. It usually occurs when the VPN encounters an error while launching on a computer. Sometimes, it happens because of a problem with the VPN’s server. If the option to switch to another server is available, that can work. Otherwise, the annoyed user is left trying to figure out a solution.
The “The remote connection was not made” error message is almost always related to a VPN issue. There are several variants of this problem, including:
- The remote connection was not made because the name of the remote access server did not resolve.
- The remote connection was not made because the VPN tunnels failed Windows 10.
- A connection to the remote access was not made because the modem was not found.
- The remote connection was denied.
- The remote connection has timed out.
- The remote connection was interrupted and is reconnecting.
These and other errors can appear when using a VPN on Windows, especially for Windows 10 users. The tips and tricks below should help in restoring a stable VPN connection.
📌 Also read: Ultimate Guide: How to Fix Wi-Fi Not Working with a VPN?
How to Resolve the “The Remote Connection Was Not Made” Error on Windows 10
The guide below contains several potential methods to fix the “The remote connection was not made because the name of the remote access server did not resolve” error. Our solutions will also help you get rid of other issues involving virtual private networks. Just work your way down, one by one, and you should find a fix that works for you.
Fix 1. Try another VPN
VPNs, by their nature, are very useful programs. They can be the difference between being spied on and complete anonymity when carrying out certain tasks online. No wonder that facing an issue like “The remote connection was not made” could be very frustrating.
One nice thing about the VPN industry is that there is no monopoly. There are literally dozens of virtual private networks for you to choose from. And if you’re a lover of the protection they offer, you might not mind shelling out a few quid on more than one VPN. This way, you can switch between them at leisure.
If you have another VPN waiting in the wings, simply disconnect from the current one and use that instead. Some VPNs offer a free trial, and you can take advantage of that to see if it works for you before you buy a subscription.
If the new VPN works for you, simply keep using it. However, if you’re stuck with your current VPN or if another one doesn’t resolve the issue, you can try out the other fixes in this guide.
Fix 2. Reset Winsock and flush the DNS
You might be getting the “The remote connection was not made” error message due to faulty network settings. It is also possible that your DNS has become corrupted. Luckily, you can use the Command Prompt to flush the DNS and reset Winsock. Flushing the DNS is the same thing as resetting—it restores DNS settings to default values.
Here’s how to carry out these connected operations:
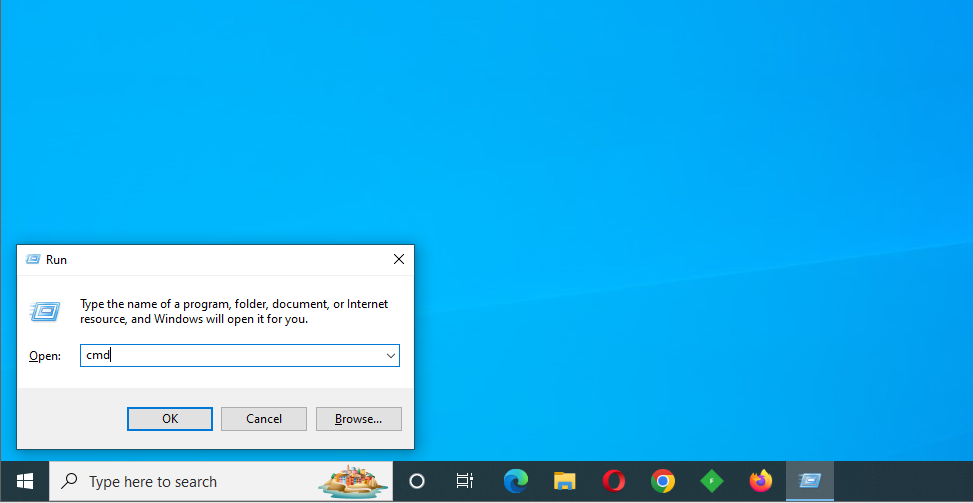
- Hold down the
Windows key and press Rto open the Run application. - Type
cmdin the Run box and pressCtrl + Shift + Enterto launch the Command Prompt with admin rights.
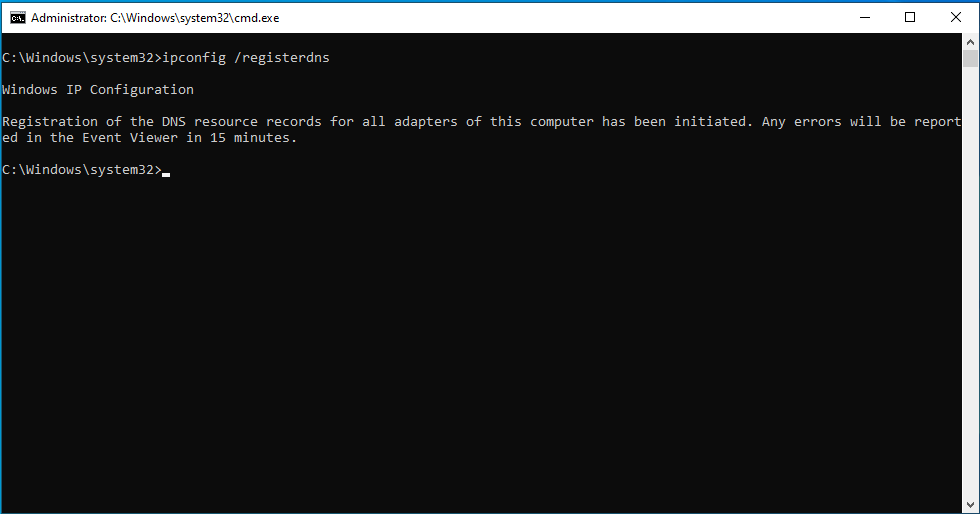
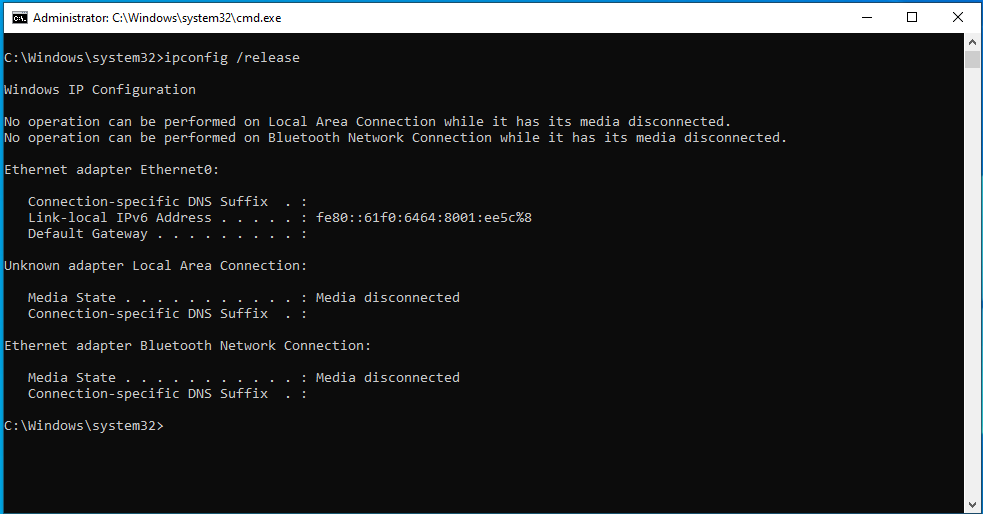
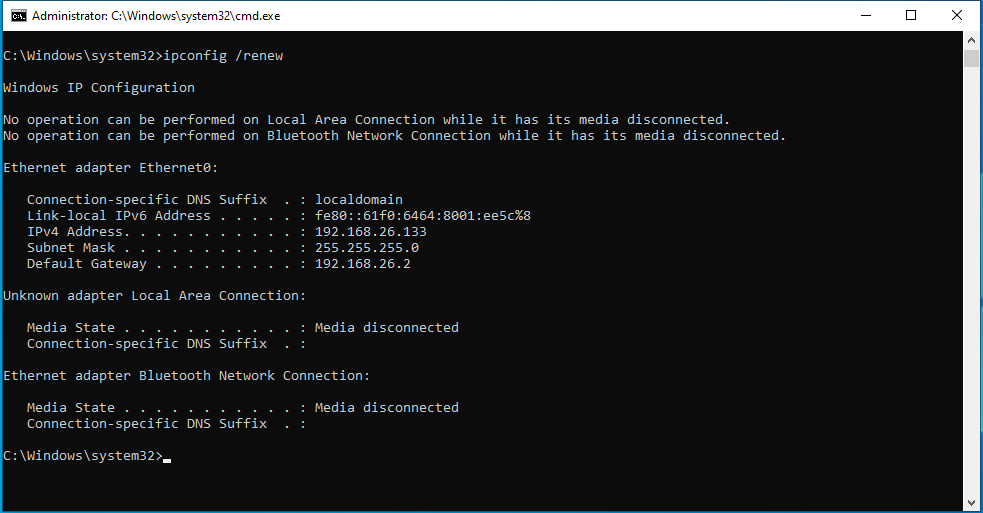
- Type or paste the following in the Command Prompt window. Don’t forget to press the
Enterkey after each line:
ipconfig /flushdns

ipconfig /registerdns
ipconfig /release
ipconfig /renew
netsh winsock reset
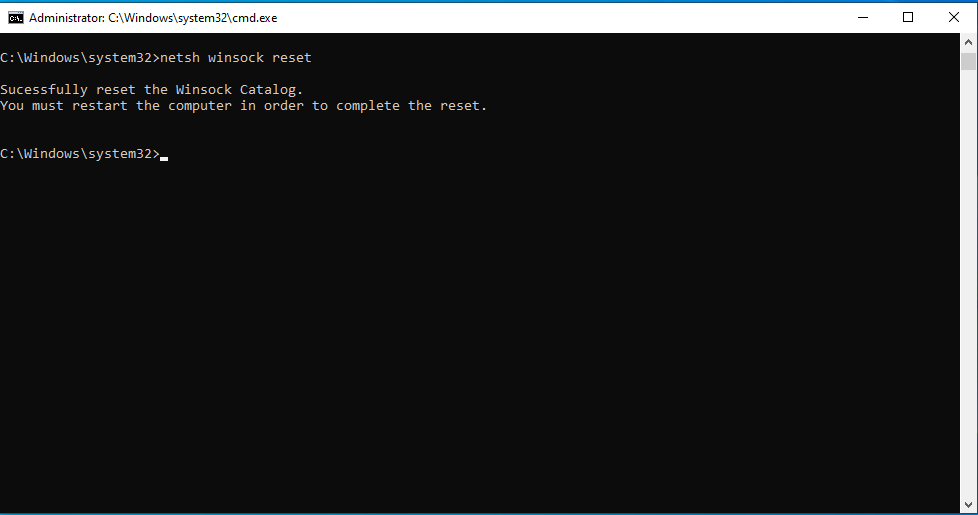
Is the problem resolved? It should be if it’s due to network issues. If the VPN bug still appears, move on to the next solution.
Fix 3. Temporarily turn off your antivirus
The benefits of AV tools are known to everyone by now. However, some antivirus software can be too overzealous and cause problems with the system. They may try to block a file mistakenly flagged as malware or attempt to prevent an innocuous network setting from being enabled. All these things can lead to the “The remote connection was not made” error when using a VPN.
Depending on the AV tool you need, you may need to disable some features, such as real-time protection and cloud-based protection, and see what happens. If that helped you stop the error from happening again, it’s likely you’d have to turn off the antivirus completely.
Obviously, this is not acceptable to the majority of internet users. Protection software needs to be active all the time to stop online threats. If your current AV tools continue to conflict with another important program, such as your VPN, you may have to switch to an antivirus that doesn’t interfere with other genuine programs.
Fix 4. Temporarily disable Windows Firewall
A firewall is basically a shield that stops unwanted connections to and from the Internet. A firewall filters all connection requests and only allows the benign ones to go through. A normal user is likely not aware that their computer is protected by Windows Firewall.
It is possible that the firewall is incorrectly blocking certain connections between your PC and the VPN servers, and this is causing the “The remote connection was not made” issue to happen frequently. This can be rectified by turning off the firewall during the duration of the VPN use. However, we suggest that you shouldn’t turn off Windows Firewall—or any other firewall—for too long.
Here’s how to temporarily turn off Windows Firewall:
- Hold down the
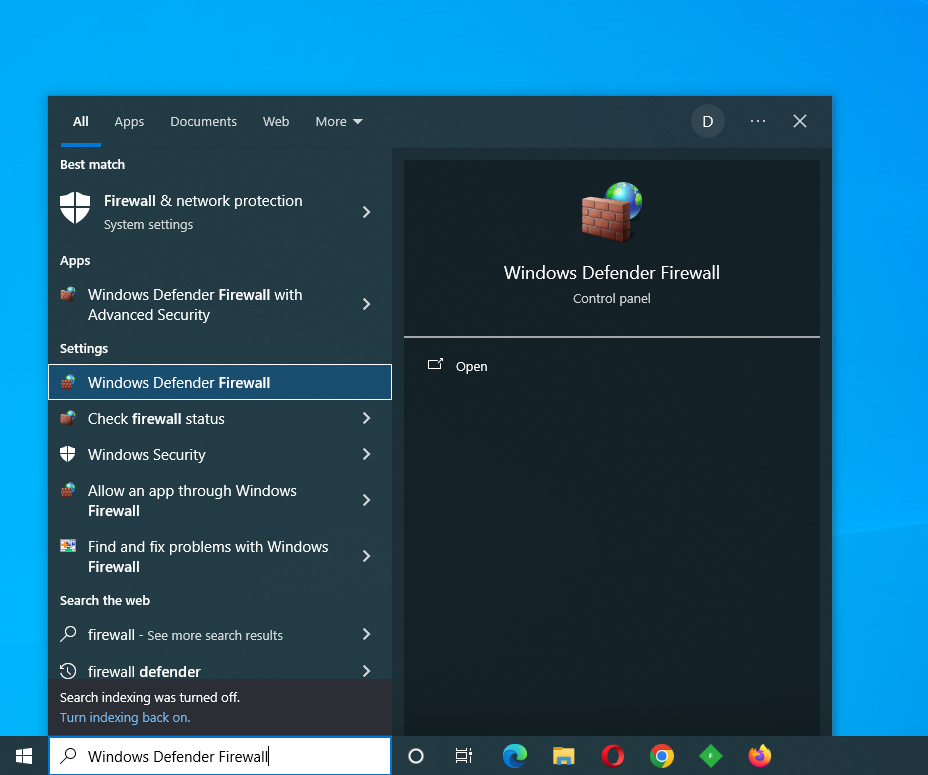
Windows key and press S. - Type
firewalland select Windows Defender Firewall in the results.
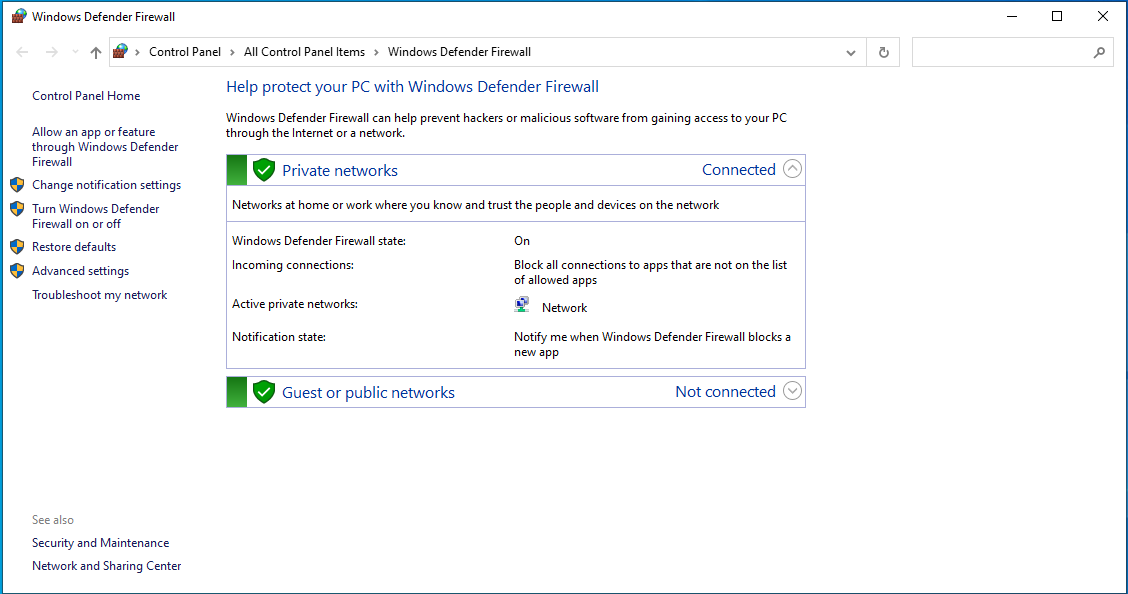
- On the side pane in the Windows Defender Firewall window, click the Turn Windows Defender Firewall on or off link.
- On the Customize settings for each type of network screen, select the Turn off Windows Defender Firewall (not recommended) option under private network settings and public network settings, respectively.
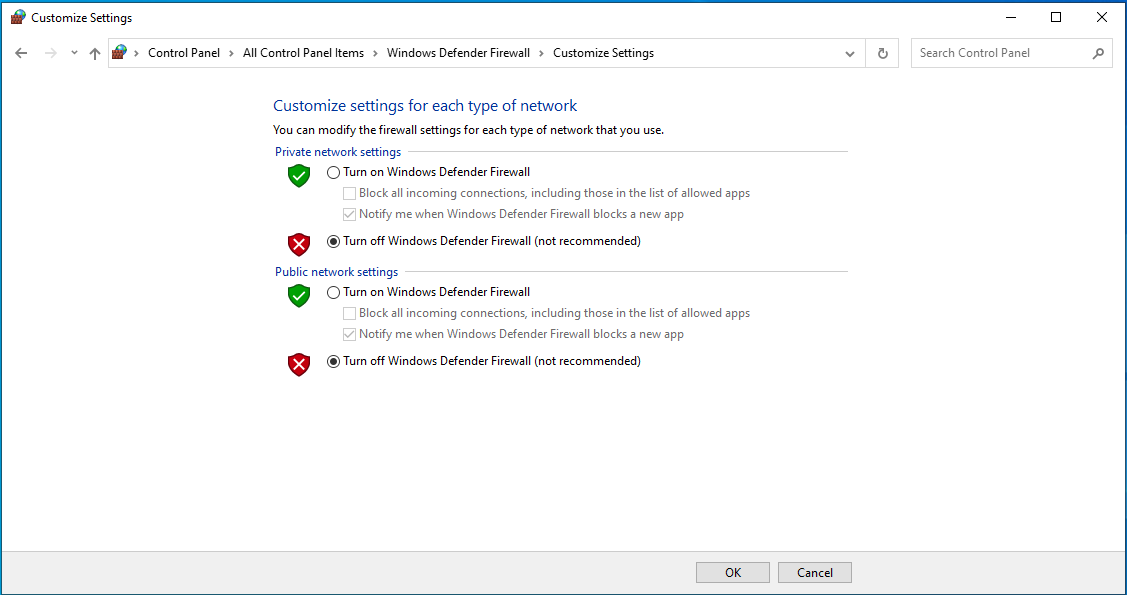
- Click OK to apply the changes you just made.
Now try to connect to the VPN and check whether the “The remote connection was not made” error still shows up. If everything is solved, it probably means you need to configure your firewall correctly.
Another option is to create exceptions for inbound and outbound connections to and from the VPN’s servers.
Fix 5. Use Another DNS
Is the “The remote connection was not made” error related to your current DNS settings, and flushing it didn’t help? If so, try switching to another DNS.
Before you go ahead with this method, make sure you know your current DNS in case you need to use it again in the future. We suggest you write it down or take a screenshot.
Also, you need the address of the DNS server(s) you want to try. In this example, we’ll replace the current DNS settings with Google DNS. 8.8.8.8 and 8.8.4.4 are the addresses of the primary and secondary servers for Google DNS, respectively. You can use any DNS you desire so long you have obtained the server addresses.
Here’s how to change your DNS in Windows 10:
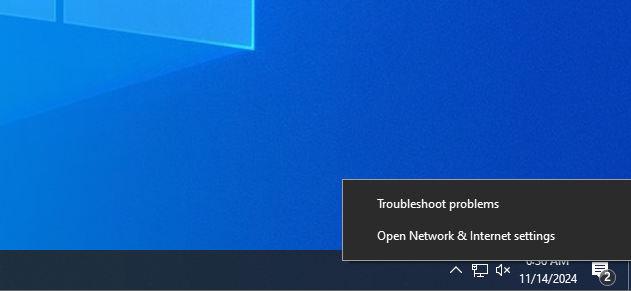
- Right-click your network icon on the taskbar. The icon is in the shape of a globe.
- Select Open Network & Internet settings.
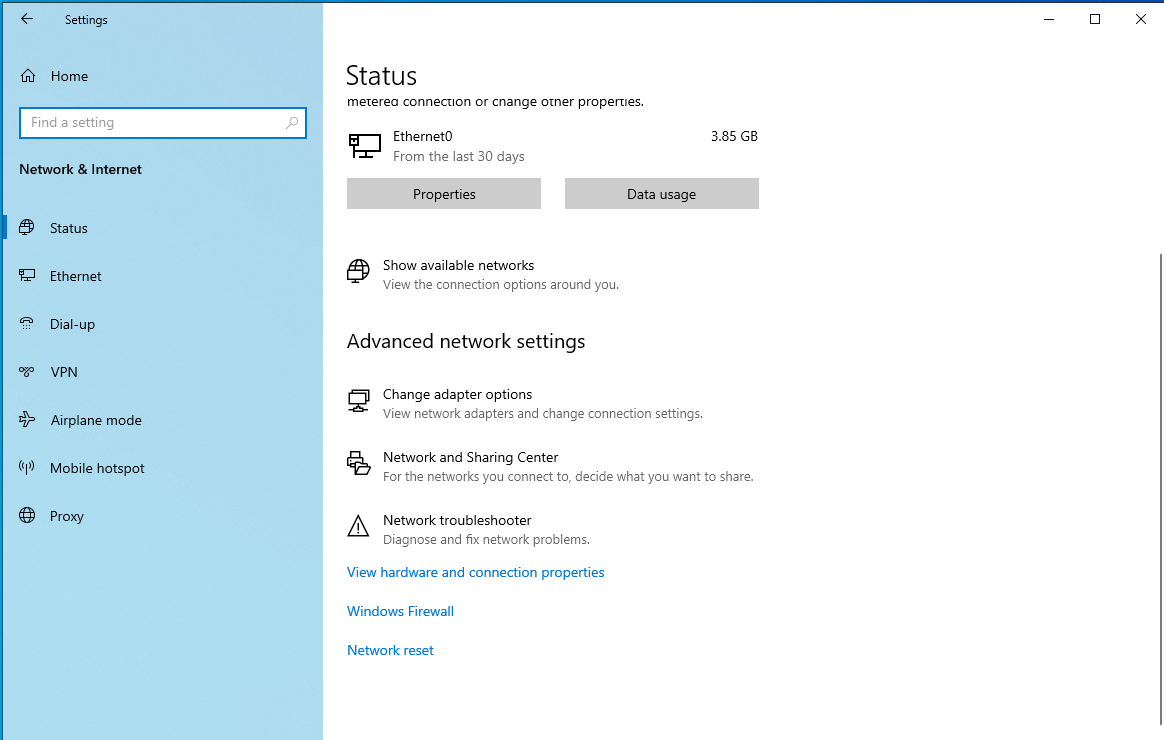
- Under Advanced network settings in Network & Internet, click Change adapter options.
- The Network Connection screen in Control Panel will be displayed. Right-click your current network and select Properties.
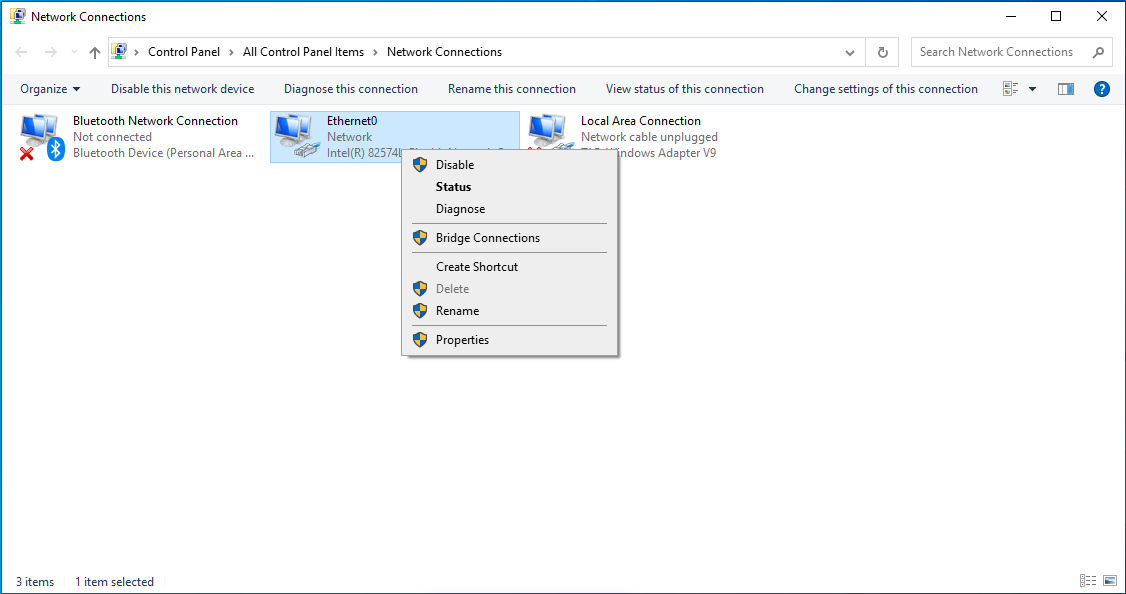
- In the Network tab of the network properties dialog, select Internet Protocol Version 4 (TCP/IPv4) and click the Properties button.
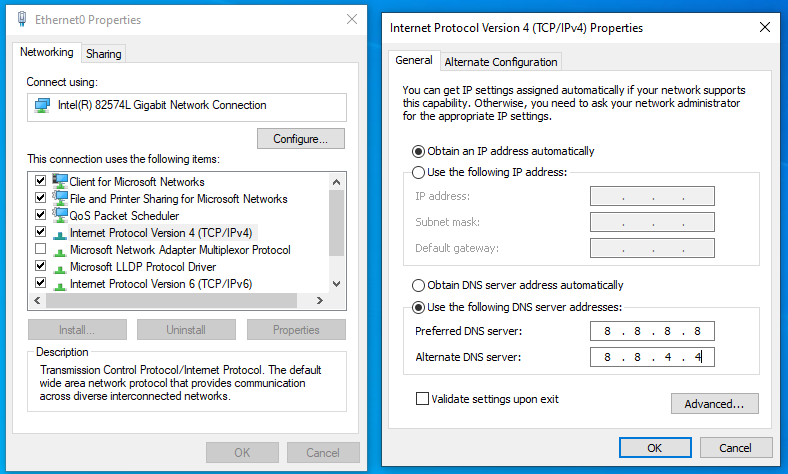
- In the Internet Protocol Version 4 (TCP/IPv4) Properties dialog, select Use the following DNS server addresses to make the text fields under it editable.
- Enter the given Google DNS server addresses into the Preferred DNS server and Alternate DNS server fields and click OK.
With this new DNS in use, there shouldn’t be any more problems connecting to your VPN. In case the issue remains unresolved, try the fix below.
Fix 6. Restart Remote Access Connection Manager
The Remote Access Connection Manager, or RasMan, is a Windows service that manages VPN connections from your computer to the Internet or other remote networks. If this service is disabled or not working properly, any service that depends on it, such as a VPN, will either fail to start or run into issues.
Thus, if you keep getting VPN connectivity errors like the “The remote connection was not made” problem, it could be because of this process. Restarting the process can stop the error.
To restart RasMan in Windows 10:
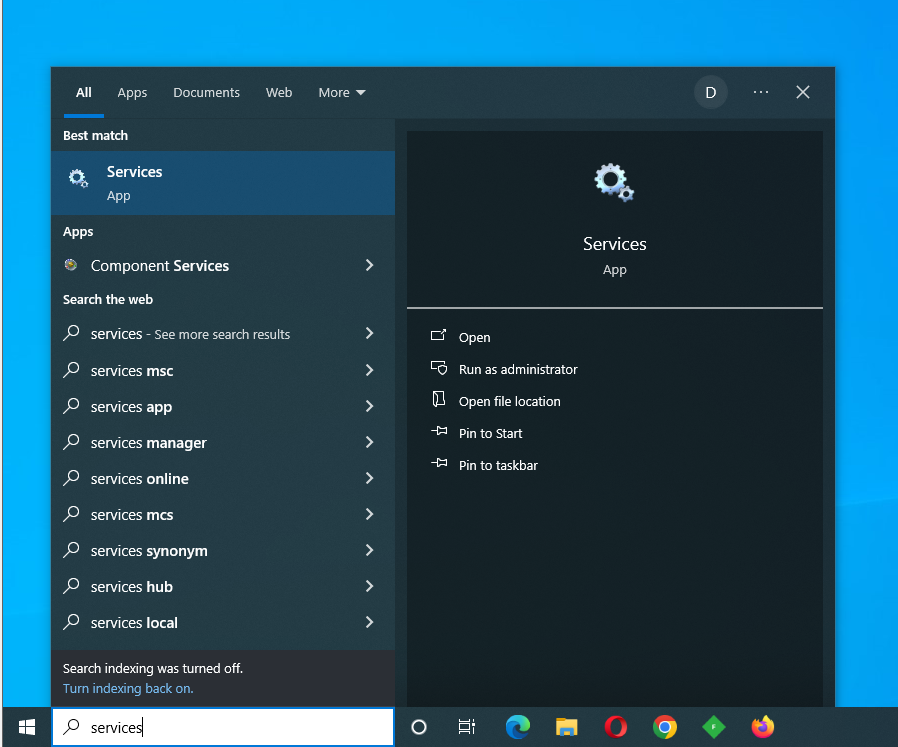
- Press the
Windows key, typeservices, and clickEnterto open the Services application.
- Scroll down the list of services and locate Remote Access Connection Manager.
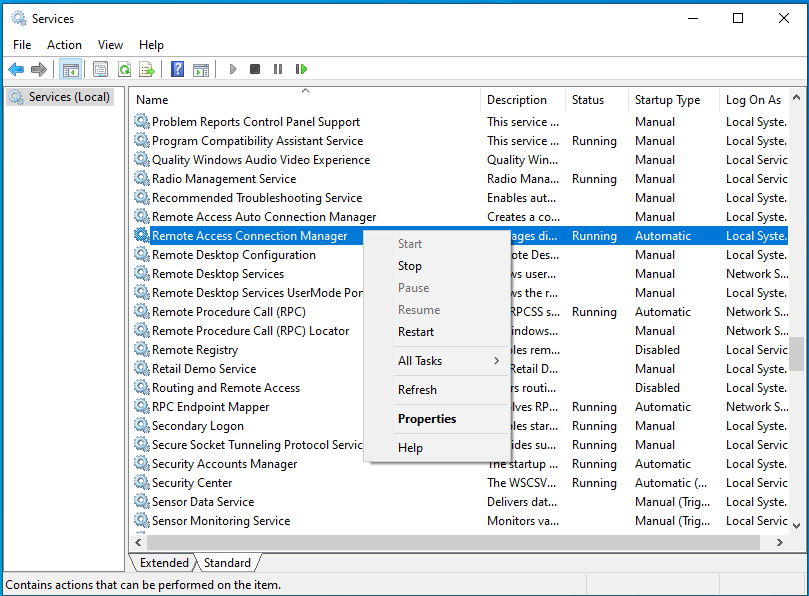
- Double-click the service (or right-click it and select Properties).
- Click the Stop button under Service status to disable the service, and click OK.
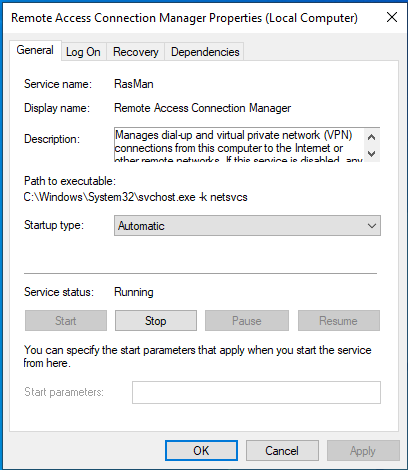
- After a minute, repeat Step 4.
- Click the Start button under Service status to restart the service, and click OK.
Interestingly, you can also use the Command Prompt to restart the Remote Access Connection Manager service. Simply open an elevated Command Prompt window and run these two commands:
net stop RasMan
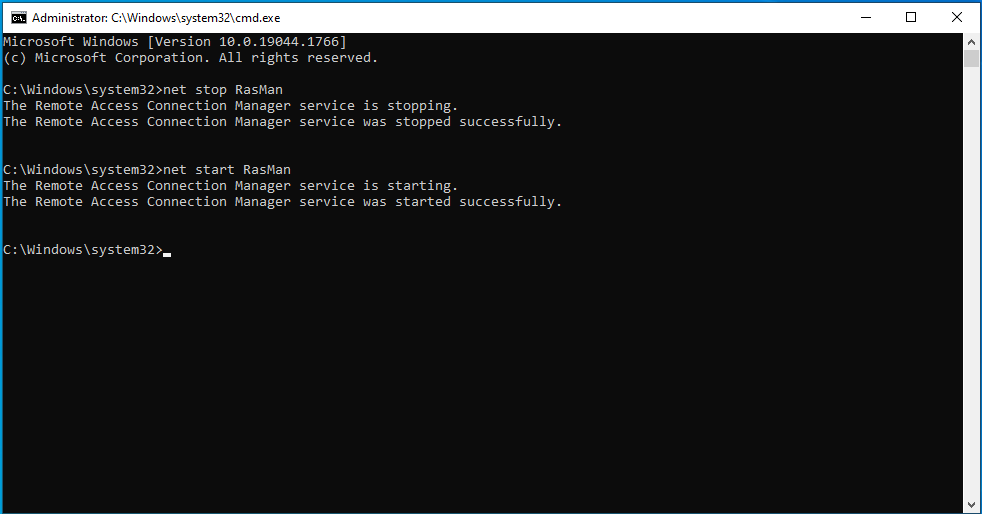
net start RasMan
Simple. After RasMan restarts, the “The remote connection was not made” error should be completely fixed.
Fix 7. Turn off proxy settings
If you use a private proxy to protect yourself online, your settings can conflict with the VPN and cause you to keep getting “The remote connection was not made” error messages. You should disable your proxy and see if that helps.
- Open Settings and navigate to Network & Internet > Proxy.
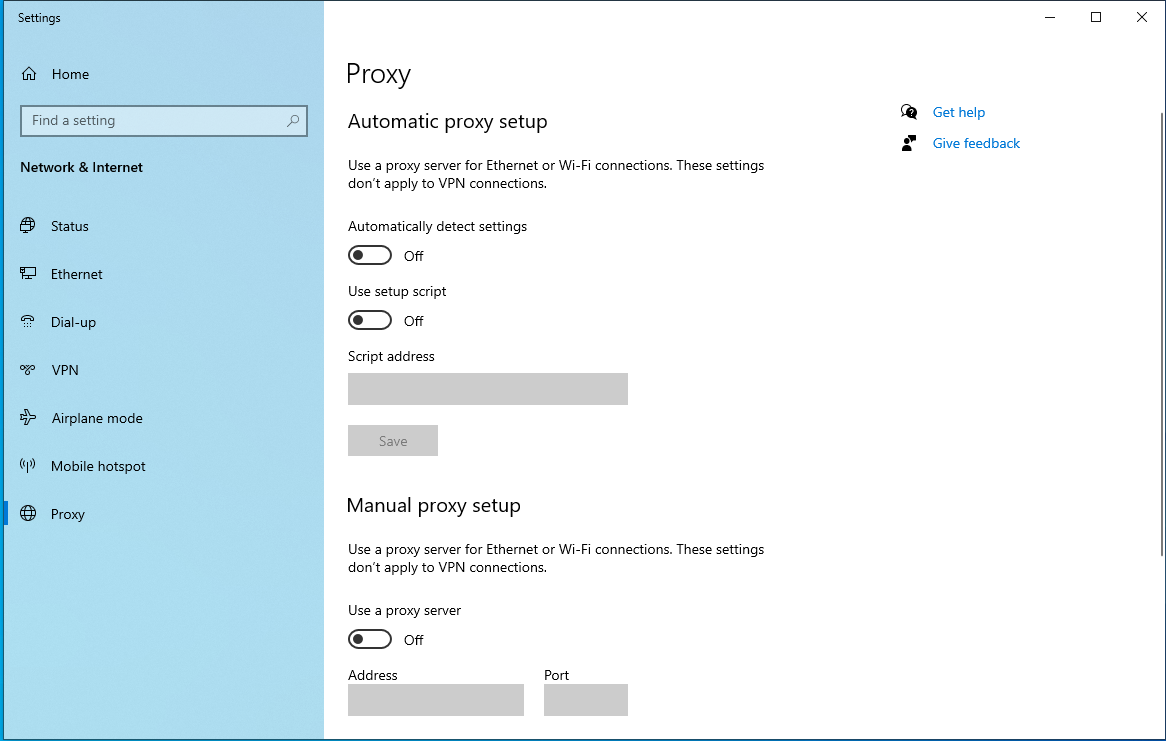
- In the right pane, set the toggles for Automatically detect settings and Use setup script to Off.
If the error has still not gone away, the next solution might help.
Fix 8. Troubleshoot the connection error via the clean boot
The reason the “The remote connection was not made” error keeps appearing might be conflicts between third-party applications or services on the machine. To figure out what is going on, launching your system in clean boot mode may help.
Clean boot mode refers to a Windows state where only Microsoft services and startup programs are loaded; the rest are inactive. In this environment, you can freely troubleshoot software conflicts.
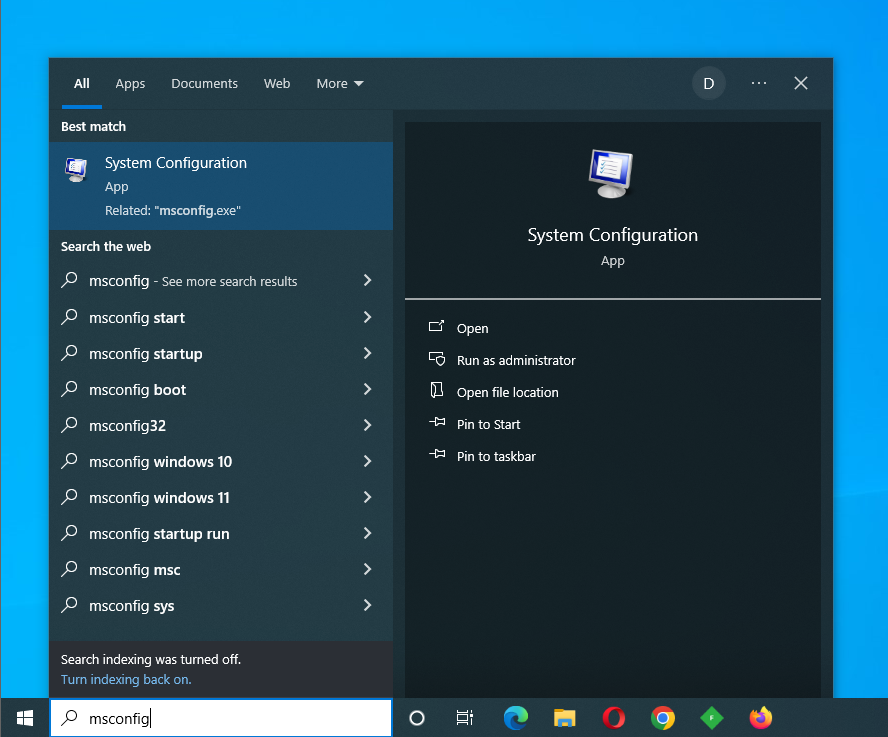
- Using an administrator account, type
msconfigin the Start menu and press theEnterkey (or click Open) to launch System Configuration.
- Select the Services tab and click the Hide all Microsoft services checkbox.
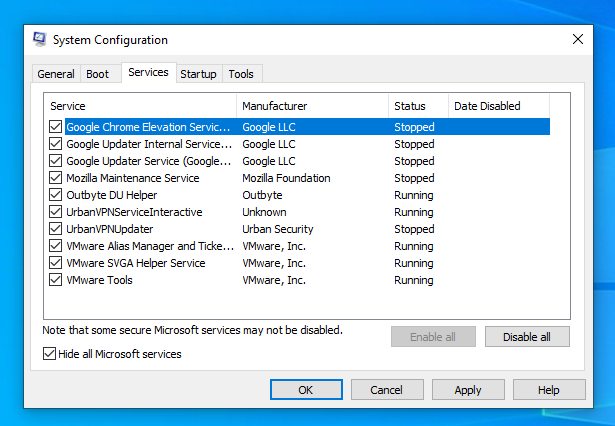
- Next, click the Disable all button to render all third-party services inactive.
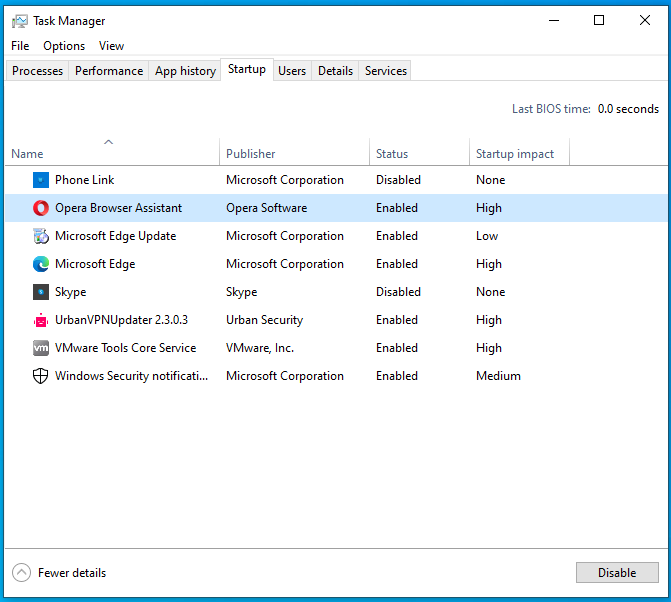
- Move to the Startup tab and click the Open Task Manager link.
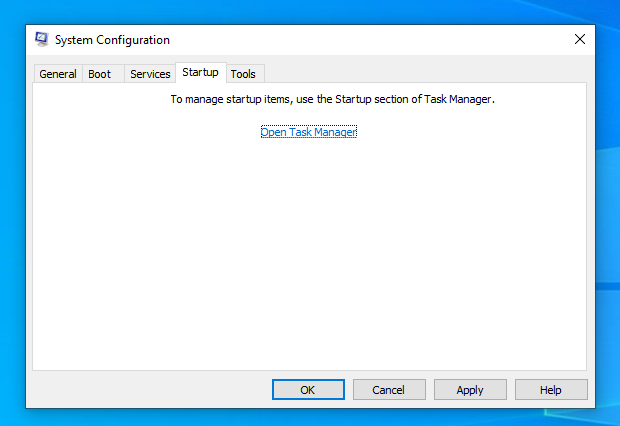
- Right-click each startup item and select Disable.
- When you’re done, return to the System Configuration window.
- Click Apply > OK, then restart the machine.
Once you’re logged back in, check whether the VPN connection issue still occurs. If it’s gone, it’s likely that one of the disabled services or startup programs is responsible for the problem. Enable the disabled services and startup programs in batches until you isolate the one causing the conflicts.
Once you’ve discovered the culprit, you can do one of three things:
- Uninstall the parent program. Do this if the service or startup item belongs to an unimportant program or one that you don’t need to use. This also applies if an alternative program that can do the same thing is available.
- Disable the service or startup item only. Do this if the parent program is important but the offending service or startup item isn’t needed.
- Update the parent program. If you feel that the service or startup does a very important function, check for an update that eliminates the conflict.
📌 Also read: So Easy to Do: How to Uninstall Programs and Apps on Windows 10/11?
How to Remove the “The Remote Connection Was Not Made” Error Message: Explained
Running into the “The remote connection was not made” error while using a VPN can be frustrating. But with the right approach, this is easy to fix.
Try using a different VPN, reset your network settings, disable conflicting software (if any), etc.
Remember that maintaining a seamless VPN connection is key to online privacy.
If one solution doesn’t work, don’t hesitate to try another until the issue is resolved and your VPN is functioning smoothly again.