- What Causes My Locally Stored Videos to Stutter and Glitch During Playback?
- What If I Get Stuttering Videos in All Browsers
- How to Fix Choppy Streaming Video on Windows 10 Computers
- Solution 1: Update your graphics driver
- Solution 2: Install Windows Updates
- Solution 3: Restore the default settings of your chosen Power Management plan
- Solution 4: Change your wallpaper settings
- Solution 5: Change your browser settings
- Solution 6: Scan for Malware
- Solution 7: Scan for hardware changes
- Solution 8: Temporarily disable your antivirus program
- Conclusion
- FAQ
Have you ever been frustrated byvideo stuttering when playing back? This can also happen when streaming videos online. It’s a common problem with numerous potential causes. In this guide, we’ll look at some possible causes of these choppy streaming videos and suggest practical solutions to help you resolve the problem. We’ll go into the specifics to help you understand and resolve choppy video issues, from out-of-date video players to graphics driver problems and system setups. Let’s begin.
What Causes My Locally Stored Videos to Stutter and Glitch During Playback?
Why do videos stutter on my computer? Various factors could lead to video stuttering in Windows 10 . It could be that:
- Your video player is out of date.
- Your graphics driver is outdated.
- You haven’t installed Windows updates.
- You have set up unfavorable system configurations.
- Your system is infected with malware.
It could also be that the video you can’t play is damaged. Consider getting the file again. Or, if you are using a VLC media player, follow the instructions below and see if the video will play properly afterwards:
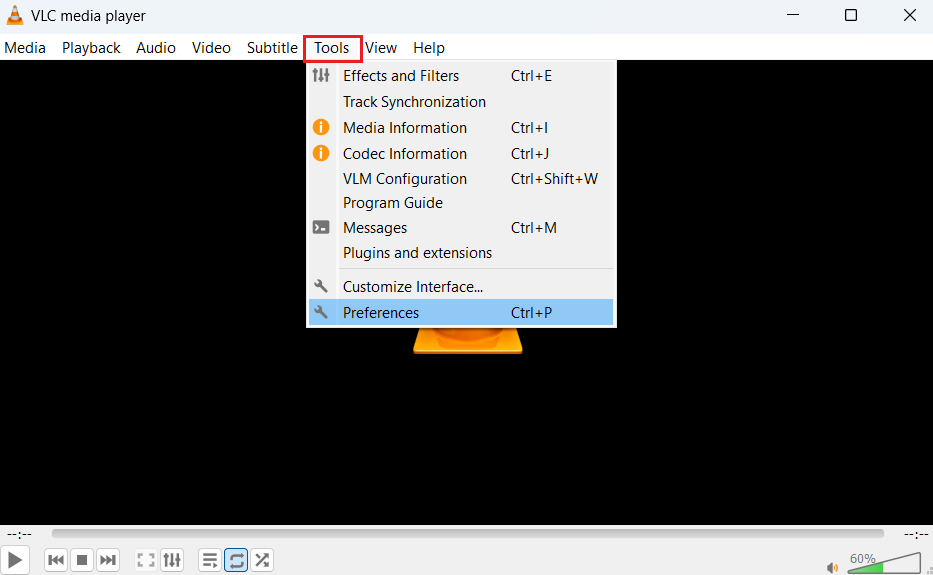
- Open the program and click on the Tools tab.
- Click on Preferences at the bottom of the context menu.
- At the top of the page, click on Input/codecs.

- Go to the Files category. Under Damaged or Incomplete AVI file, select Always Fix from the drop-down menu.
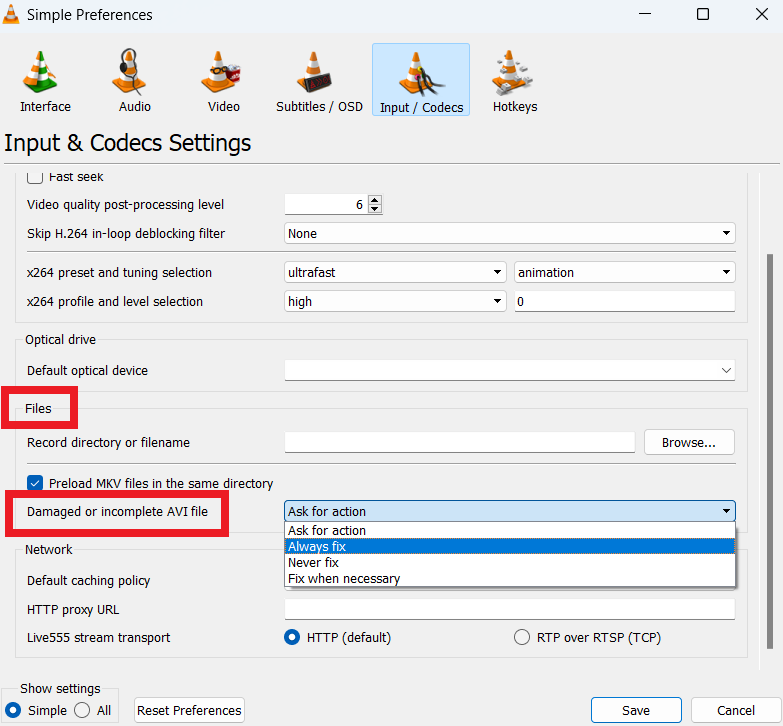
- Save the changes and exit the window.
Now, try playing the video again if the video lagging is still happening. If so, check the other solutions in this guide.
What If I Get Stuttering Videos in All Browsers
The first thing you have to do is see if you have a strong internet connection. You should check your modem and consider rebooting it. Next, ensure that your browser is up to date, and then clear the cookies and temporary files. If this doesn’t solve the choppy video, we’ll discuss the methods to fix the problem in the following sections.
Related: Hard Refresh Your Browser: Chrome, Firefox, Edge, and Safari
How to Fix Choppy Streaming Video on Windows 10 Computers
Whether you’re experiencing choppy video playback on Windows 10 in your browser or media player applications, the solutions below will help you resolve it.
Solution 1: Update your graphics driver
Outdated display drivers usually cause video lagging on the computer. We recommend updating your display drivers to see if that resolves the problem. Here’s how to update your drivers using Device Manager:
- Type Device Manager in the search bar and click to open.
- Expand Display adapter, right-click on it, and select Uninstall.
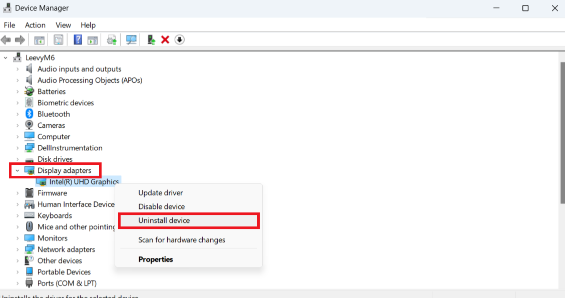
- Restart your computer, click Windows Update, and select Check for updates.
Windows will check for recent drivers and update them. After the update, reboot your computer and check if the videos stuttering on Windows 10 issues has been resolved. Use Auslogics Driver Updater for automatic fix
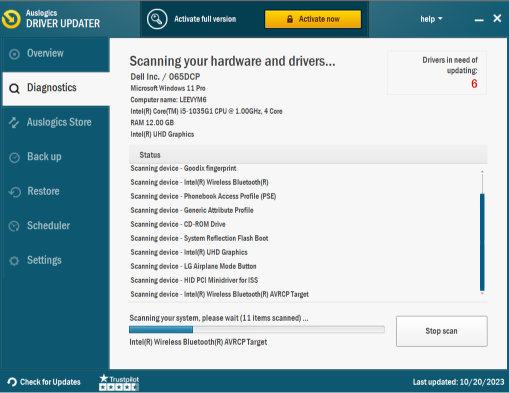
Related: Auslogics Driver Updater: New Drivers in One Click!
Solution 2: Install Windows Updates
Follow these easy steps to download and install available updates for your operating system:
- Press the Windows logo key.
- Go to the search bar and type Updates.
- Click on Check for updates from the results list.
- Click the Check for updates button on the right-hand side of the open window.
Restart your computer and see if your videos play without issues when the process is complete.
Related: How to Manually Check and Install Windows Updates
Solution 3: Restore the default settings of your chosen Power Management plan
The computer’s performance is linked to your preferred power plan options. And since you can edit the settings, you might have made changes now, causing the video issues you face. If this is the case, restoring the default configurations will help fix it. Here’s what you must do:
- Right-click on the battery icon on your taskbar.
- Select Power Options from the context menu.
- Click the Change plan settings link next to your selected power plan.
- Click the link that says Restore default settings for this plan. (You’ll find the option at the bottom of the page).
- Click OK to confirm the action.
Restart your computer, and then try playing the video again.
Related: Enable Ultimate Performance Power Plan in Windows 10/11
Solution 4: Change your wallpaper settings
If you’ve enabled slideshow for your desktop background and set a short interval, your video might skip a frame each time a new background comes on. You can either disable the option entirely or adjust the settings. Follow these easy steps:
- Go to the Start menu.
- Type Wallpaper in the search bar and select Choose background, slideshow, or solid color as your background mode from the results.
- Now click Background and select Picture or Solid color. But if you would rather keep the slideshow on, set a longer interval (30 minutes or 1 hour).
Check to see if the choppy video has stopped. If not, proceed to the next solution.
Related: How to Set a Dual Monitor Wallpaper on Windows 10 and 11?
Solution 5: Change your browser settings
In Google Chrome, there’s a feature known as hardware acceleration that could be causing the stuttering issues while streaming your videos. Switching it (Turning it on disabled and off if enabled) might help resolve the issue. Here’s how to fix choppy streaming video.
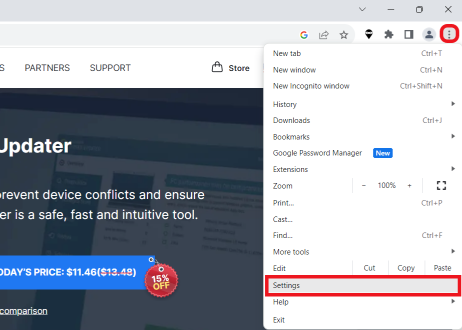
- Launch the browser and click the three vertical dots.
- Click on Settings.
- Click on System, and disable the Use hardware acceleration when available if it’s on or enable if it’s one.
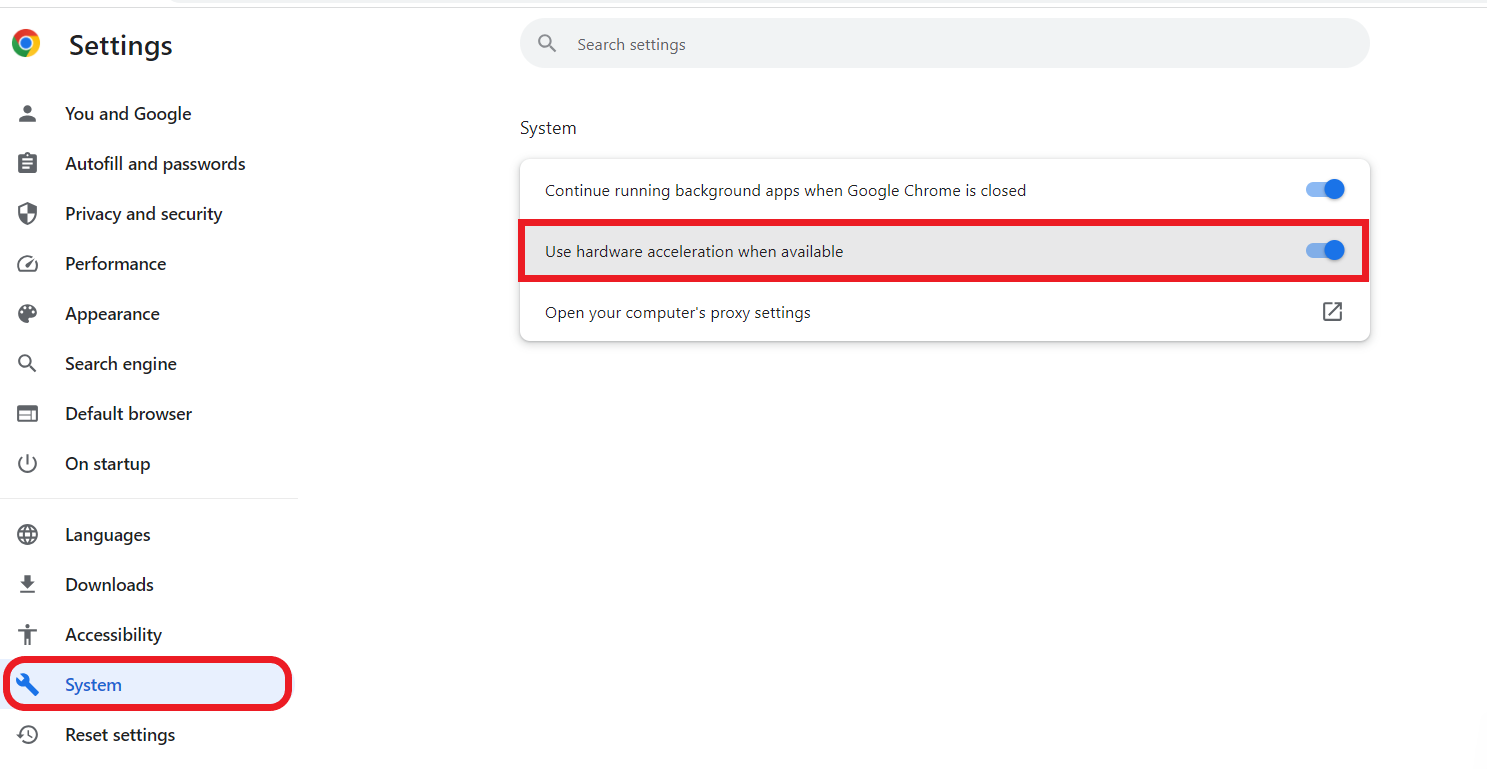
- Restart the browser and play the video if the problem has been resolved. If it does, repeat the above steps to undo your change.
Update Chrome’s WideVine featureThe next thing you can do is to update Chrome’s WideVine component. Follow the easy steps below to get it done. But first, you have to clear your cookies and other browsing data:
- Launch the browser and open a new tab.
- Press
Ctrl + Shift + Delete. This will lead you straight to the Clear browsing data page.
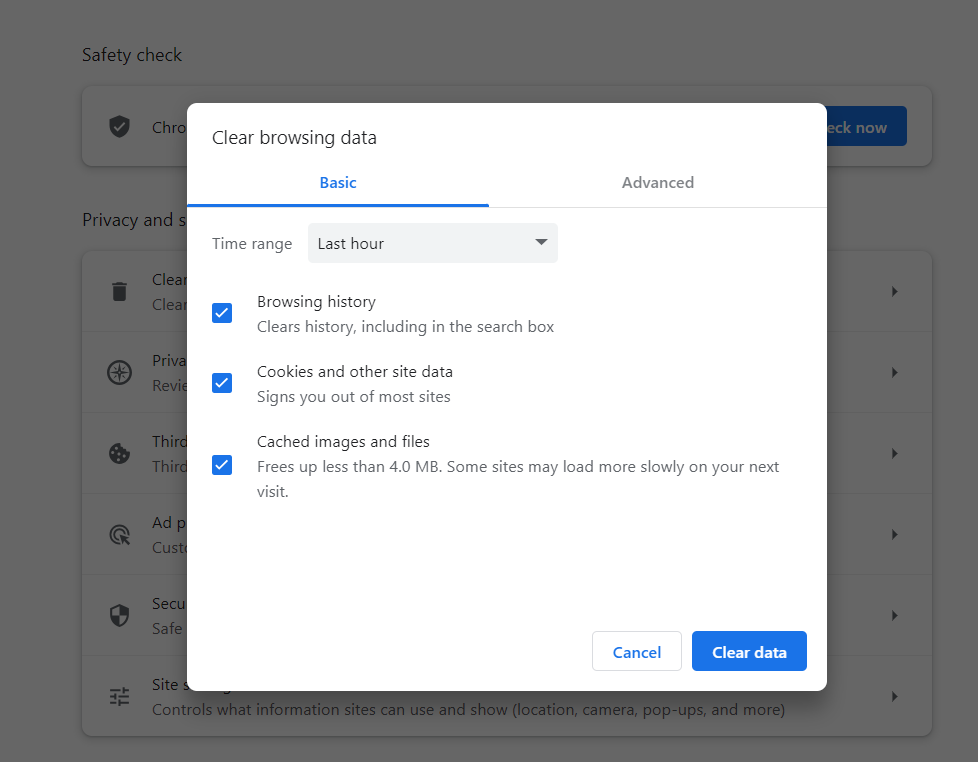
- Choose All time as the time range and then mark the checkbox for the listed entries.
- Now click the Clear data button.
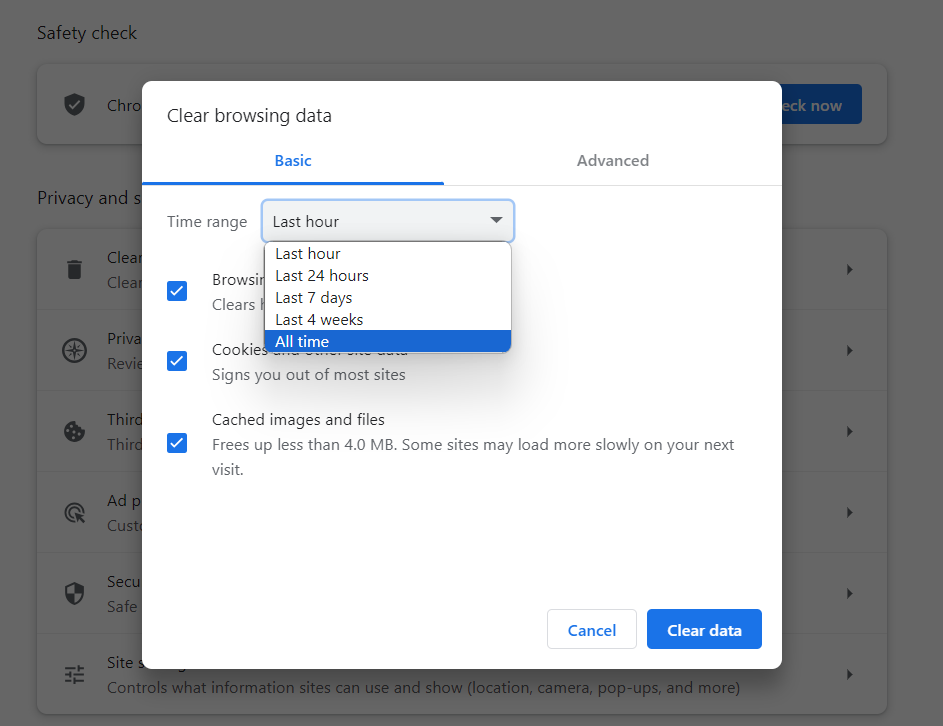
- Close the browser.
After you’ve completed the above steps, update WideVineCDM. Here’s how to do it:
- Press the
Windows + Rto open the Run dialog box. - Type or copy and paste C:/Program Files (x86)/Google/Chrome/Application into the field and press
Enter.
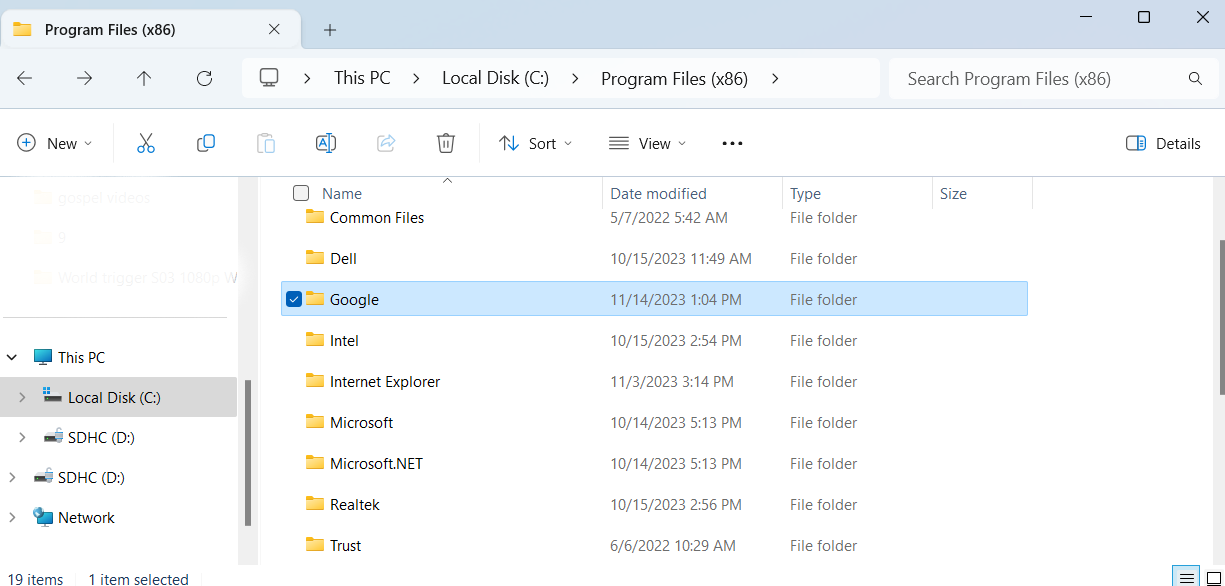
- Open the folder that’s named with a code number. Inside, you’ll find the WideVineCDM directory. Delete it.
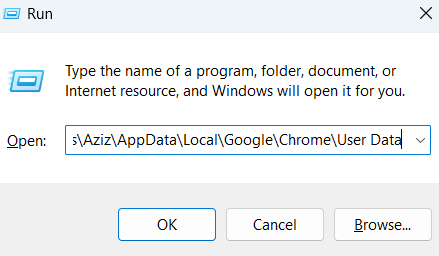
- Open the Run dialog box again and enter C:\Users\(YourUsername)\AppData\Local\Google\Chrome\User Data. Then click OK.
- Locate WideVineCDM and delete it.
- Launch Chrome.
- Type or copy and paste
chrome://componentsinto the URL bar and pressEnter.
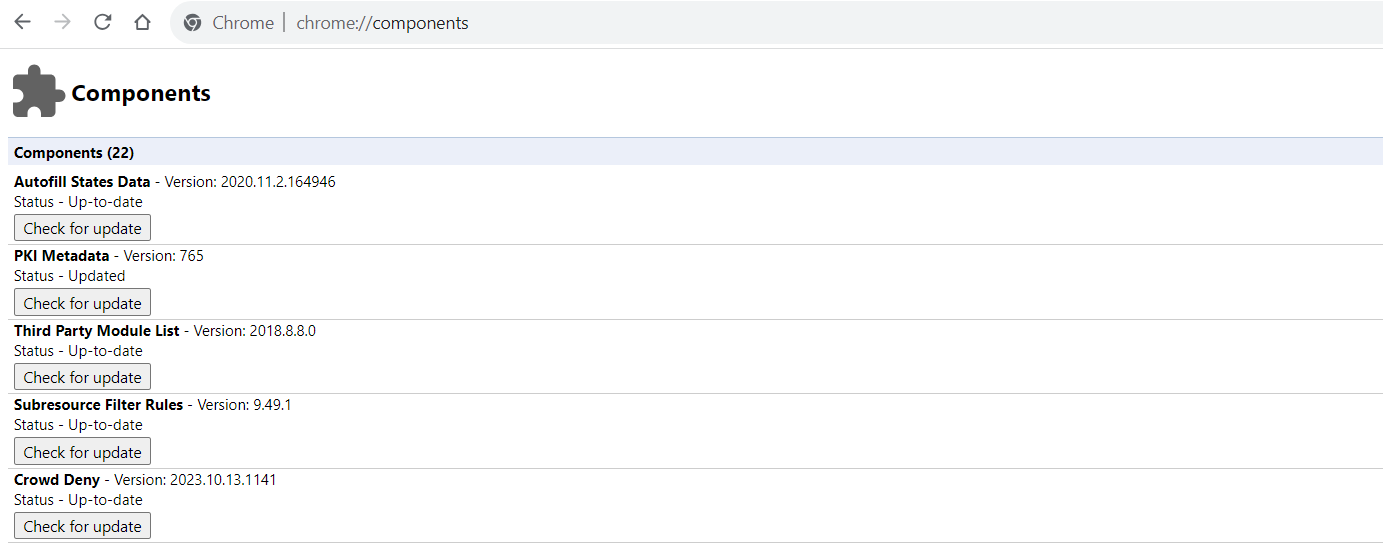
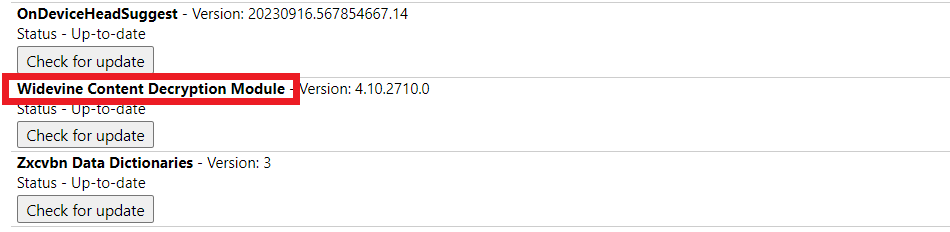
- Go to Wide Vine Content Decryption Module (Note the version) and click the Check for Updates button.
- Wait for the process to complete, and then close the browser.
- Open the Run dialog box again.
- Type in
C:\Users\(Your Username)\AppData\Local\Google\Chrome\User Dataand pressEnter.
- Open the WideVindCDM folder and rename the entry to the version you noted in step 13.
Now, launch your browser and try to play your videos. See if the video stuttering problem has been resolved.
Related: [EASY GUIDE] How to Stop Pop-Ups in Google Chrome?
Solution 6: Scan for Malware
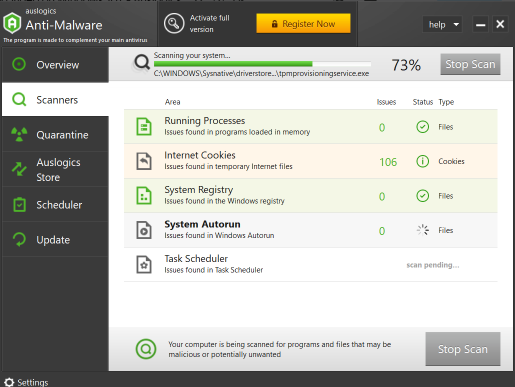
Related: Auslogics Anti-Malware: Features and Reviews
Solution 7: Scan for hardware changes
Scanning for hardware changes through Device Manager might help fix the issue:
- Press
Windows + Xand click on Device Manager. - Right-click on a blank area in the open window and select Scan for hardware changes.
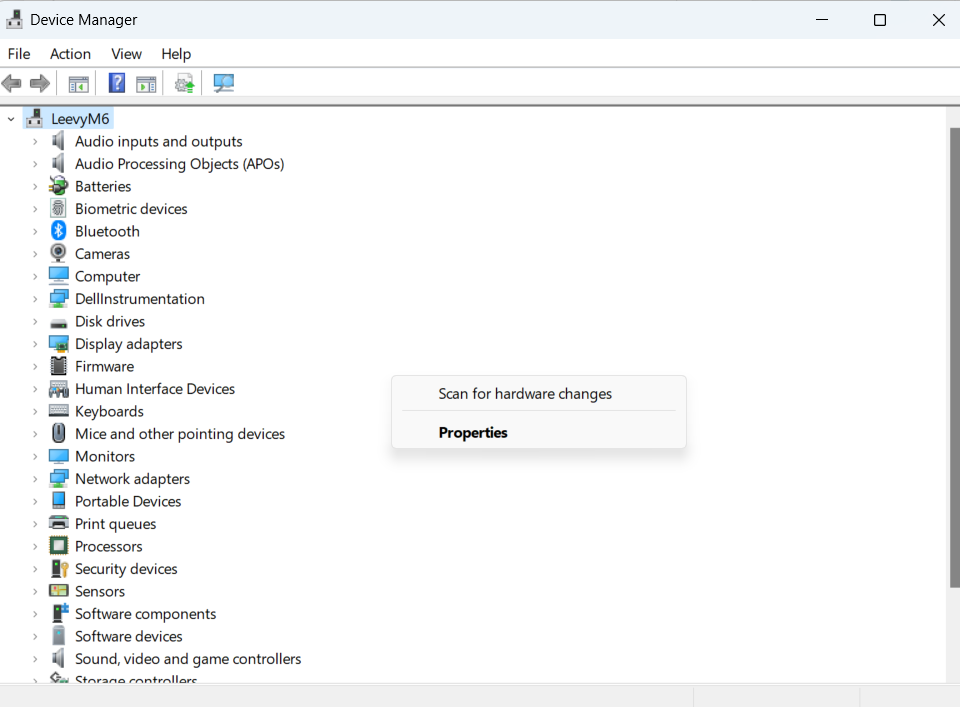
- After completing the process, close the window and try playing your videos again.
Related: How to Fix the Error Code 45 in Device Manager
Solution 8: Temporarily disable your antivirus program
Some users have reported that they could stop the video stuttering and glitches after disabling their security program. Some antivirus software developers confirmed this. You can, therefore, try it out and see if that does the trick for you, especially if you’ve attempted all the above fixes without any results, although quite unlikely. If this solution works, permanently disable the antivirus program and switch to a different brand. Finally, you can try a simple step like converting your video to another format. It may help if the video won’t play correctly on Windows 10 due to format incompatibility. WinX Video Converter is an excellent tool for free converting any 4K/HD videos to Windows 10 compatible formats. Convert MKV to MP4, AVI to WMV, HEVC to H.264, etc. The software can also reduce video file size, cut, crop, merge video footage, or adjust video parameters. The app’s intuitive interface makes it easy to operate.
Conclusion
Video lagging problems can be frustrating in the digital era, especially when it interferes heavily with your tasks. But now that you have the information in this article, you can confidently resolve these issues. Here’s a detailed guide to fixing video stuttering and glitches, whether it’s through updating graphics drivers, installing Windows updates, or tweaking a few basic system settings. Remember that troubleshooting may appear difficult initially, but with these step-by-step guides and patience, you can solve the issue.
FAQ
Try these few methods to stop YouTube videos from lagging. Make sure your internet connection is stable first. Next, if necessary, change the YouTube video quality settings to a lesser resolution. It could also be helpful to clear the cookies and cache in your browser. Ensure your browser is up to date, and try turning off any add-ons that might interfere.