
- How to Check if Your NVIDIA Driver Is Up to Date
- How to Update NVIDIA Drivers on Windows 10/11
- When to Roll Back an NVIDIA Driver
- How to Roll Back NVIDIA Drivers in Windows 10 and Windows 11
- Common Issues After Updating NVIDIA Drivers and How to Fix Them
- Don’t Skip Driver Backups When Updating NVIDIA Drivers
- FAQ
Regular driver updates are not just routine maintenance; they are important if you own an NVIDIA or AMD graphics card . Updating your NVIDIA drivers the right way can unlock your GPU’s full potential, making it an asset for gaming, creative work, and overall system performance.
While these updates can improve compatibility with the newest games or programs and shield against glitches, they can also be a problem themselves if you are not careful. Unlike other drivers, NVIDIA may introduce new optimizations that may not always be stable across all systems.
In some cases, updates can cause crashes, display errors, or performance drops due to conflicts with existing software or hardware configurations. As such, it is important that you know how to update NVIDIA drivers safely and roll them back if necessary.
How to Check if Your NVIDIA Driver Is Up to Date
Before updating your NVIDIA drivers, you need to check your graphics card’s current version . The reason is simple: compatibility. Installing the wrong driver on your computer might cause performance issues, glitches, or even system instability. Let’s go through the steps below to find your GPU’s current version:
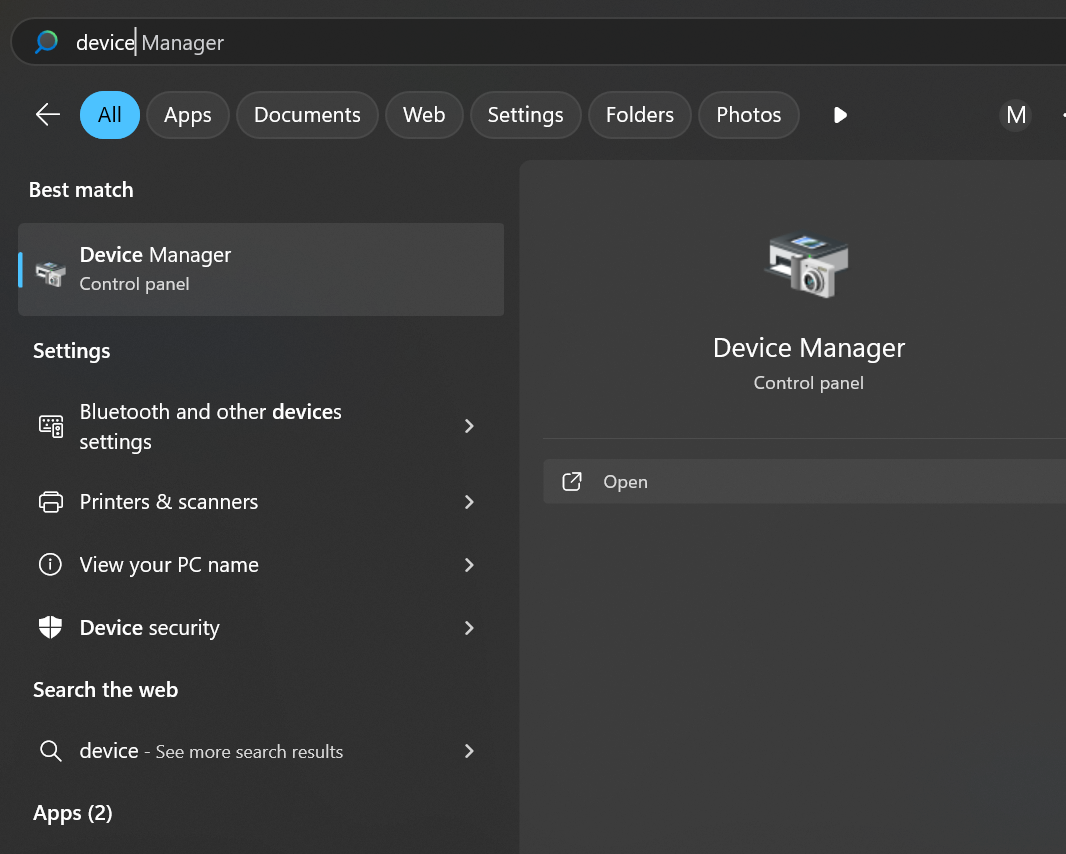
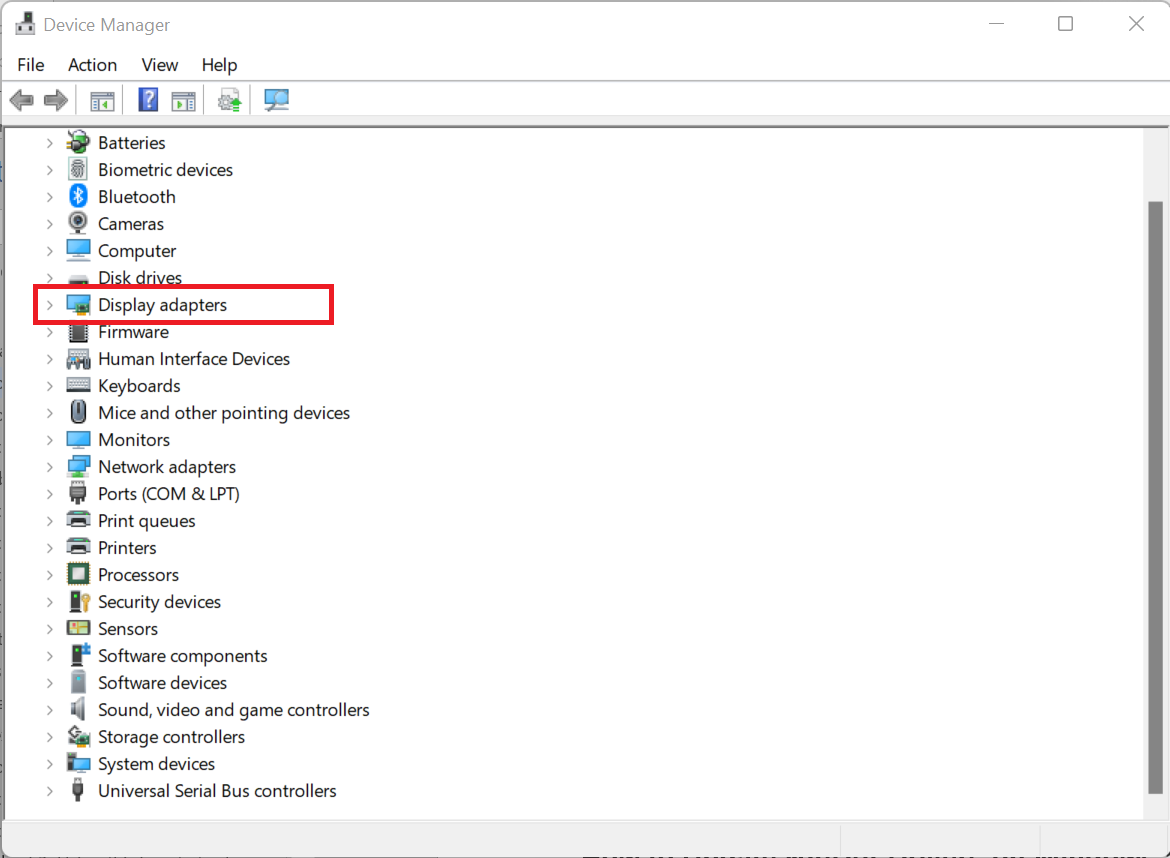
- Open the Start menu, search for Device Manager , and open the utility.
- Go to the Display adapters section and right-click your NVIDIA graphics card.
- Select Properties and go to the Drivers tab.
- There you should see your driver version and its date of release.
Once you’ve determined your current driver version, choose any of the methods in the next section to update it.
How to Update NVIDIA Drivers on Windows 10/11
The process for installing driver updates on both operating systems is similar. Now, let’s cover the different ways you can update your NVIDIA drivers.
Method 1: Update NVIDIA drivers using GeForce Experience
GeForce Experience serves as your NVIDIA GPU’s auxiliary software. The program automatically detects available updates for your GPU, so you don’t have to search the Internet manually. If you have GeForce Experience installed, you can use it to update your NVIDIA graphics driver. If you do not have it installed, you can download it from the official NVIDIA website . Once you have the app, follow these steps:
Step 1: Launch GeForce Experience and click Drivers at the top of the window.
Step 2: Select Download if the program shows an available update.
Step 3: Choose how to update NVIDIA drivers . There are two options:
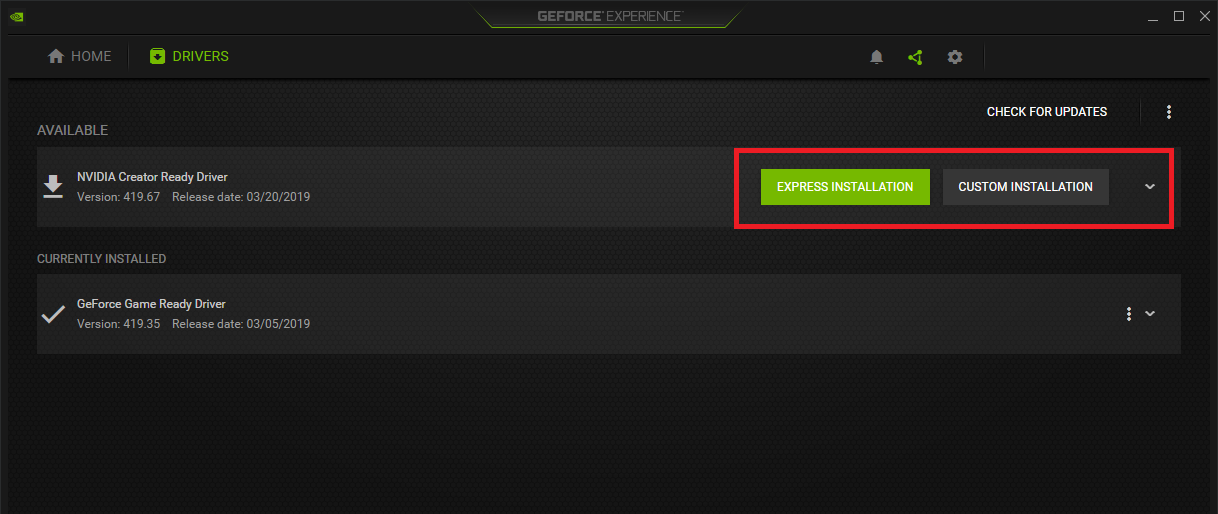
- Express installation: Allows GeForce Experience to install the driver with the recommended settings. Choose this option if you want to install the driver as is or do not know how to use the custom install method.
- Custom installation: Allows you to pick which components and features within the driver package to install. This option comes in handy if you’re sure that specific components, such as the audio driver, may cause conflicts. Still, you should only use the custom method if you understand these components and know how to work with NVIDIA GeForce Experience.
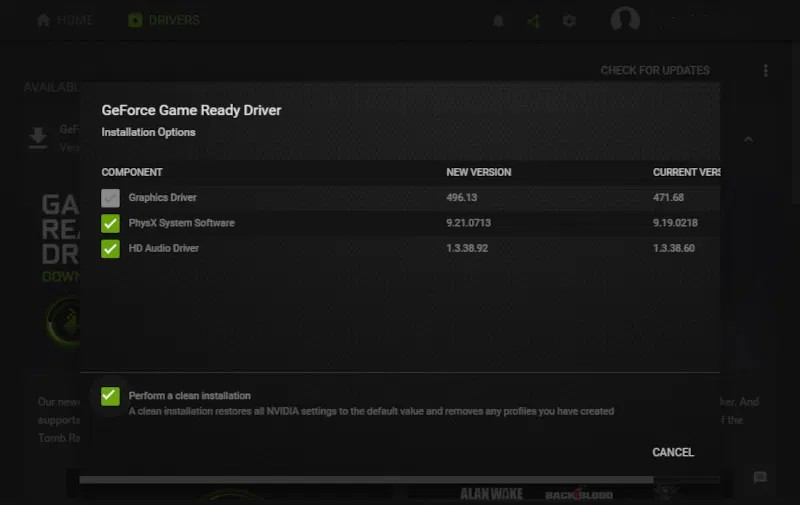
Step 4: After choosing the installation type, follow the prompts and allow the program to complete the process.
You should now see a summary of the installation once it’s complete.
Step 5: Restart Windows to allow the changes to take effect.
Enable automatic driver downloads
While GeForce Experience will always notify you when driver updates are available, it will not download them by default. But the program can automatically download the drivers after release, and you can install them whenever you choose. I like to keep the automatic download option turned on so I get to install the drivers whenever I get the notification, instead of having to wait for the download process to complete.
If you want this feature to be enabled, follow these steps:
Step 1: Launch GeForce Experience.
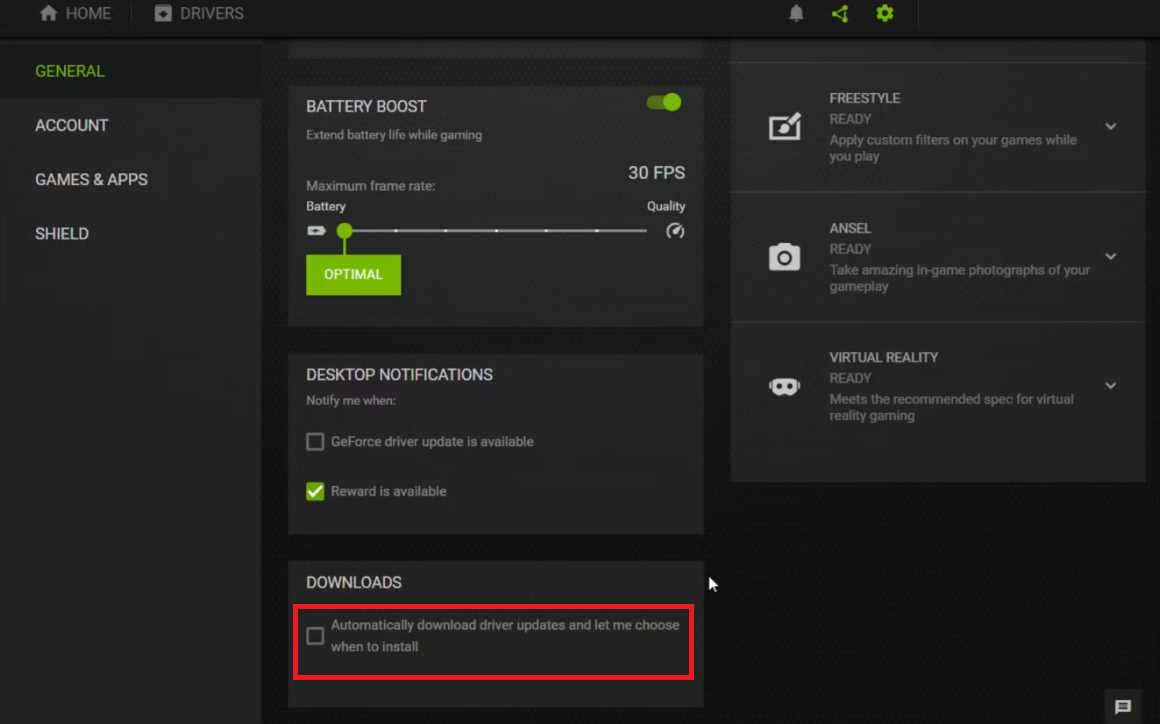
Step 2: Click the Settings icon in the top-right corner.

Step 3: Next, scroll to the Downloads section at the bottom of the page and check the box for Automatically download driver updates and let me choose when to install .
Step 4: Restart the application to complete the process.
Method 2: Update NVIDIA drivers from the website
This method involves going to NVIDIA’s website to select the best driver for your device. You can use this option if you have not yet installed GeForce Experience, NVIDIA’s dedicated GPU software program.
Device Manager will also be unable to update your drivers properly if you install an incompatible version.
These steps will show you how to update the NVIDIA graphics driver , using my RTX 2060 notebook graphics card as an example:
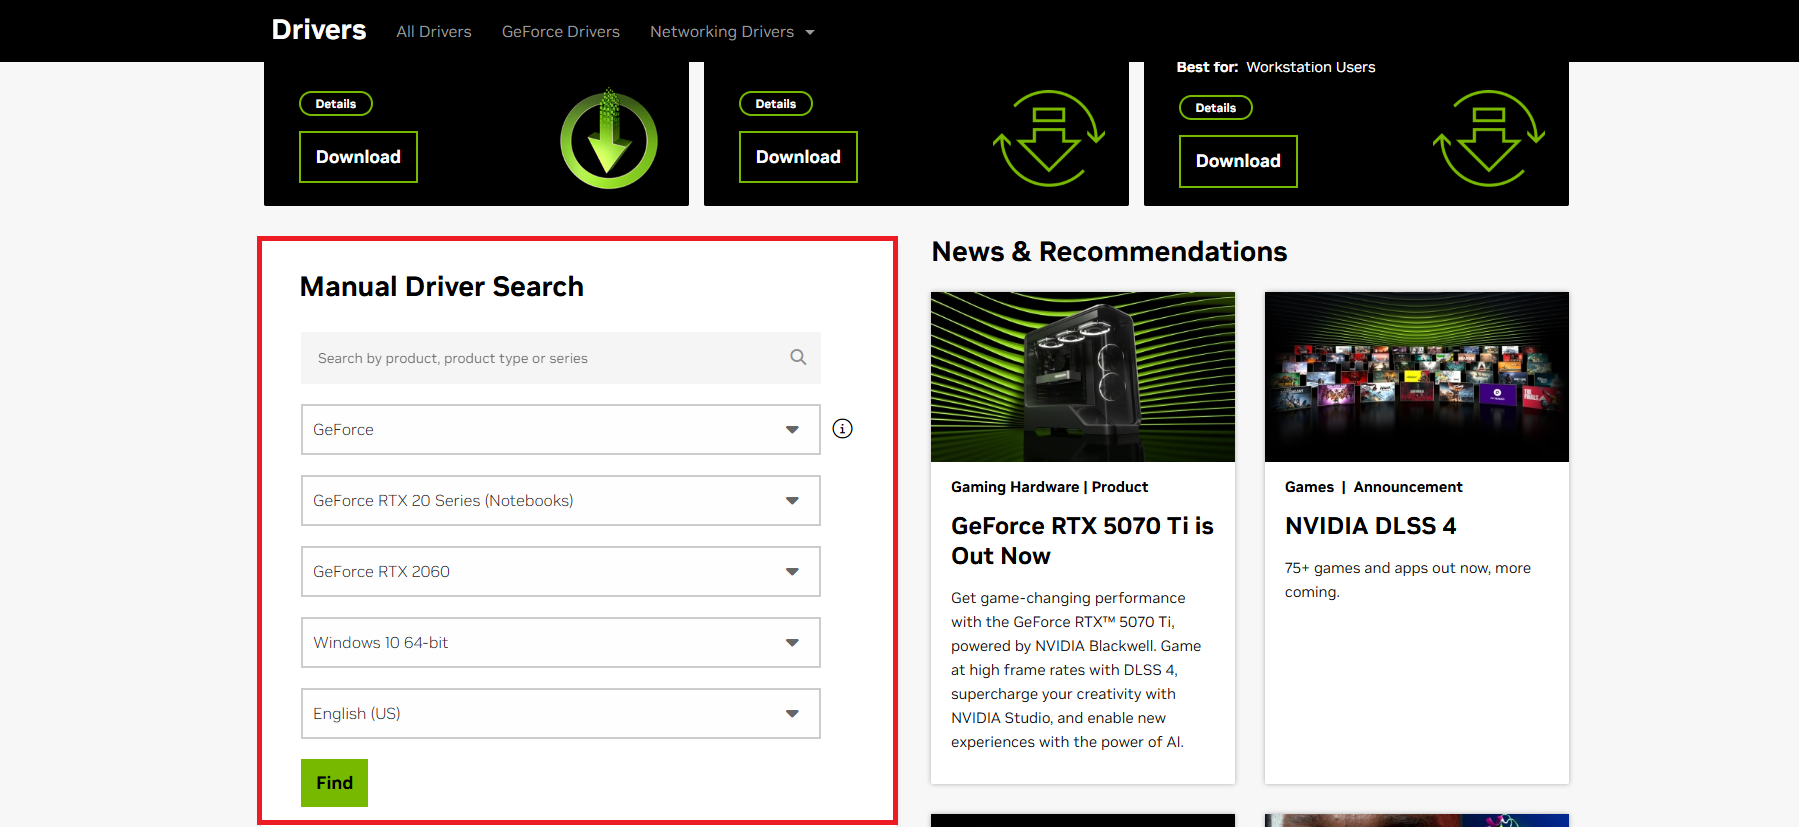
Step 1: Head to the NVIDIA driver downloads webpage and go to the Manual Driver Search section on the left side of the page.
Step 2: Next, select your GPU type, series, specific model, Windows version and architecture, and language. In some cases, the website will automatically detect your device’s specs and fill out the form. The website recognizes my laptop’s RTX 2060 GPU and operating system. Still, ensure you go through everything one more time to confirm.
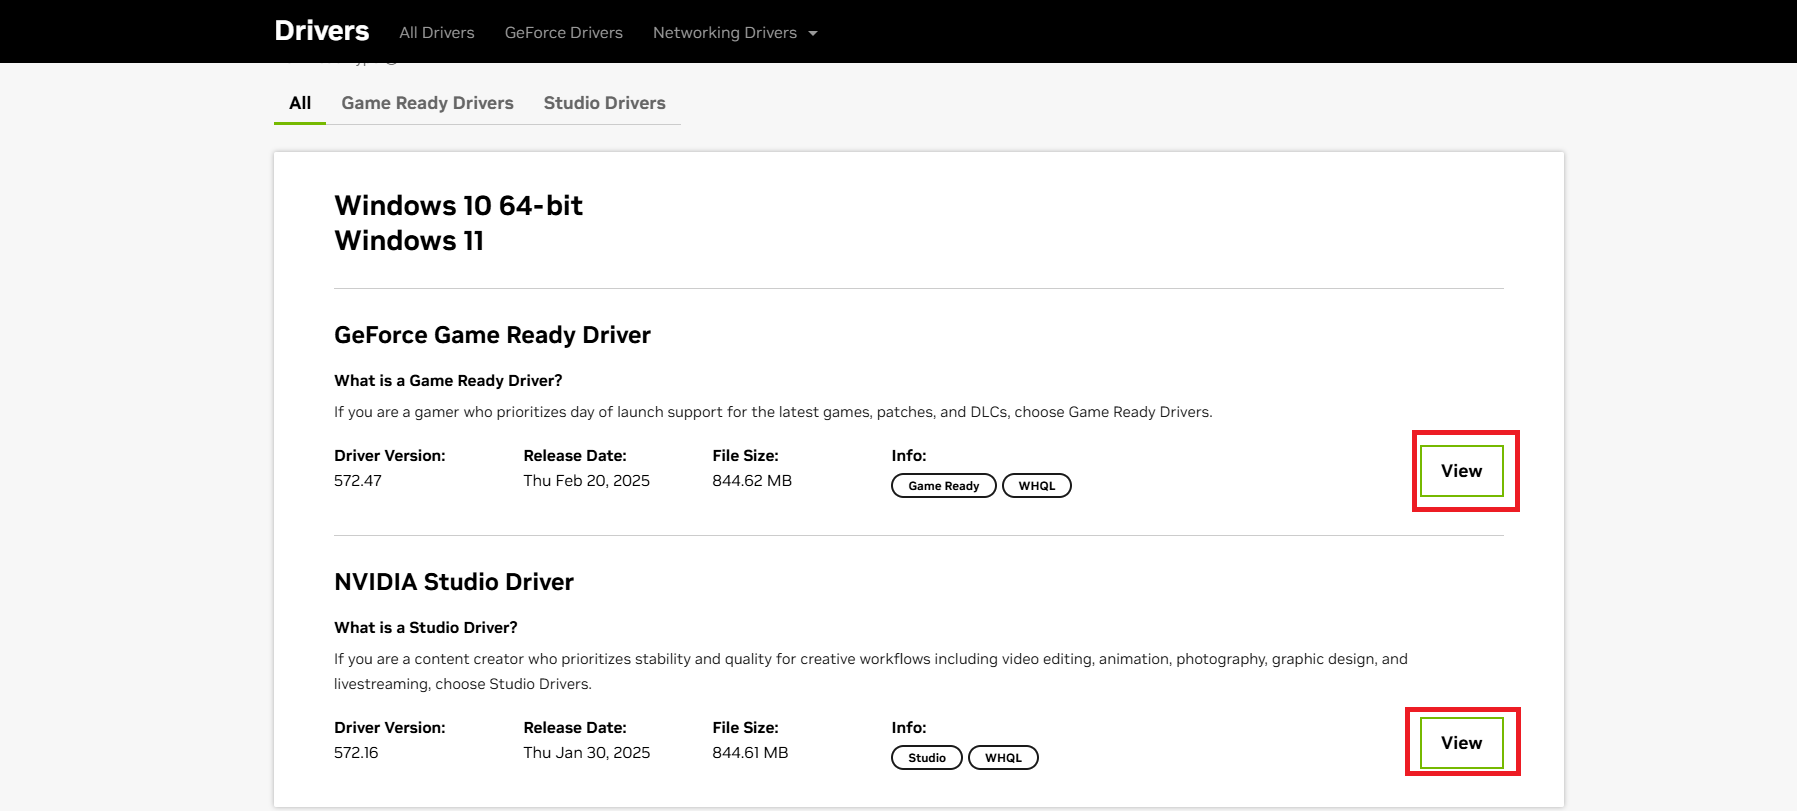
Step 3: Click the Find button after selecting your GPU and operating system details. Here, you need to select between the Game Ready and Studio versions of the driver and click View .
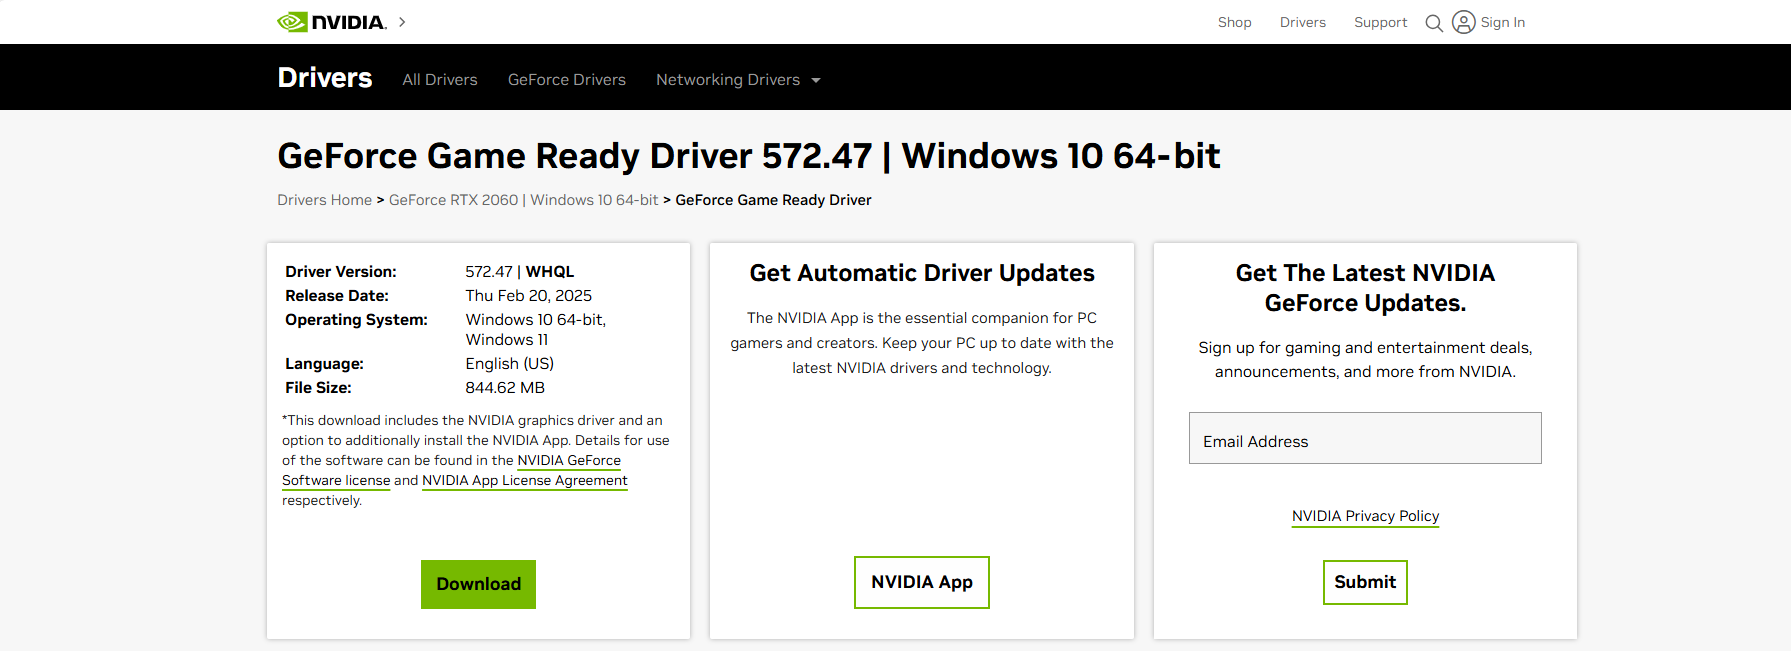
Step 4: Now, click the Download button. Once the download completes, click the driver file from your browser to run and install it. If it doesn’t work, proceed to the next method.
Method 3: Update NVIDIA drivers using Device Manager
You can also open the Device Manager window to find and install the drivers. Here’s how to update drivers for the NVIDIA GPU using Device Manager:
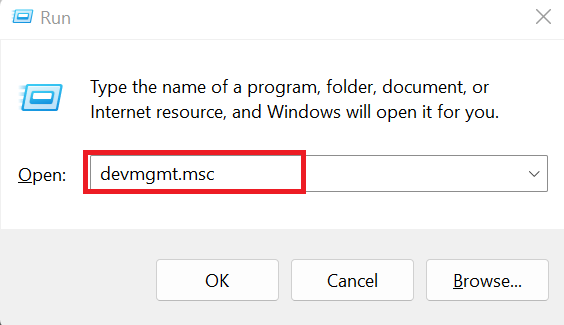
Step 1: Press the Win + R combo to open Run.
Step 2: Type devmgmt.msc and press Enter on your keyboard.
Step 3: Expand the Display adapters category immediately after the Device Manager window shows up.
Step 4: Right-click your NVIDIA GPU and select Update driver .
Step 5: Now, choose Search automatically for drivers to allow Windows to search your computer for the driver you downloaded and install it.

Once Windows finds and installs the driver, restart your system for the changes to take effect.
Method 4: Use reliable third-party tools
You can easily update your NVIDIA drivers by using reputable third-party tools. These tools simplify the process without going through the trouble of manual searches. You can use some popular third-party tools, such as Driver Booster , Driver Easy , and Auslogics Driver Updater, to update GPU drivers, Bluetooth drivers , audio drivers, and other drivers on your system. Auslogics Driver Updater is a user-friendly tool that’s particularly excellent at automatically detecting and fetching official updates for outdated and corrupted drivers. It can also run scheduled updates and alert you whenever new drivers are released. Here’s how Auslogics Driver Updater works:
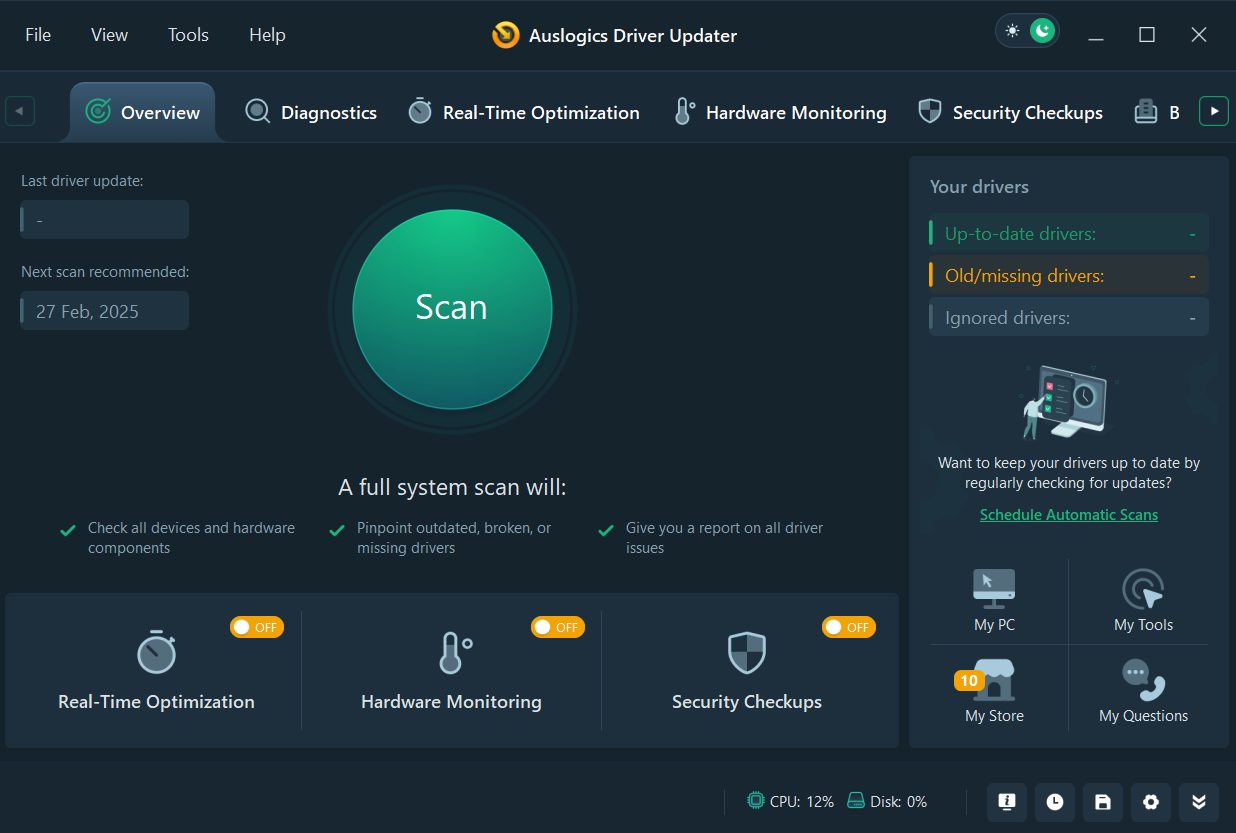
Step 1: Download Auslogics Driver Updater from the official website and install it.
Step 2: After launching the program, click the Scan button to start scanning your computer for outdated and problematic drivers.
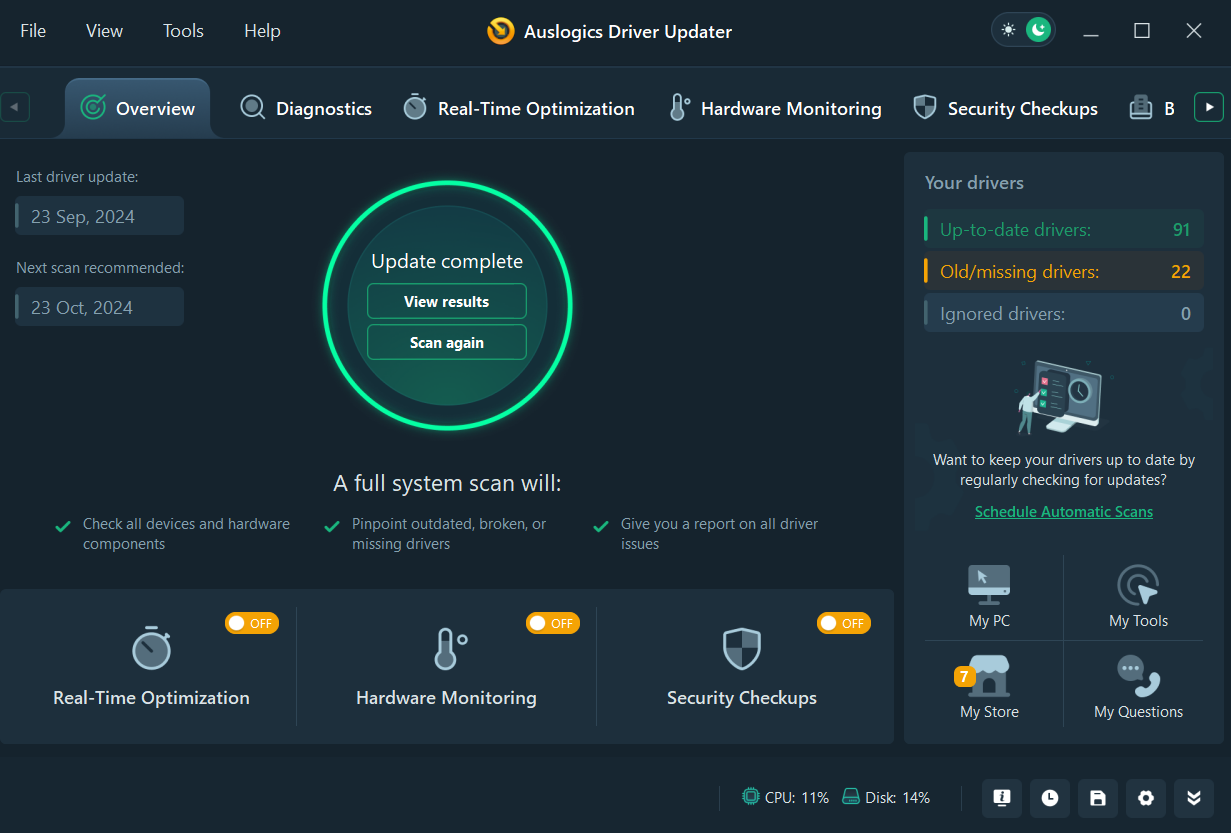
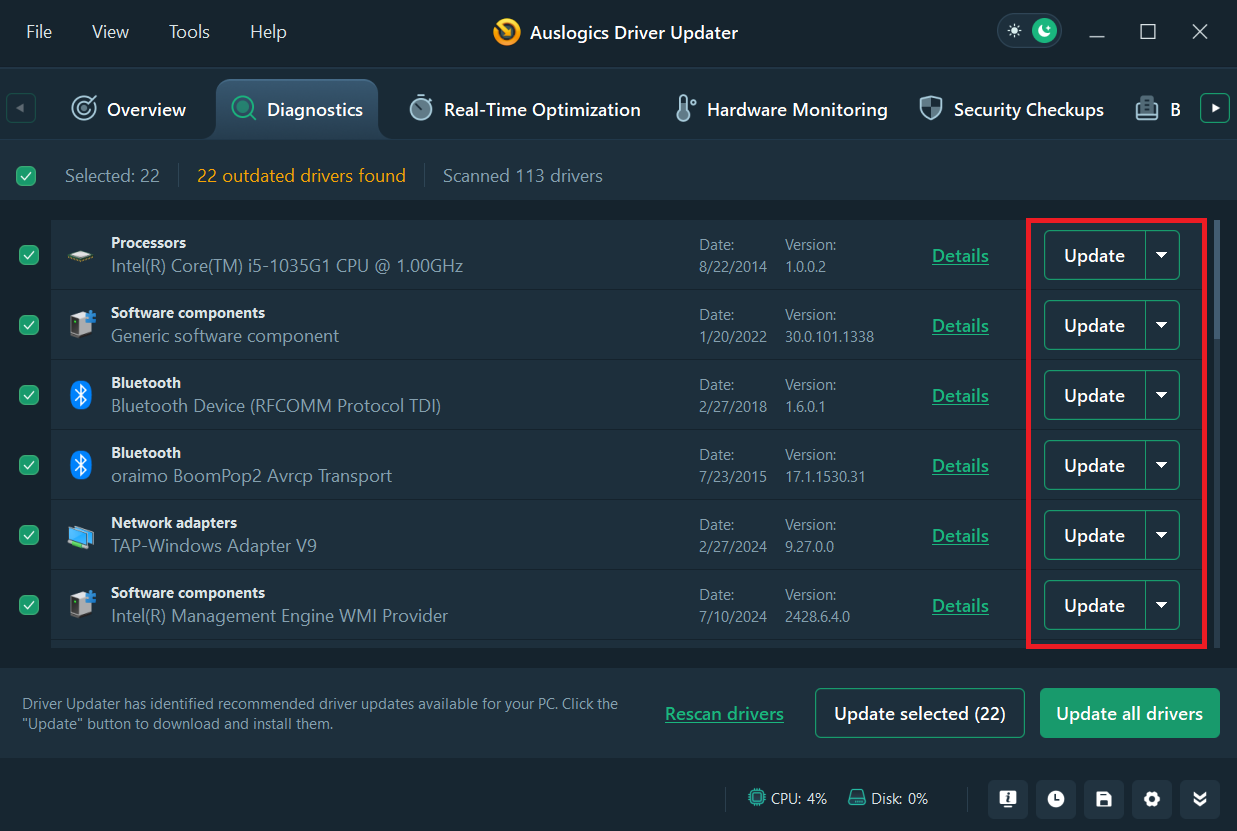
Step 3: The tool will now begin the scan to search for available updates. You should now see a list of devices whose driver updates are available.
Step 4: Click the Update all drivers button to update all outdated drivers at once or the Update button next to a specific driver you want to update.
You can also use the scheduler to set the frequency for update checks. The Backup & Restor e tab allow you to back up working drivers so that you can restore them if you don’t like a certain update.
Method 5: Use OEM software to update NVIDIA drivers
Most OEMs provide specialized tools for updating device drivers for their systems. OEM stands for Original Equipment Manufacturer, which refers to companies that make hardware, like Dell, HP, or ASUS.
These updates are often delivered through dedicated programs, such as MSI Driver & App Center and Dell Update Application, and driver download webpages.
Visiting an OEM’s website involves entering the computer’s serial number or make and model to find drivers. However, dedicated applications automatically detect PC specifications and help download drivers.
Here’s how to update your GPU driver, using HP as an example:
Step 1: Go to the official support page of your manufacturer.
Step 2: Next, you need to select your product. In most cases, HP should detect your device. But just in case the website does not correctly identify your product, input your computer’s serial number, product name, or model.
Step 3: Next, select your operating system and its version. Your operating system refers to Windows 10, Windows 11, etc., while the version is the specific build number or edition (e.g., Windows 10 22H2 or Windows 11 Pro). If you’re unsure about your version, you can check by pressing Win + R, typing winver , and hitting Enter.
Step 4: HP will display all the drivers available for your system. Since we are interested in graphic drivers, scroll down and download the driver you need.
Sadly, this method does not guarantee that you will find the latest graphics driver because PC manufacturers do not always keep up with NVIDIA’s update frequency. Manufacturers typically prioritize stability over frequent updates. As such, they test drivers extensively before releasing them on their platforms to ensure compatibility with their specific hardware configurations.
Auslogics Driver Updater is designed to automatically detect outdated drivers and update them for a wide range of PC hardware components and external devices.
This ensures your system remains fully optimized, stable, and up to date with the latest driver versions. Plus, it automatically backs up previous driver versions, so you can roll back anytime if needed.
When to Roll Back an NVIDIA Driver
Updating your NVIDIA drivers is a relatively safe procedure. However, sometimes the process can cause issues. When this happens, a rollback might be the best option.
Here’s a handy list of scenarios where reverting might be your best move.
’re noticing frequent graphical glitches or visual errors after a driver update. Rolling back to a previous version can often fix the problem. These issues might stem from incompatibilities between the new driver and your specific hardware or games.
1. Potential hidden damage to your GPU
If an NVIDIA driver is harming your GPU, you may notice unusual overheating or high GPU usage, even when your computer is idle. Other signs include random crashes, stuttering, or performance drops in tasks that previously worked fine.
To confirm the issue, check forums, NVIDIA’s support page, or tech news for similar reports from other users. If many people report the same problems with that driver, rolling back to a stable version can help protect your GPU.
2. Unexplained performance issues
If your system or GPU starts acting up without an obvious cause, especially after updating, it might be a sign of driver issues. Rolling back to an older, stable driver version—while also checking updates for other components—can serve as a troubleshooting step to restore smooth performance.
3. Unexplained performance issues
If your system or GPU starts acting up without an obvious cause, especially after updating, it might be a sign of driver issues. Rolling back to an older, stable driver version—while also checking updates for other components—can serve as a troubleshooting step to restore smooth performance.
How to Roll Back NVIDIA Drivers in Windows 10 and Windows 11
Now that you know when to roll back drivers, let us show you how it is done. Like updating your drivers , there are different ways to do this on Windows 10 and Windows 11. Before you start, ensure you note the current driver version.
Method 1: Using Device Manager
Step 1: Press the Windows key + R to open the Run dialog box. In the box, type devmgmt.msc to open Device Manager:

Step 2: Expand the Display adapters category when Device Manager opens.
Step 3: Right-click your NVIDIA graphics card and select Properties .
Step 4: Now, go to the Driver tab, note the driver date and version, and click the Roll Back Driver button.
Step 5: Once the Driver Package rollback dialog window opens, select the reason you want to downgrade your NVIDIA driver and click Yes .
Step 6: Allow Windows to roll back the driver, then restart your computer.
Sadly, this isn’t guaranteed, especially if you’ve recently cleaned up old files or updated multiple times without keeping prior versions.
If the option is grayed out or the rollback didn’t work, you can proceed to the other alternatives below.
Method 2: Using third-party tools
One of the simplest ways to roll back your NVIDIA driver is by leveraging a third-party tool. If you’ve used a reliable option like Auslogics Driver Updater to manage your drivers, it’s likely that the tool automatically saved a copy of your previous driver version during the update process.
Auslogics Driver Updater, for instance, is specifically designed to back up your older drivers before updating. So, if there is a problem afterward, you can easily restore them.
To roll back a driver using Auslogics Driver Updater, you can quickly switch to the Backup & Restore tab to select your NVIDIA GPU and choose the previous version. Here is how:
Step 1: Open the Auslogic Driver Updater app.
Step 2: At the bottom-right corner of the screen, click on My Tools .
Step 3: Next, select Backup & Restore .
Step 4: Check the list to find the NVIDIA driver you recently updated. Click the driver and then select Restore .
Method 3: Using System Restore
A system restore is the last resort if all the above methods do not work. Restoring Windows will undo all the changes you recently made to your computer. However, you must have created a restore point prior to installing the update for it to work.
Be that as it may, Windows periodically creates automatic restore points after installing Windows updates. You can check to see whether your computer has one before you installed your latest NVIDIA driver.
Follow these steps to use the System Restore utility:
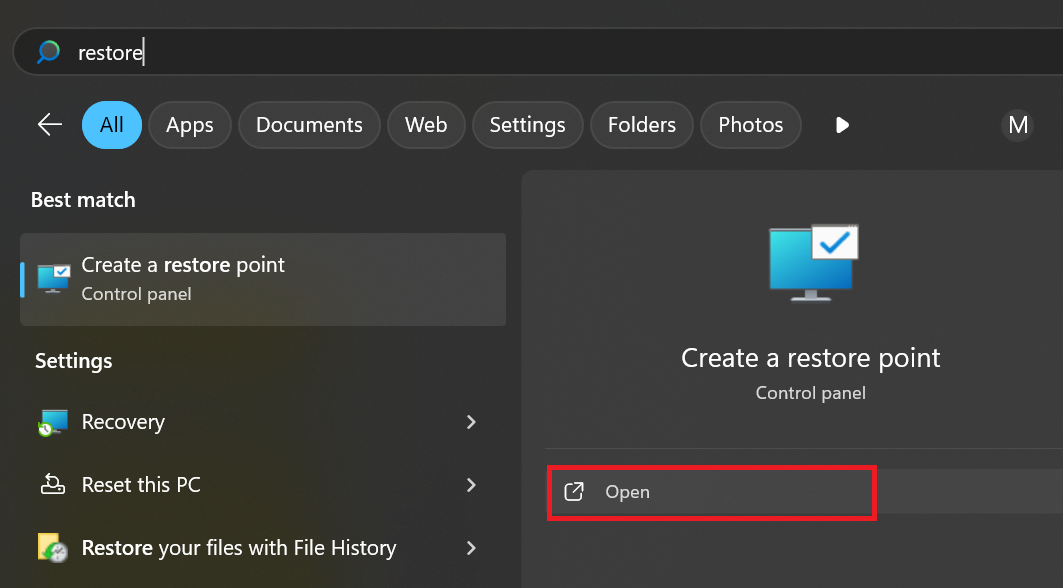
Step 1: Head to the Start menu and type restore .
Step 2: Click Create a restore point after the search results appear.
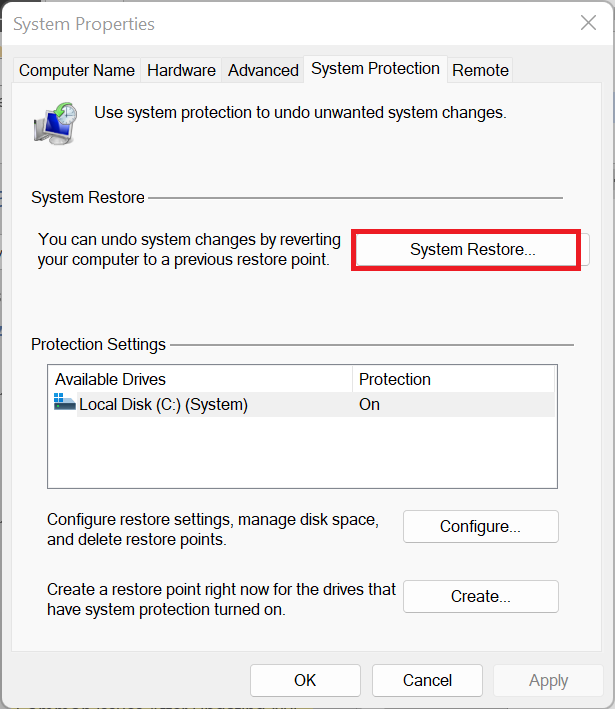
Step 3: Click System Restore once you see the System Properties window.
In some cases, Windows may offer a recommended restore point (in green). You can choose it if it was created before you’ve installed the problematic NVIDIA driver. Otherwise, click Choose a different restore point and click Next .

Step 4: Select a restore point that fits your timeline and click Next . If you do not find a perfect one on the list, check the box that says Show more restore points .
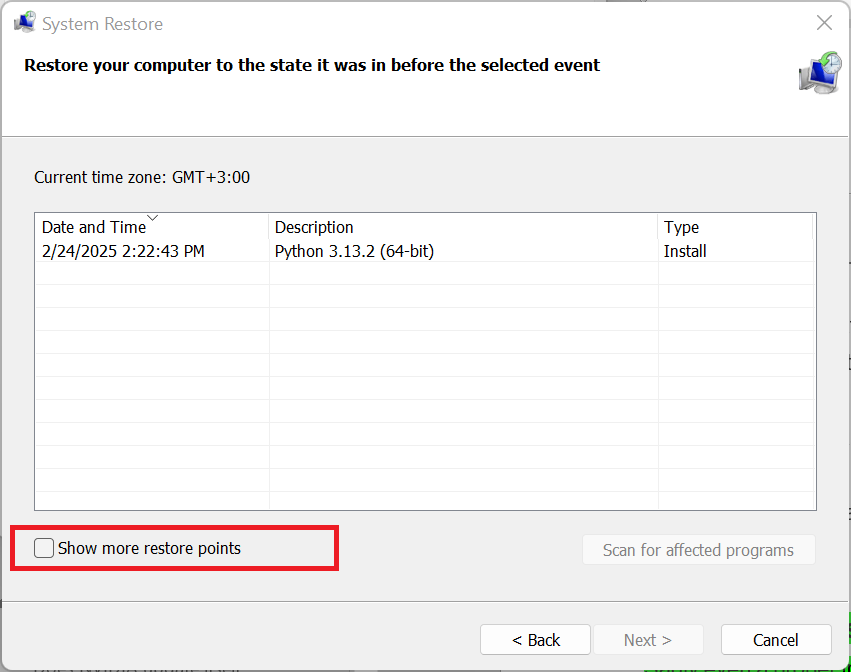
Step 5: You can click the Scan for affected programs button to confirm which apps will be affected by the restore. When you are done, click Finish to start the process.
Note that the system restore may take a while to complete.
Common Issues After Updating NVIDIA Drivers and How to Fix Them
Sadly, even a proper installation of your NVIDIA driver can occasionally lead to unexpected issues. When problems arise despite following the correct steps, they’re often tied to hardware compatibility, software conflicts, or installation glitches. Here are some streamlined solutions to address common post-update challenges:
![IMG]() Black screen or no monitor display
Black screen or no monitor display

A black screen or missing display after updating NVIDIA drivers might be because the driver is not compatible with your GPU. It can also happen if the installation process is interrupted. ✅ Solutions:
- Boot into Safe Mode and revert to the previous driver via Device Manager.
- Reinstall the display driver.
- Verify the monitor is connected to the correct port and double-check if the cables are working fine.
![IMG]() Performance lag or stuttering
Performance lag or stuttering

After updating the NVIDIA graphics driver, you might experience performance dips in games and apps. This may be due to unoptimized driver settings, conflicts with outdated system components, or poor game-specific support in the new release.
✅ Solutions:
- Tweak the NVIDIA Control Panel. For example, set power management to Prefer maximum performance .
- Revert to a prior, stable driver version suited to your setup.
- Update related drivers (like chipset) and minimize background apps to free up resources.
- Try a clean boot to see if there are no third-party app conflicts.
![IMG]() Installation failures or error codes
Installation failures or error codes

Driver installation might fail or throw errors if old driver remnants are still on your computer, causing conflicts. It can also happen if the downloaded installation file is corrupt.
✅ Solutions:
- Open your computer in Safe Mode and delete existing drivers, then reinstall from scratch.
- Download the correct driver from NVIDIA’s official site and launch the installer with admin rights.
- Pause antivirus during the install and ensure Windows is up to date to avoid compatibility problems.
![IMG]() Washed-out colors and screen flickering
Washed-out colors and screen flickering

After an update, colors may appear washed out or incorrect, and the screen might flicker . This is often due to improper color settings, refresh rate mismatches, or driver conflicts with display hardware. ✅ Solutions:
- Open the NVIDIA Control Panel, navigate to Adjust desktop color settings , and reset to default.
- Check display settings in Windows to ensure the refresh rate matches your monitor’s capabilities.
![IMG]() Game crashes during play
Game crashes during play

Games crashing unexpectedly without error messages after updating NVIDIA drivers can happen due to driver instability, overheating , or compatibility issues between the new driver and specific game engines. ✅ Solutions:
- Lower in-game graphics settings to reduce GPU strain and monitor temperatures with tools like MSI Afterburner.
- Revert to an older driver version known to work with your games.
- Verify game files through the launcher (e.g., Steam) and update the game to patch any conflicts.
![IMG]() No display via HDMI
No display via HDMI

When you connect to a monitor via HDMI and there is no display, the issue might stem from the driver failing to recognize the connection post-update. To be fair, it could also be the faulty HDMI port detection and cable issues.
Solutions:
- Test with a different HDMI cable and port on the GPU to rule out hardware defects.
- Force a display detection in the NVIDIA Control Panel under Set up multiple displays .
- Reinstall the driver and then reboot with the HDMI connected to reset detection.
Don’t Skip Driver Backups When Updating NVIDIA Drivers
It’s always a smart move to back up your current drivers before updating. While updates aim to improve performance and fix bugs, they can sometimes cause compatibility issues or other problems. Having a backup ensures you can quickly revert to a stable driver version if needed.
The final takeaway from this article is to always back up your drivers before starting the update process to keep your system running smoothly.
What do you think—do you have any backup tips or experiences to share?