![[FIXED] How to Fix Update Error 0x80072EE2 in Windows?](https://www.auslogics.com/en/articles/wp-content/uploads/2024/02/FIXED-How-to-fix-Update-Error-0x80072EE2-in-Windows-568x359.jpg)
- What Causes the 0x80072EE2 Update Error?
- Method 1: Ensuring that you have a good Internet connection
- Method 2: Disabling the Firewall
- Method 3: Tagging the Update Server as a Trusted Website
- Method 4: Using the Windows Update Troubleshooters
- Method 5: Resetting the Components of the Update
- Method 6: Running the System File Checker
- Method 7: Update Network Driver
- Conclusion
Windows 10 updates are crucial for security, performance, and accessing new features. Yet, the journey to update can hit a snag, such as the Update Error 0x80072EE2, which blocks these enhancements due to connection issues with Windows Update servers. This brief guide is tailored to navigate you through resolving this error, ensuring your Windows 10 remains updated and optimized. Let’s explore effective solutions to bypass this obstacle and maintain your system’s integrity.
What Causes the 0x80072EE2 Update Error?
People usually encounter the 80072EE2 error when their operating system cannot connect to the update server. To put it another way, Windows 10 is unable to get a proper response from the update server within a specific period of time.
Most of the time, this error is caused by poor or intermittent Internet connection . In other cases, the firewall may be blocking the computer’s access to the server. As such, the communication between the two gets interrupted.
If you’re experiencing the same problem, fret not. In this article, we will teach you how to fix error code 0x80072ee2 on Windows. Keep on reading and discover how you can resolve this issue and maximize the benefits of your OS updates.
Method 1: Ensuring that you have a good Internet connection
The first thing you have to do is make sure that your Internet connection is functioning properly. Open your preferred browser and try to access any website. For example, you can type www.google.com in the address bar to check if you have a working Internet connection. If you discover that the error code 0x80072ee2 may be caused by your poor connection, we recommend that you call your Internet Service Provider and ask them to resolve the problem.
Also Read:Boost Internet on Your PC: Tips on How to Speed Up Your Internet Connection
Method 2: Disabling the Firewall
So, you’ve tried checking your Internet connection and you learned that it is perfectly fine. What should you do next? Well, as we’ve mentioned, the firewall may be preventing your computer from accessing the server. In this case, you would have to disable it to remove the error. Here are the steps:
- Click the Search icon.
- Type
control panel, then select Control Panel. - Click System and Security, then select Windows Defender Firewall.

- Under the menu in the left bar, click Turn Windows Defender Firewall On or Off.
- If prompted, submit the appropriate administrative password.
- Under the Private Network Settings section, click the option which says, “Turn off Windows Firewall (not recommended).”
- Under the Public Network Settings section, click the option which says, “Turn off Windows Firewall (not recommended).”
- Apply the changes you made by clicking OK.
- Go back to what you were doing before the error occurred, and check if the issue has been resolved.
Method 3: Tagging the Update Server as a Trusted Website
If disabling the firewall does not eliminate the problem, you can try to add the update server to your list of trusted websites. Here are the steps you should follow:
- Сlick the Search icon.
- Type
internet options, then click Internet Options. - Go to the Security tab.
- In the Security window, select Trusted Sites.
- Click the Sites button.
- Inside the box that says “Add this website to the zone,” type the following addresses, one by one:
http://update.microsoft.com

http://windowsupdate.microsoft.com
- Uncheck the box which says, “Require server verification (https:) for all sites in this zone.”
- Close the Trusted Sites window, then save the settings by clicking the OK button.
- Go back to what you were doing before the error occurred, and check if the problem has been fixed.
Method 4: Using the Windows Update Troubleshooters
One of the great things about Windows 10 is that it has different troubleshooting tools that enable the users to conveniently fix issues affecting the system. To take advantage of this feature, you have to determine and run the specific troubleshooter that will resolve the issue. Follow the steps below:
- Click the Search icon.
- Type
settings, then hitEnter. - Under the left bar menu, select Troubleshoot.
- Select Windows Update, then click Run the Troubleshooter.
- Fix the problem by following the on-screen instructions in the troubleshooter.
- Go back to what you were doing before the error occurred and check if the problem has been resolved.
Method 5: Resetting the Components of the Update
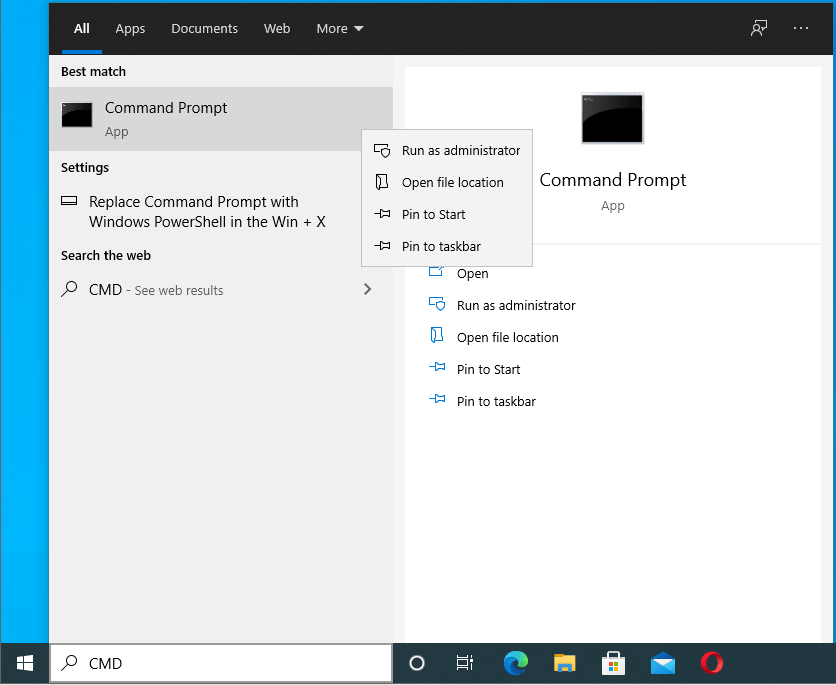
In some cases, the 0x80072ee2 error may be caused by corrupted Windows Update files. Thankfully, you can fix this by resetting the components through the Command Prompt. Here are the steps:
- Click the Search icon.
- Type
cmd.
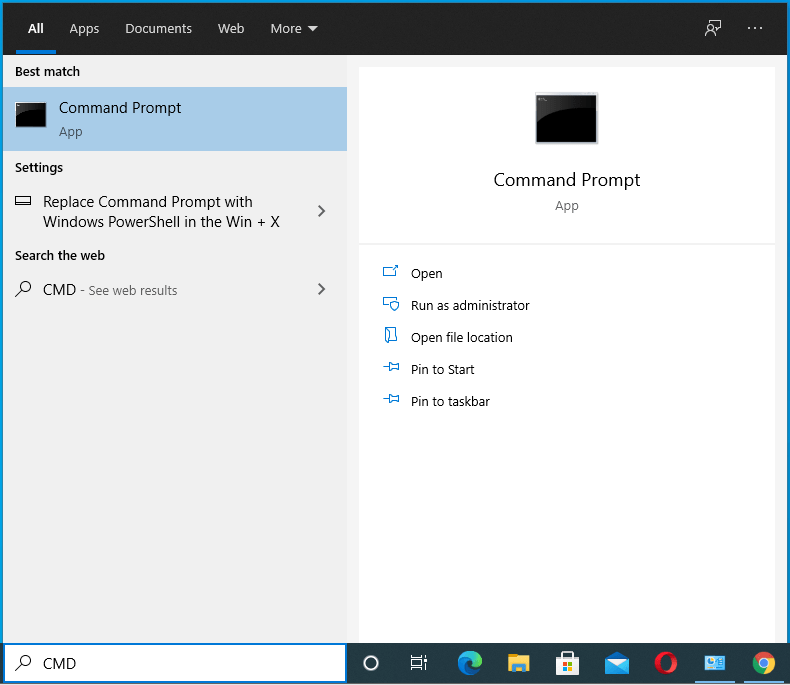
- Right-click Command Prompt and select Run as Administrator.
- You have to disable certain Windows Update components. To do this, type the commands below. Make sure that you hit
Enterafter every command:
net stop wuauserv

net stop cryptSvc

net stop bits

net stop msiserver
- The next step is renaming the SoftwareDistribution folder. Enter the following commands:
ren C:\Windows\SoftwareDistribution SoftwareDistribution.old

ren C:\Windows\System32\catroot2 Catroot2.old
- You now have to restart the components you previously disabled. Enter the following commands:
net start wuauserv

net start cryptSvc

net start bits

net start msiserver#
- Restart your computer and check if the error has been fixed.
Also Read:How to Find and Fix Corrupted Files in Windows 10?
Method 6: Running the System File Checker
You can manually reset the components of Windows Update to fix the error. However, if you discover that some of the system files are corrupted or missing, you can try a different approach like using the System File Checker tool.
- Click the Search icon.
- Type
cmd.
- Right-click Command Prompt and select Run as Administrator.
- In the Command Prompt, type
sfc /scannow.
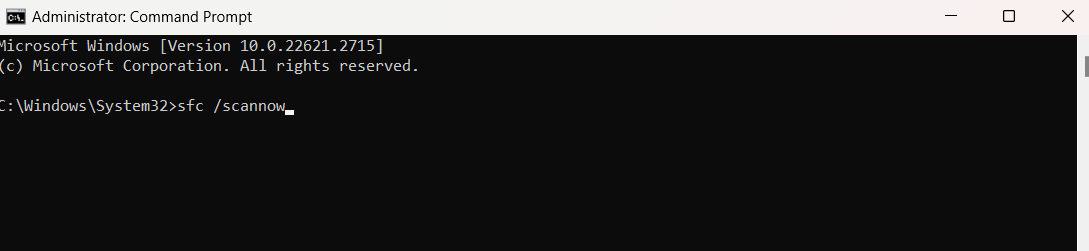
- Wait while the System File Checker is scanning your computer.
- After the process is complete, go back to what you were doing before the error occurred. Check if the problem has been fixed.
Method 7: Update Network Driver
Sometimes, outdated network drivers can cause connectivity issues leading to update errors. Updating your network drivers can help. You can do this using the Device Manager:
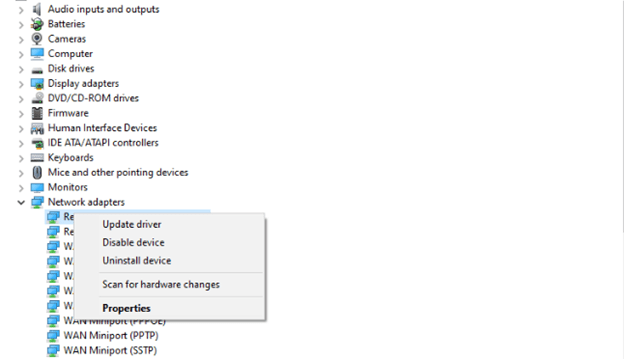
- Right-click on the Start menu and select Device Manager.
- Expand the Network adapters section, right-click on your network device, and choose Update driver.
- Select “Search automatically for updated driver software” and follow the prompts.
- Restart your PC after updating the driver to ensure changes take effect.
Alternatively, you can use automatic driver updating software like Auslogics Driver Updater , which can update your driver in a few clicks and alert you should any of your system drivers become outdated.
Also Read:[EASY GUIDE] How to Update Device Drivers on a Windows 10 PC?
Conclusion
We’ve navigated through a variety of strategies to overcome the common update error 0x80072EE2 in Windows.From simple checks like ensuring a stable internet connection to more advanced steps like resetting update components and updating network drivers, each solution targets the root causes of the error. Following these steps can help restore your system’s ability to update smoothly, ensuring access to the latest features and security enhancements. Remember to proceed with caution, especially with system changes, and always back up important data. By methodically working through these solutions, you can resolve the update error and keep your Windows operating system performing at its best.