
When a computer gets connected to a domain network (for a company, for example), Windows Firewall switches to a domain profile automatically – or at least, in theory, Windows Firewall is supposed to do that.
However, it sometimes happens that Windows Firewall ignores the changes in network configuration or refuses to recognize the new domain.
In this case, you will be looking at the ” active domain networks not connected ” error. In many of those scenarios where things did not go as expected, users were using a third-party virtual private network (VPN) to connect to the domain network – and this might explain one or two things.
📌 Also read: How to Choose VPN: Best Free VPN for Windows 10 PC
Why Doesn’t Windows Firewall Recognize My Domain Network?
Windows Firewall struggles to recognize a domain network (or detect the changes after a computer connects to a domain network) because of inconsistencies in the network path or setup. For example, VPNs have something to do with Windows Firewall’s inability or failure to recognize domain networks because their clients tend to add routes to the domain network and this causes some sort of delay.
VPNs are programmed to use a new IP address every time the user switches to a new server or initiates proceedings for a new connection. For the stated reasons, Microsoft advises VPN developers to use callback APIs to add routes (when the VPN adapter reaches Windows).
We will not bore you with the APIs that should have been used to avoid problems resulting from Windows’ inability to detect connections made to a domain network. We will now move on to describe workarounds that force or enable Windows Firewall to recognize the domain network.
We will walk you through procedures that improve the chances of your computer detecting the network connection changes correctly.
📌 Also read: How to Allow Chrome to Access the Network in a Firewall?
How to Fix Windows Firewall Not Recognizing a Domain Network in Windows 10
Depending on the VPN running on your computer, you might not be able to use one or all of the procedures below. The settings or setups in a workaround might not apply to you. You will do well to try the first solution on the list and (if necessary) attempt the other one.
1. Add or Alter the Configuration for the Negative Cache Period
If your VPN lacks the callback APIs that allow Windows Firewall to recognize domain networks normally, then you are likely to benefit from disabling the negative caching function. This way, with the new setting, your computer gets to assist the NLA service (more than before) the next time it tries to detect the domain.
These are the instructions you must follow to perform the task here:
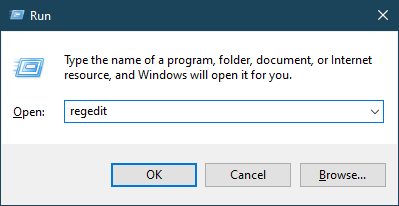
- First, you have to open the Registry Editor app:
- Use the
Windows + Rkey combination to fire up the Run app, typeregeditinto the text box on the window, and then hitEnterto run the Registry Editor.
![Run regedit on Windows PC]()
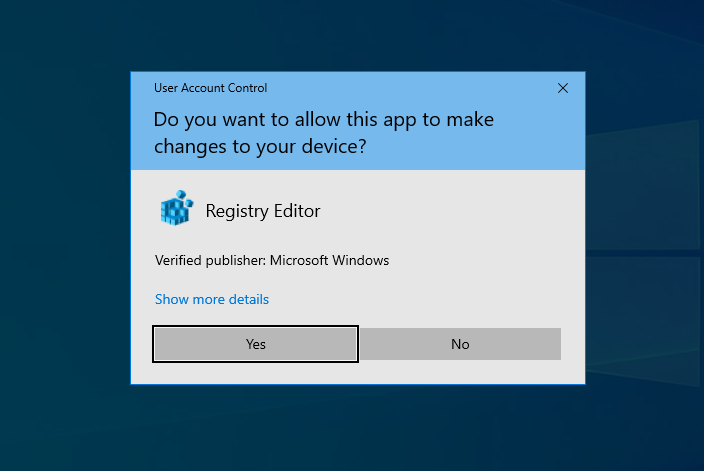
- Or, you can go to the Windows Start screen or menu, search for
Regeditin the text box that appears when you start to type, and then click on the appropriate entry from the results list. - When Windows brings up the User Account Control prompt, you must click on the Yes button to get on with things.
![Configuration for the Negative Cache Period. Registry editor]()
- Use the
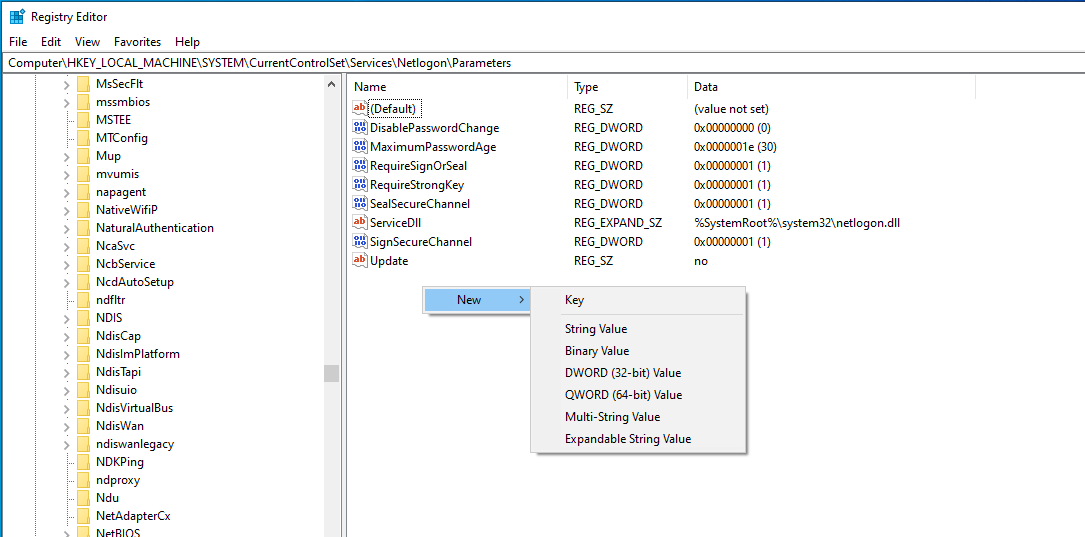
- Once the Registry Editor window comes up, you have to expand Computer and then navigate through the directories along this path:
HKEY_LOCAL_MACHINE\SYSTEM\CurrentControlSet\Services\NetLogon\Parameters - In your current location, on the pane to the right of the window, you must check for the NegativeCachePeriod entry. Double-click on it.
- If the NegativeCachePeriod entry is nowhere to be found, you must do some work to create it. After creating the NegativeCachePeriod entry, you must double-click on it.
![Configuration for the Negative Cache Period. NegativeCachePeriod]()
- Once the Edit DWORD (32-bit) Value window comes up, you must delete whatever you find in the box for Value data and put 0.
- With 0 now in the Value data box, click on the OK button to save the changes.
![Configuration for the Negative Cache Period. Edit DWORD (32-bit) Value]()
- Close the Registry Editor application.
- Restart your PC.
- Now, you must connect your PC to the network again. Wait for Windows to recognize the domain network (or do whatever you can to speed up the process).

2. Add or Alter the Configuration for Max Negative Cache TTL
Here, we want you to disable DNS caching by setting the value of an important entry to zero. If you still cannot get Windows Firewall to recognize the network domain that your computer is already connected to, then you are likely to benefit from the removal of the DNS cache setup. Go through these steps:
- First, you have to open the Registry Editor app:
- Use the
Windows + Rkey combination to fire up the Run app, typeregeditinto the text box on the window, and then hitEnterto run the code.
![Run regedit on Windows PC]()
- Or, you can go to the Windows Start screen or menu, search for
Regeditin the text box that appears the moment you start to type, and then click on the appropriate entry to launch the app. - When Windows brings up the User Account Control prompt, you must click on the Yes button to continue.
![Configuration for the Negative Cache Period. Registry editor]()
- Use the
- Once the Registry Editor window comes up, you have to expand Computer and then navigate through the directories on this path:
HKEY_LOCAL_MACHINE\SYSTEM\CurrentControlSet\Services\Dnscache\Parameters - In your current location, on the pane to the right of the window, you must check for the MaxNegativeCacheTtl entry. Double-click on it.
- If the MaxNegativeCacheTtl entry is nowhere to be found, you must do some work to create it. After creating the MaxNegativeCacheTtl entry, you must double-click on it.
![Configuration for the Negative Cache Period. NegativeCachePeriod]()
- Once the Edit DWORD (32-bit) Value window comes up, you must delete whatever you find in the box for Value data and put 0.
- Click on the OK button.
![Configuration for the Negative Cache Period. Edit DWORD (32-bit) Value]()
- Windows will now save the changes you made.
- Close the Registry Editor application.
- Restart your PC.
- Now, you must connect your computer to the network again.
- Wait for Windows to recognize the domain network.
📌 Simple guide: How to View and Clear DNS Cache on Windows 10/11?
We advise you to get Anti-Malware , especially if you do not have an antivirus or protective utility active on your system. In any case, with this program, you get top-level defense layers and advanced scan functions, which (as features) will go a long way in protecting your computer from threats
Conclusion
If Windows Firewall encounters difficulties recognizing a domain network in Windows 10, it’s essential to address the issue promptly. By following the troubleshooting steps and configuring your network settings correctly, you can ensure seamless and secure connectivity, enhancing the overall performance and security of your system.
Don’t let network recognition issues disrupt your experience—take the necessary steps to resolve them and enjoy a smooth computing experience on your Windows 10 device.
FAQ
Windows Firewall is a security feature included in Microsoft Windows operating systems. It is designed to monitor and control incoming and outgoing network traffic based on predetermined security rules. Its primary purpose is to protect your computer from unauthorized access, malware, and other potential security threats by allowing or blocking network connections according to your defined rules and settings.
A domain network typically refers to a network configuration in which computers are part of a Windows domain. In a Windows domain, a centralized server, often called a domain controller, manages user accounts, security policies, and network resources. Users log in with domain accounts, and administrators can enforce security policies and access controls centrally. Domain networks are commonly used in business environments to ensure security, manageability, and centralized control over network resources.
To check your network settings in Windows 10, you can follow these steps:
Via Settings:
- Open the Settings app by pressing
Windows + Ikeys or clicking on the Start menu and selecting Settings. - Go to the Network & Internet section.
- Here, you can view various network-related settings, including your network connection status, Wi-Fi settings, Ethernet settings, and more.
Via Control Panel:
- Open the Control Panel by typing
Control Panelin the Windows search bar and pressingEnter. - Click on Network and Sharing Center.
- In the Network and Sharing Center, you can see details about your active network connection, access network adapter settings, and perform other network-related tasks.
Using Command Prompt:
- Open Command Prompt by typing
cmdin the Windows search bar and pressingEnter. - To view your network configuration, you can use commands like:
ipconfig : Displays your IP configuration details. netstat : Shows active network connections. ping [hostname or IP] : Tests network connectivity to a specific host or IP address. Depending on your specific needs and the level of detail you require, you can choose one of these methods to check your network settings in Windows 10.