When you encounter disk errors on your computer, it’s important to address them promptly to keep your storage devices running smoothly. Here are simple step-by-step instructions to diagnose and repair disk errors using Windows commands.
Why Do Disk Errors Occur in Windows 10?
Disk errors can occur in Windows 10 due to various reasons. Here are some common causes:
- Physical damage to the hard drive or storage device.
- Power outages or improper shutdowns that lead to data corruption.
- Malware or viruses that affect the integrity of files and disk structures.
Quick Fix:How to Remove Virus and Other Malware from Windows
- Software or driver conflicts that result in read or write errors.
Quick Fix: [EASY GUIDE] How to Update Device Drivers on a Windows 10 PC?
- Insufficient disk space or fragmentation causing performance issues.
Quick Fix: A Beginner’s Guide to Disk Defragmentation
- Aging hardware or outdated firmware that impacts the disk’s functionality.
All these factors can contribute to you running into one of disk errors in Windows 10 — which is why you should never ignore regular maintenance, data backups, and ensuring the health of your storage devices.
Repairing Disk Errors in Windows 10: Strategies
Here’s what you can do to fix disk errors in Windows 10 using Windows Commands
Fix 1: Use Startup Repair
To take advantage of the Startup Repair feature, you need a Windows 10 installation disc. Once you have that, you can proceed to the steps below:
- Plug the bootable USB drive into your computer.
- Launch the system by pressing the power button.
- Remember to press the Boot Menu option key immediately as soon as your system starts. Usually, you can enter the Boot Menu by pressing F12 on your keyboard. However, the key varies. So, it is best that you consult your motherboard manual.
- Select the bootable USB drive by pressing the up/down keys on your keyboard.
- Once you’ve selected the bootable USB drive, hit Enter.
- When you get to the Windows setup screen, click Next, then select Repair your Computer.
Follow this path:
Troubleshoot ->Advanced Option ->Startup Repair
- After the repair process is complete, unplug your bootable USB drive.
- Restart your computer and let your system boot normally.
Fix 2: Access Security and Maintenance
You can learn about the condition of your operating system by checking the Security and Maintenance section of the Control Panel. Once you get to its page, you will see all the existing hardware and software problems on your PC. If you can boot your computer normally, you can perform the steps below:
- On your keyboard, press Windows Key.
- Now, type Control Panel, then hit Enter.
- Select Security and Maintenance.
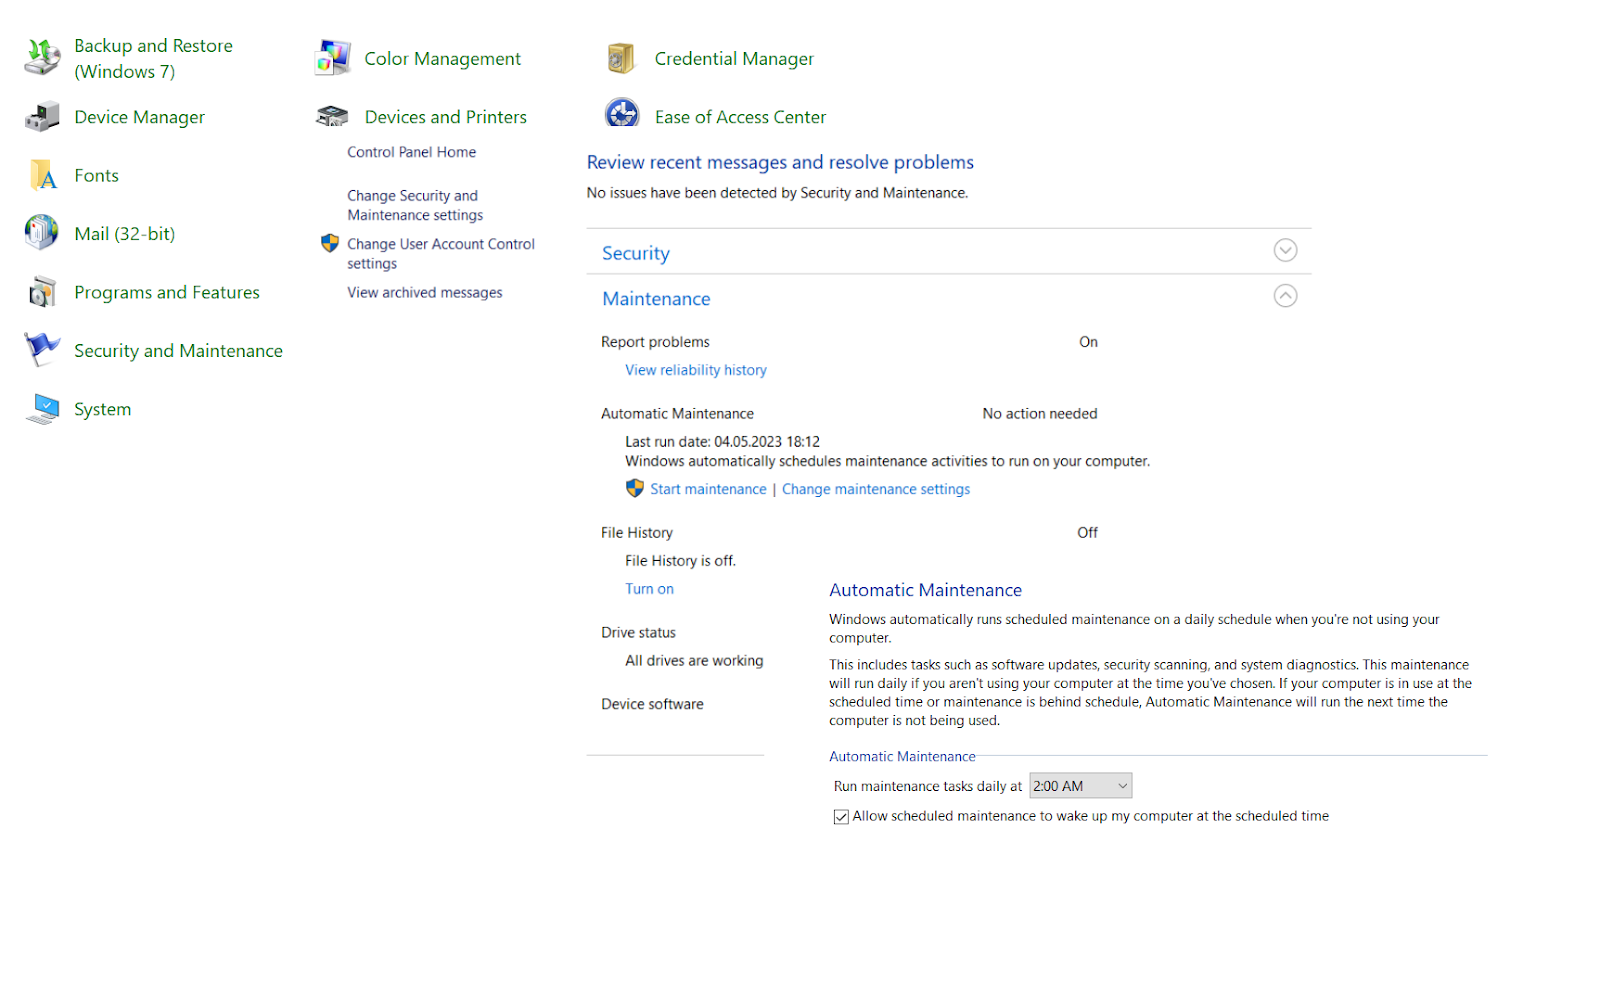
- Inside the Security and Maintenance page, click Maintenance to expand its contents.
- Scroll down until you find Drive Status. You will be able to see existing hard drive issues here. Otherwise, the section will display a message saying, All drives are working properly.
Also Read: How can I open the Control Panel on Windows 10?
Fix 3: Use a Windows PowerShell Command
To fix a disk error using a manual command on Windows 10, follow these steps:
- Right-click the Windows icon on the taskbar.
- Select Windows PowerShell (Admin) from the options.
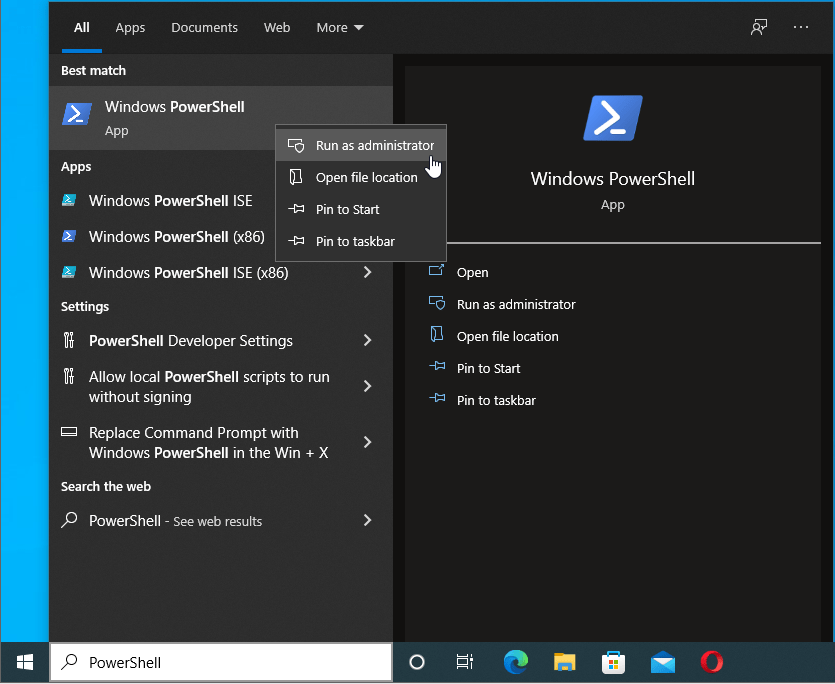
- In the PowerShell window, type Repair-Volume C -Scan. Replace “C“ with the appropriate drive letter.
- Press Enter to scan the hard drive for issues. If errors are found, proceed to the next step.
- Type Repair-Volume C -OfflineScanAndFix and press Enter.
- Restart your computer.
- Repeat Steps 1 and 2, then type Repair-Volume C -Scan and press Enter to check if the errors have been resolved.
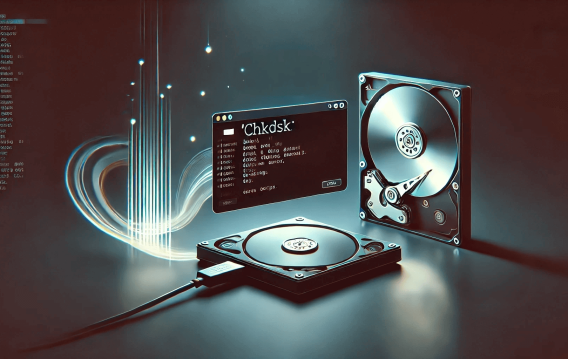
Fix 4: Check And Fix Disk Errors With CHKDSK Command
If you are still running into drive errors, try checking and fixing them with a CHKDSK Command. Option a) Perform a Basic Disk Error Check:
- Open the Command Prompt by pressing the Windows key + X and selecting Command Prompt (Admin) from the menu.

- In the Command Prompt window, type
chkdsk C:and press Enter. Replace “C“ with the appropriate drive letter. - The CHKDSK command will scan the drive for errors and display the results.
Option b) Perform a Thorough Disk Error Check:
- Open the Command Prompt as an administrator.
- Type
chkdsk C: /f /r /xand press Enter. Again, replace “C“ with the correct drive letter. - The “/f” parameter fixes any errors found.
- The “/r” parameter locates bad sectors and recovers readable information.
- The “/x” parameter forces the drive to dismount before starting the scan.
- You will be prompted to schedule a disk check for the next system restart. Type “Y“ and press Enter.
- Restart your computer, and the disk check will begin during the startup process.
Fix 5: Repair Disk Errors Using SFC Command
To repair hard disk errors using the SFC (System File Checker) command, follow these steps:
- Open the Command Prompt by pressing the Windows key + X and selecting Command Prompt (Admin) from the menu.
- In the Command Prompt window, type
sfc /scannowand press Enter.
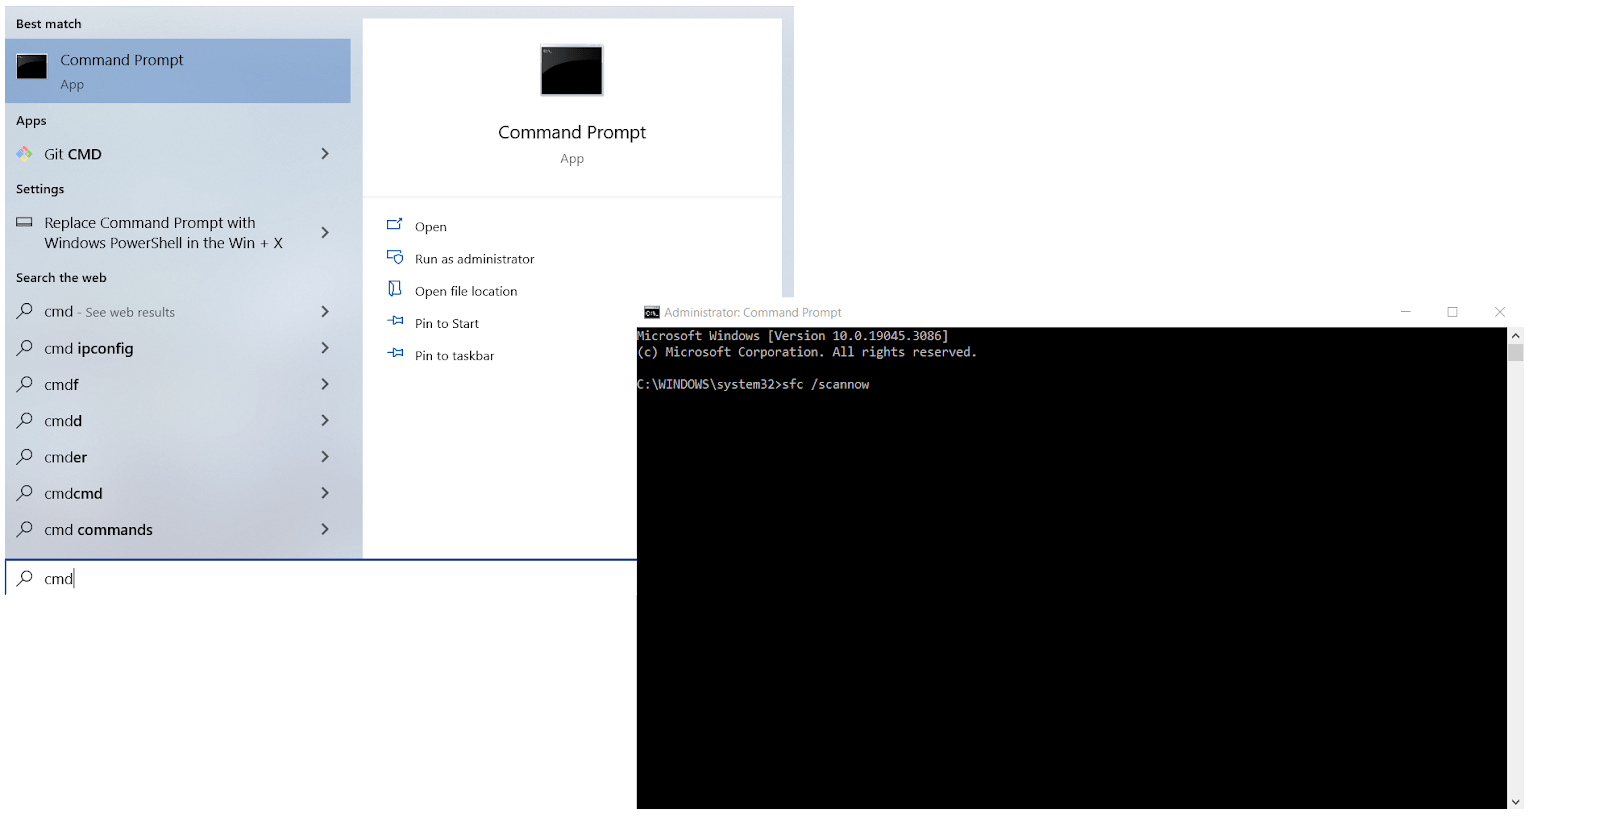
- The SFC command will start scanning the system files for errors and automatically repair any detected issues.
- Wait for the scanning and repair process to complete. This may take some time depending on the size and condition of the disk.
- Once the process is finished, you will see a message indicating if any errors were found and repaired.
- Restart your computer to apply the repairs made by the SFC command.
Fix 6: Using DISM Command to Fix Disk Errors
You can often fix disk errors using the DISM (Deployment Image Servicing and Management) command, follow these steps:
- Open the Command Prompt as an administrator by pressing the Windows key + X and selecting “Command Prompt” (Admin) from the menu.
- In the Command Prompt window, type
DISM /Online /Cleanup-Image /ScanHealthand press Enter.
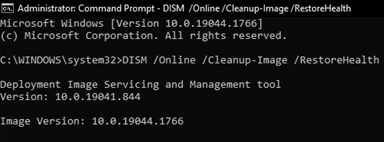
- The DISM command will scan the system image for any corruption or errors and provide a report on its health status.
- Wait for the scanning process to complete. This may take some time depending on the system’s condition.
- If any issues are detected, type
DISM /Online /Cleanup-Image /RestoreHealthand press Enter. This command will attempt to repair the system image using Windows Update or installation media. - Allow the repair process to complete. It may take a while, so be patient.
- Once the repair is finished, restart your computer to apply the changes made by the DISM command.
To Sum Up
In conclusion, using Windows commands to fix disk errors in Windows 10 is an effective way to ensure system stability.
By following the recommended steps and utilizing commands like CHKDSK, SFC, or DISM, you can resolve disk errors and enhance your computer’s performance.
Regular maintenance and proactive error checking are key to maintaining a healthy system.
FAQ
A disk error refers to a problem within a computer’s storage device. It can lead to data loss, system instability, and performance issues.
Resolving disk errors involves identifying the cause and applying fixes to restore functionality and data integrity. Regular maintenance is crucial for preventing and addressing disk errors promptly.
It involves scanning the disk, identifying errors, and applying necessary fixes for optimal performance..
Disk errors in Windows 10 can be caused by various factors, including physical damage, power issues, software conflicts, malware, insufficient disk space, and aging hardware.
Regular maintenance and proper care of storage devices are essential to minimize the occurrence of disk errors.