![[FIXED] “Something Went Wrong. Try Restarting GeForce Experience” Error](https://www.auslogics.com/en/articles/wp-content/uploads/2023/11/FIXED-Something-Went-Wrong.-Try-Restarting-GeForce-Experience-Error--scaled-e1742819938362-568x359.jpg)
- What Is NVIDIA GeForce Experience?
- Why Are You Running Into the “Something Went Wrong. Try Restarting GeForce Experience” Error
- How to Fix the “Something Went Wrong Try Restarting GeForce” Error
- Solution 1: Kill NVIDIA Processes
- Solution 2: Activate NVIDIA-Related Services
- Solution 3: Run GeForce Experience in Compatibility Mode
- Solution 4: Update Your Graphics Card Driver
- Solution 5: Restart Various NVIDIA-Related Services
- Solution 6: Remove And Reinstall NVIDIA
- Solution 7: Update DirectX
- Solution 8: Installing Available Updates for Windows 10
- Conclusion
- FAQ
Are you facing the ‘Something went wrong. Try restarting GeForce Experience’ error and feeling stuck? Fret not! In this article, we dive into the heart of this common issue faced by gamers and PC enthusiasts alike.
With a mix of simple tweaks and technical fixes, we’ll guide you through the steps to smoothly resolve this error, getting you back to an optimal gaming experience in no time.
What Is NVIDIA GeForce Experience?
Usually, graphics hardware manufacturers offer control panels that allow users to configure their graphics settings. Most gamers are familiar with NVIDIA’s GeForce Experience software.
It has a user-friendly interface that lets players configure the optimal settings for their PC’s graphics hardware. What’s more, the tool automatically checks for available driver updates.
However, GeForce Experience can stop functioning properly due to various issues. And then you might run into the “Something went wrong, restart Geforce experience” error.
Why Are You Running Into the “Something Went Wrong. Try Restarting GeForce Experience” Error
If you’re attempting to launch GeForce Experience on your Windows computer and it’s not working, you may be seeing an error message that looks something like this:
- Something went wrong. Try restarting GeForce Experience.
- Something went wrong. Try rebooting your PC and then launch GeForce Experience. ERROR CODE: 0x0001
- Something went wrong. Try rebooting your PC and then launch GeForce Experience. ERROR CODE: 0x0003
📌 Also read: The Ultimate Fix for Nvidia GeForce Experience Error 0x0003
There are several reasons why you may be looking at this error message.
- Outdated GeForce Experience Software: If your GeForce Experience application is not up-to-date, it might lead to compatibility issues and errors.
- Corrupted Installation: The installation files of GeForce Experience might be corrupted or incomplete, causing the software to malfunction.
📌 Also read: How to Find and Fix Corrupted Files in Windows 10?
- NVIDIA Services Not Running: Essential NVIDIA services might not be running properly in the background, which is necessary for GeForce Experience to function correctly.
- Conflicting Software: Other software on your system, especially those related to graphics or gaming, might conflict with GeForce Experience.
- Outdated Graphics Drivers: If your graphics drivers are outdated, it can lead to issues with GeForce Experience and other graphics-intensive applications.
- System Compatibility Issues: Your operating system or system configuration might have compatibility issues with the current version of GeForce Experience.
Identifying the exact cause can be a process of trial and error, involving checking these various aspects of your system and software.
Now, let’s see if we can find the right “something went wrong, try restarting Geforce experience” fix.
How to Fix the “Something Went Wrong Try Restarting GeForce” Error
Solution 1: Kill NVIDIA Processes
First, try restarting GeForce Experience. The solution involves killing certain processes to refresh them once you try opening GeForce Experience again.
- Launch the Task Manager by pressing
Ctrl+Shift+Escon your keyboard. - Once the Task Manager is up, check if any of the following processes are running:
NVIDIA Backend (32 bit)
NVIDIA Driver Helper Service
NVIDIA Network service (32 bit)
NVIDIA Settings
NVIDIA User Experience Driver Component
- Right-click each related process you find, then select End Task from the context menu.
- After killing the aforementioned NVIDIA processes, try relaunching the GeForce Experience application.
Solution 2: Activate NVIDIA-Related Services
If the NVIDIA GeForce Services are not configured correctly, this might cause the ‘Something went wrong’ error in NVIDIA GeForce Experience. It’s crucial to verify that services like NVIDIA Telemetry Container, NVIDIA GeForce Experience Backend Service, and NVIDIA NetworkService Container are properly set up and functioning.
- Launch the Run dialog box by pressing
Windows Key+Ron your keyboard. - Inside the Run dialog box, type
services.msc, then click OK. Doing so will launch the Services window.
- Look for NVIDIA GeForce Experience Service from the list.
- Right-click the service, then select Start from the context menu. If you don’t see an option for starting the service, you can choose Restart.
- After starting or restarting the service, click Apply and then OK to save the changes.
- Now, look for the Nvidia GeForce Experience Backend service and the Nvidia Display Container service.
- Right-click each service, then select Start or Restart from the options.
- The next thing you need to do is right-click the Nvidia Telemetry Container service.
- Choose Properties from the options.
- If you notice that the service is already active, make sure you click Stop.
- Click the drop-down list beside Startup Type, then choose Automatic from the options.
- Click Start, then click Apply and OK to save the changes.
- Now, go to the Log On tab, then select Local System Account.
- Finally, click Apply and OK.
After performing these steps, try launching NVIDIA’s GeForce Experience and see if the error message is gone.
Solution 3: Run GeForce Experience in Compatibility Mode
Compatibility mode is a feature in Windows that enables programs and applications designed for older versions to operate effectively on Windows 10.
- Go to your desktop, then right-click the GeForce Experience icon.
- Select Properties from the options.
- Go to the Compatibility tab.
- Make sure that the ‘Run this program in compatibility mode for’ option is selected.
- Now, select Windows 7 or Windows 8 from the drop-down list.
- At the bottom of the window, select the ‘Run this program as an administrator’ option.
- Save the changes by clicking Apply and OK.
- Return to your desktop, then double-click the GeForce Experience icon to launch it. Check if you can run the program without any issues.
Solution 4: Update Your Graphics Card Driver
One potential cause of the GeForce Experience error is outdated or corrupt graphics card drivers. To address this, updating your drivers is recommended. There are multiple methods to do this, including using the Device Manager. However, it’s important to note that Device Manager doesn’t always fetch the latest driver versions, so you might need to download the updated driver directly from the manufacturer’s website for the most recent update.
On the other hand, if you try to download the drivers manually, you need to be extremely cautious. You must get and install the driver version that is compatible with your operating system and processor. If you add the wrong driver, you may end up dealing with system instability issues.
📌 Find step-by-step instructions for updating your graphics (and other) drivers in this article: [EASY GUIDE] How to Update Device Drivers on a Windows 10 PC?
If you want to save yourself some time and effort, we recommend that you use a reliable tool like Auslogics Driver Updater.
The moment you finish installing Auslogics Driver Updater, the utility will recognize what operating system and processor you have. With a click of a button, the tool will search for the latest compatible drivers for your device. You also get to choose which updates to install. Plus, should anything go wrong during the driver update process, you always have the option to roll back your previous driver versions.
📌 Related: How Do I Check My Graphics Card on Windows 10?
Solution 5: Restart Various NVIDIA-Related Services
Restarting services related to NVIDIA can often help resolve the GeForce Experience error. Here’s how to proceed:
- Launch the Run dialog box by pressing
Windows Key+Ron your keyboard. - Once the Run dialog box is up, type
services.msc, then pressEnter. - Look for the following services:
NVIDIA Display Container LS
NVIDIA LocalSystem Container
NVIDIA NetworkService Container
NVIDIA Telemetry Container
- Right-click the NVIDIA Display Container LS service, then choose Properties from the context menu.
- Under the Service Status area, click Stop.
- Now, click the drop-down list beside Startup Type, then select Automatic.
- After stopping the service, wait for a couple of minutes, then click Start.
- Click Apply and OK to save the changes you’ve made.
- Repeat these steps for the other services mentioned above.
Solution 6: Remove And Reinstall NVIDIA
For this solution, you need to boot into Safe Mode. To do that, follow the instructions below:
- Press the
Windows Keyon your keyboard. - Type
msconfig, then hitEnter. The System Configuration window should come up. - Go to the Boot tab, then select the Safe Boot option.
- Don’t forget to select Minimal under it.
- Click OK.
- On the new window, click Restart.
After booting into Safe Mode, you can begin the process of uninstalling NVIDIA completely.
Here are the steps:
- Go to your taskbar, then right-click the Windows icon.
- Select Device Manager from the list.
- Expand the contents of Display Adapters.
- Right-click your NVIDIA graphics card, then choose Uninstall Device from the context menu.
- If prompted to confirm the action and to remove driver software, click Yes.
- Go back to the taskbar, then click the Search icon.
- Type
Control Panel, then select Control Panel from the results. - Click Uninstall a Program.
Now, remove everything related to NVIDIA.
- Open File Explorer by pressing
Windows Key+Eon your keyboard. - Navigate to this path: C:\Windows\System32\DriverStore\FileRepository\
- Locate and delete the following files:
nvdsp.inf
nv_lh
nvoclock
- You also need to remove these files from the following folders:
C:\Program Files\NVIDIA Corporation\
C:\Program Files (x86)\NVIDIA Corporation\
- Restart your computer, then download the installer for NVIDIA.
- When running the NVIDIA installer, select Custom instead of Express under Installation Options.
- Make sure you select the ‘Perform clean installation’ option before starting the process.
- After reinstalling NVIDIA, try launching GeForce Experience again to see if the issue has been resolved.
📌 Also read: So Easy to Do: How to Uninstall Programs and Apps on Windows 10/11?
Solution 7: Update DirectX
DirectX plays a crucial role in handling multimedia-related tasks, especially video and game programming. So, if there are issues with GeForce Experience, they probably have something to do with a corrupt or outdated DirectX. You can resolve them by updating the feature, using DirectX Runtime Web Installer.
You’d need to visit Microsoft’s official website and download the installer from there.
📌 Also read: [FIXED] ‘Your Graphics Card Does Not Support DirectX 11 Features’
Solution 8: Installing Available Updates for Windows 10
Updates get downloaded discreetly in the background. However, you still have the option to trigger the download manually. To check for available updates, follow the instructions below:
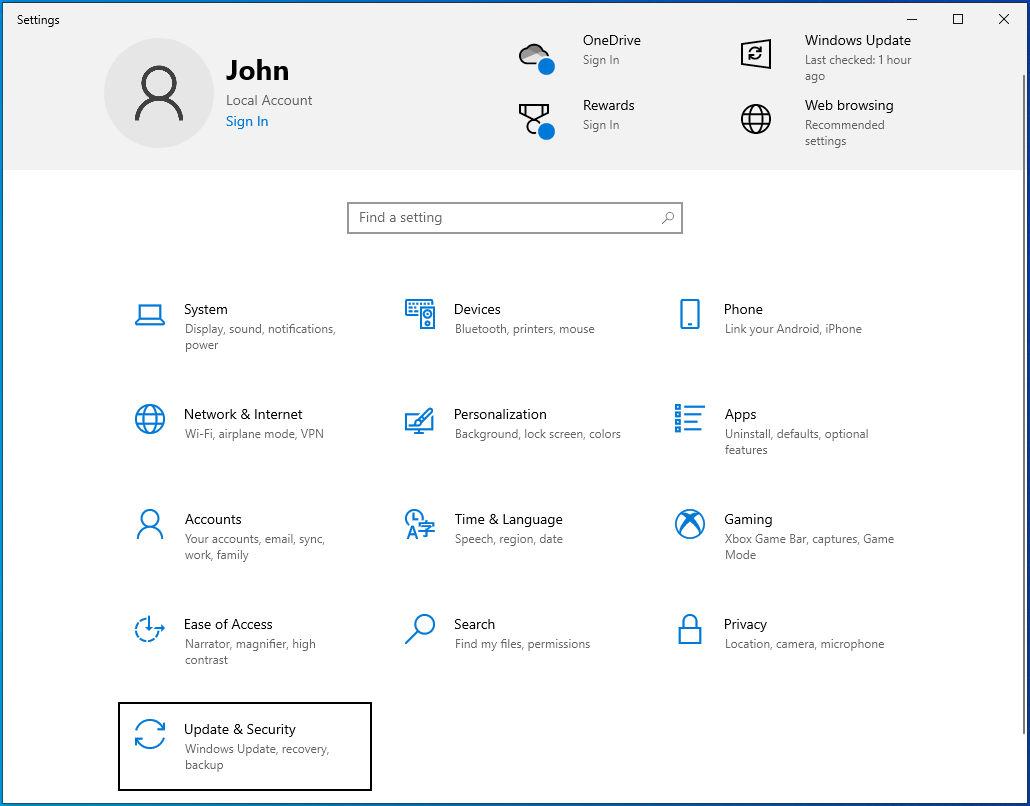
- Open the Settings app by pressing
Windows Key+Ion your keyboard. - Select Update & Security from the options.
- Go to the left-pane menu, then click Windows Update.
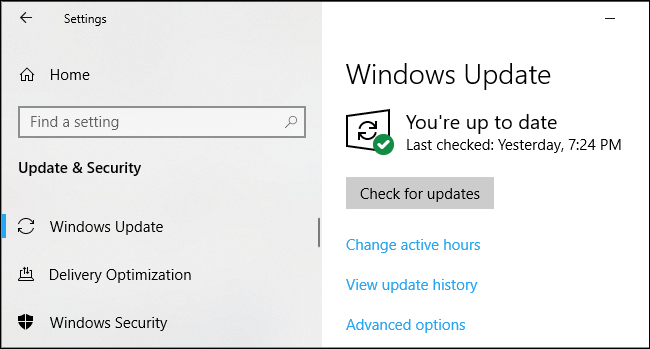
- Move to the right pane, then click Check for Updates.
- If Windows Update finds updates, allow them to download.
- Restart your computer to install the updates.
This process ensures that you have the latest updates for your Windows system, which can include important security patches, performance improvements, and new features. Regularly checking for and installing updates is a key part of maintaining the health and security of your computer.
📌 Also read: Ultimate Guide: How to Manually Check and Install Windows Updates
Conclusion
Resolving the “Something Went Wrong. Try Restarting GeForce Experience” error usually involves a series of straightforward steps, such as updating drivers, modifying service settings, or even reinstalling the software.
By following the solutions outlined, you can effectively address this common issue, ensuring that your GeForce Experience runs smoothly again.
Remember, regular system maintenance and keeping drivers up to date are key practices that can prevent such errors in the future, allowing you to enjoy an uninterrupted gaming and graphical experience on your PC.