
For example, to download and install the original Windows 11 you’ll need at least 4GB RAM, enabled TPM and Secure Boot, 64GB storage space, and more. Even though you can bypass the system requirements, we wouldn’t recommend it because it can result in issues like blue screen errors, random crashes, etc. However, the Tiny 11 requirements are significantly small, making running on most operating systems possible. This guide will show you how to install Tiny11 , the differences between traditional Windows 11 and Tiny11 and everything in between. Let’s begin.
What Is Tiny11?
Windows 11 Tiny is the 11 Pro 22H2 edition of Windows 11 , a scaled-down version intended for older systems that can’t run the full version of Windows 11.
The lightweight version requires far fewer resources than Windows 11, with just 8GB of storage, and can be compressed to save even more.
You only need a minimum of 2GB of RAM for the lightweight Windows to run on your operating system.
What makes Tiny11 interesting is that everything works perfectly without the bloatware.
You can use Windows Update to keep your system up to date and activate Tiny Windows 11 just like any other version.
You can also use Tiny 11 to run programs like Paint and Notepad without worrying about dependencies.
Essential security features are still available
Furthermore, essential security features like core isolation, data encryption, and Microsoft Defender Antivirus are still available in Tiny Windows 11.
However, Microsoft Edge isn’t supported. So, you’ll have to download Chrome or Firefox onto a USB flash drive on a different computer.
The installation process is still the same. However, the TPM and secure boot are disabled to help users with unsupported hardware install Windows 11 Tiny for low-end PCs.
Also, the Out of Box Experience (OOBE) is the same as regular installation.
This new update fixes the Windows update issue and focuses on Windows 11’s 2023 features, including Windows Copilot , RGB controls in Settings, native RAR support, etc.
You can now effortlessly update to the most recent lightweight version with cumulative updates to ensure improved security and stability.
Tiny11 2311 is 20% smaller than the previous 23H2 version and comes with improved functionality in addition to its decreased size.
Benefits of Using Tiny Windows 11
Here are the advantages of using the lightweight version of Windows 11:
1. Tiny Windows 11 improves performance on low-end PCs
Compared to the full version of Windows 11 , lightweight Windows 11 ensures a smoother and more responsive experience because it’s optimized for older or low-end PCs. It reduces the system resources, making less powerful hardware operate faster.
2. Lower system requirements
Windows 11 Tiny is designed to accommodate users with limited hardware resources because it has much fewer RAM and storage needs. So, it’s the best option for older computers or devices with limited storage capacity because it enables them to run the operating system efficiently.
3. Tiny 11 offers a streamlined installation
Tiny Windows 11’s installation process is streamlined to make it faster and easier. Users with low technical expertise or who want a hassle-free setup would benefit.
4. Bloatware removal
The lightweight version of Windows 11 declutters the system by removing unnecessary default programs and functions.
Besides increasing efficiency, this gives you a more organized and focused computer experience.
5. Flexibility with security features
Windows 11 Tiny allows you to personalize your security settings while keeping essential security features like core isolation, Microsoft Defender Antivirus, and data encryption.
This enables you to balance system performance and security according to your needs.
How to Install Tiny11: Installation Process
If you want to know how to install Tiny11, follow the steps below. But before that, we’ll discuss how to download Tiny11 and the requirements needed:
Tiny11 requirements and compatibility
You only need as little as 8GB of storage and 2GB of RAM to install Windows 11 Tiny. Just 6.34GB is used by the operating system.
Standard applications like Paint, Notepad, and Calculator occupy the remaining space. Also, you don’t need TPM to install this scaled-down Windows 11.
You can download and install the necessary programs using the Microsoft Store app, which is still available.
Although it offers the opportunity to create an online account, this Windows 11 lightweight edition comes preconfigured with a local account.
How to download Tiny11
Follow the steps below to download this scaled-down Windows 11 ISO file:
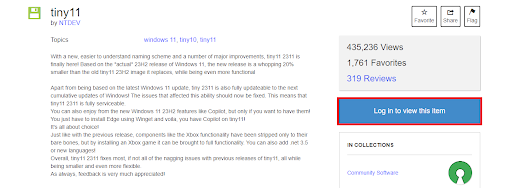
- Go to Internet Archive to download the ISO image. This is the official link from NTDEV. Be careful since many unofficial versions are available online, and not all of them may be safe.
- Enter your email address and password to log in. You can create a free account if you don’t yet have one. Click the “ Log in to see this item” option to begin.
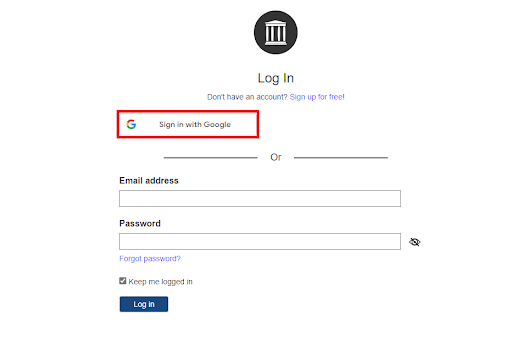
- You can use the “Sign in with Google” option for quicker access.
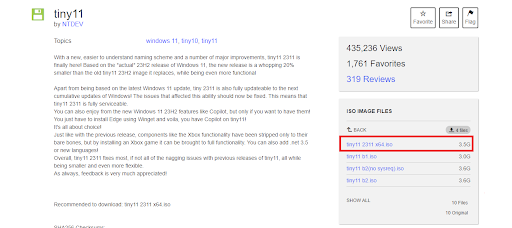
- After logging in, click the downward arrow beside “ISO IMAGE FILES.” Then, click “Tiny11 2311 x64.iso” to start the download.
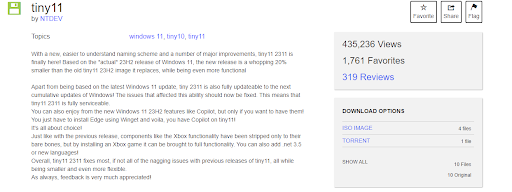
- Because of how Internet Archive handles bandwidth, the download could take many hours, even with fast Internet.
- You can use the torrent file for a faster download if there are enough seeds and peers.
- That’s how to download Tiny11. The next section will show you how to install this Windows 11 lightweight version.
Step-by-step guide for installation
Here are the steps to install the Windows 11 lightweight version:
1. Create a bootable drive
Create a bootable CD or flash drive using the ISO file once you’ve downloaded it. Rufus is a free tool that you can use for this.
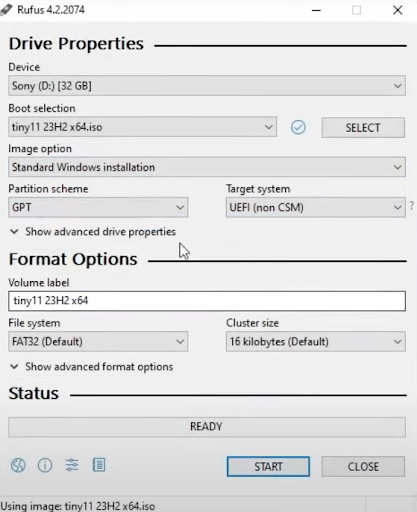
If you use a virtual machine (VM), mount the ISO file you downloaded to the VM.
Tiny Windows 11 can’t get around the CPU core requirement for Windows 11 installation. So, make sure the VM has at least two CPU cores.
Also Read: How to Check What CPU Do I Have on My Windows PC?
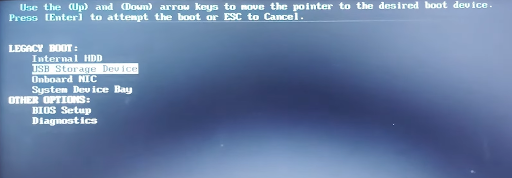
2. Change your PC boot order
You need to change your computer’s boot order to install the lightweight version of Windows 11 from the bootable CD or USB. To do this, ensure the CD or USB is inserted into your computer before it starts. Turn off your computer, insert the USB drive, and access the BIOS settings. Depending on the brand of your computer, there will be different ways to access the BIOS settings. So, consult the manufacturer’s website to find which key to press. Search for the Boot options menu once you’re in the BIOS settings. Change the boot order to prioritize your attached CD or USB drive. Use the arrow keys to navigate between the options to choose, then hit “Enter.”
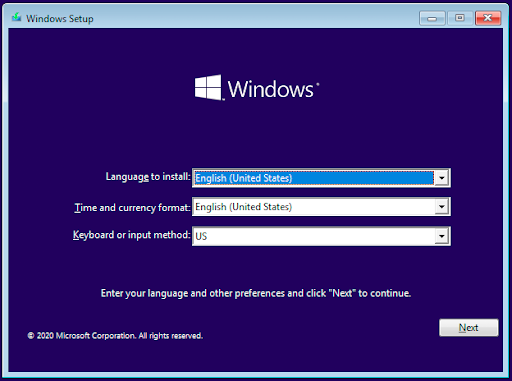
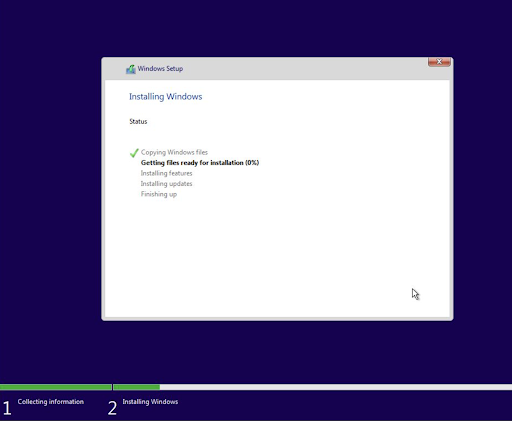
3. Install the operating system
Follow the prompts to complete the installation once you reach the “Windows Setup” screen. Select your keyboard layout, language, and time zone.
Click “Next” after selecting “ I accept the Microsoft Software License Terms. If an organization is licensing it, I am authorized to bind the organization” to agree to Microsoft’s conditions.
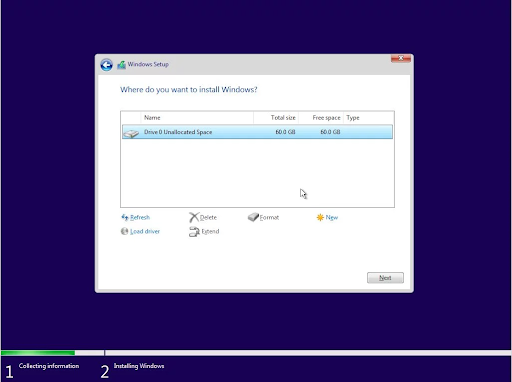
Click “Next” after selecting the OS drive.
Enter a name and password to create a local account. You can log in later using your Microsoft account if you’d like.
Complete the on-screen security prompts. The installation will start after you’ve completed all of the on-screen instructions.
How to Uninstall Lightweight Windows 11
Uninstalling the lightweight version of Windows 11 is similar to removing any operating system.
- The first step is to back up your data to prevent losing crucial data.
- Put the preferred Windows version onto a USB drive or DVD.
- After you restart your computer, use a key, such as F2 or Del, to enter the BIOS settings and adjust the boot order. This will cause the Windows installation USB drive to boot first.
- Save changes, exit the BIOS, and let your PC boost from the USB drive. Follow the on-screen prompts to begin the Windows installation process.
- Once you reach the partitioning stage, search and remove the lightweight Windows 11 partition. Then, proceed to complete the Windows uninstallation.
You can restore your backed-up files after a successful uninstallation.
Tiny 11 vs. Windows 11: What’s the Difference?
There are several differences between traditional Windows 11 and its lightweight version.
Features
For example, the lightweight version of Windows 11 removes certain features and apps, like Weather, News, PowerAutomate, Alarms, Office Hub, etc.
Requirements
Furthermore, as stated earlier, Tiny11 requires less RAM and storage than the standard Windows 11.
Here’s a table comparison:
| Aspect | Tiny11 | Windows 11 |
| RAM requirement | 2GB | Minimum of 4GB |
| TPM requirement | Not required | Required for most versions |
| Storage requirement | 8GB (can be compressed) | 64GB or more |
| Official support | Unofficial, NTDEV Developer | Official, Microsoft |
| System update | Via NTDEV, not automatic | Official and automatic |
An individual released Tiny Windows 11 , and even though some users claim it’s safe , it’s not supported by Microsoft. In other words, Tiny11 may be vulnerable to security breaches.
Update
Tiny 11 vs Windows 11 both offer updates, but Windows 11 is obviously faster and better. The only way to get an update from the lightweight version is from NTDEV, the developer.
That means you must reinstall the new version to get the new update.
Conclusion
For older PCs, Tiny Windows 11 provides better performance. Even though it’s not an official release from Microsoft, it uses very little RAM and storage.
Tiny11 2311, the most recent release, adds more functionality and improves security.
Some advantages include improved performance, fewer system requirements, easier installation, and bloatware elimination.
Now, it’s your turn! Have you tried Tiny11, and what has been your experience with this lightweight Windows version? Let us know in the comment section below!