
IT staff in organizations uses the Windows Server Manager to keep tabs on all servers hosted on a network. The Server Manager basically gives administrators the ability to manage local and remote servers without the need for physical access to the servers.
However, despite the advanced technology used in the Windows Server Manager, things can go wrong. One such error is when you try to launch the Server Manager but it fails to run and instead displays the error notification below:
“ServerManager.exe – This application could not be started.
This application could not be started.
Do you want to view the information about this issue?”
What Is the Windows Server Manager?
The Windows Server Manager is a tool developed by Microsoft to view and manage network roles, such as Web Server, Domain Controller, File Server, and Print Server. IT professionals use the Server Manager to manage both local and Windows-based servers from their desktops without requiring physical access or the need to enable Remote Desktop Protocol (RDP) connections to each server.
The feature was first introduced in Windows Server 2008 to allow administrators to install, configure and manage server roles and features. Microsoft updated the Server Manager in Windows Server 2012, introducing new features, like the ability to change roles over the network and manage multiple servers simultaneously.
Windows Server 2012 can manage up to 100 servers, depending on the workloads run by the servers. The Windows Server Manager comes installed by default on all versions of Windows Server 2012 and Windows Server 2012 R2.
Now that you know what the Windows Server Manager is, you might be wondering what ServerManager.exe is in Windows 10.
ServerManager.exe is an executable file and part of the Windows operating system. It’s required by the system to run the Server Manager and gets installed when you install the Server Manager on your personal computer.
What Causes the ServerManager.exe Error in Windows 10?
You’re seeing the “ServerManager.exe – This application could not be started” error message due to one of the following reasons:
- The ServerManager.exe file has been corrupted or altered by malware.
- The ServerManager.exe file’s registry entry has been damaged or corrupted.
- Third-party software uninstalled the ServerManager.exe file.
- A third-party program unintentionally deleted the ServerManager.exe file.
- A hardware failure, such as a hard disk drive crash or malfunction, occurred.
How to Fix the “ServerManager.exe – This Application Could Not Be Started” Error
Solution 1: Run a DISM Scan
The first fix involves repairing .NET Framework versions 3 and 4 by performing a DISM scan. Here are the steps:
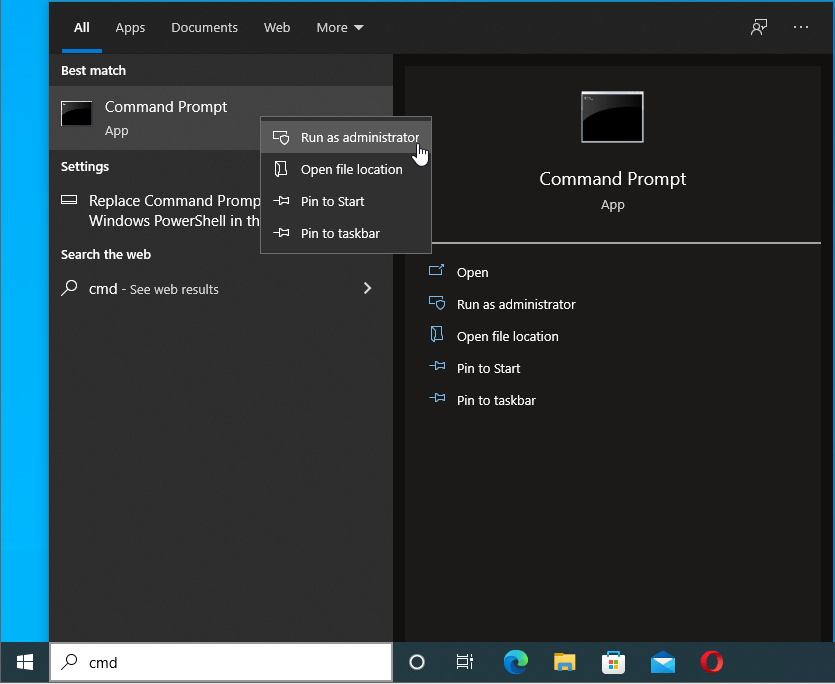
- Launch the Command Prompt with administrator rights. To do that, press the
Windows logoon your keyboard and typecmd. From the results, select Run as administrator in the right sidebar.
![]()
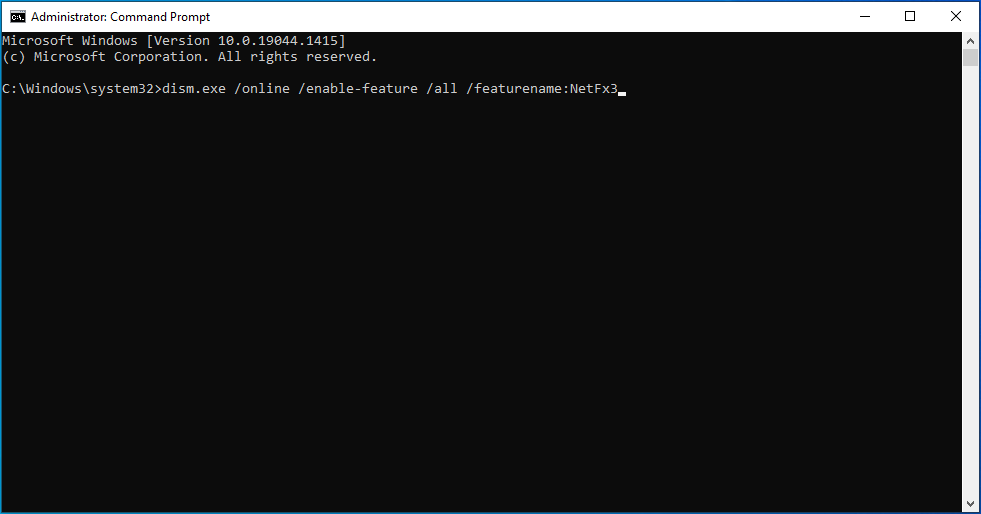
- In the Administrator Command Prompt window, type the commands below one by one and hit the
Enterkey after each command:exe /online /enable-feature /all /featurename:NetFx3
![]()
exe /online /enable-feature /all /featurename:NetFx4
![]()
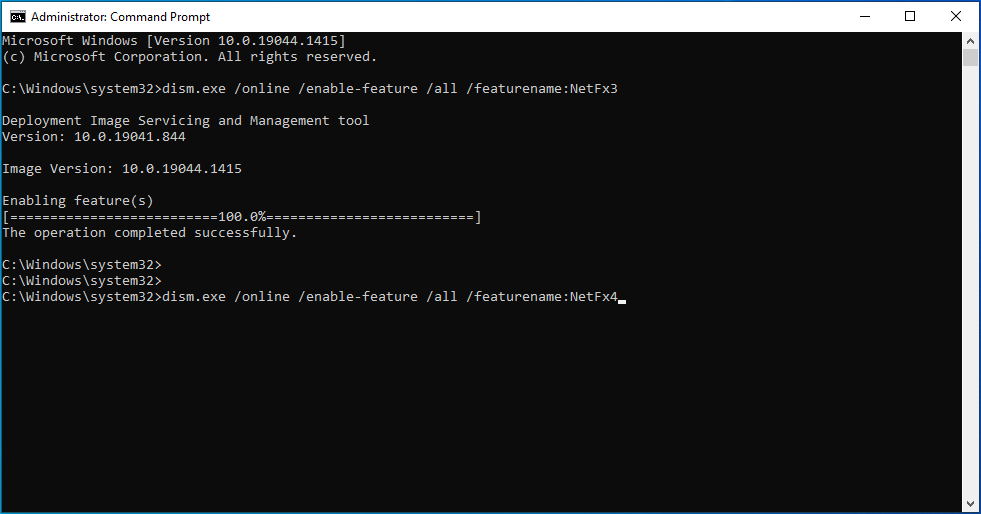
After the commands have been executed successfully, the Windows Server Manager should launch without any errors.
Further Reading: Windows Command Prompt: 28 Most Useful CMD Commands [with Examples]
Solution 2: Run an SFC Scan
To repair system files, including the ServerManager.exe file, that may have been deleted or corrupted, you need to perform an SFC scan. The System File Checker tool comes built into Windows machines to help fix the corruption of system files.
To use the SFC tool, follow the steps below:
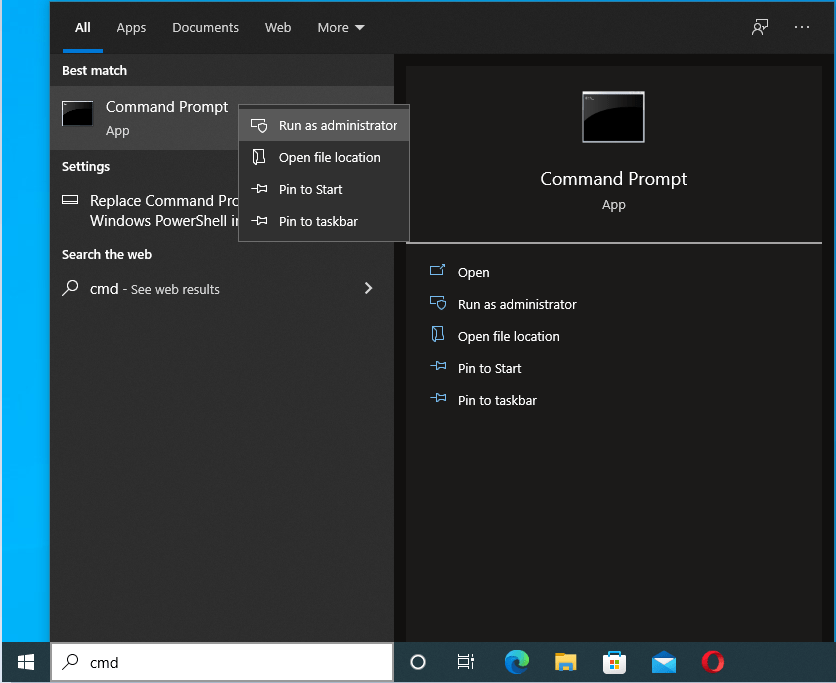
- Launch the Command Prompt with elevated rights as outlined above.
![]()
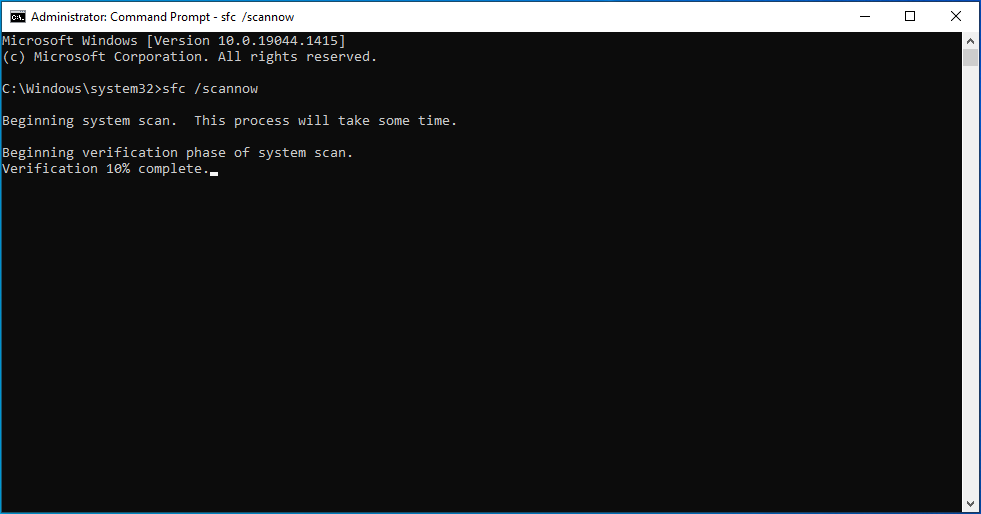
- Type the command
sfc /scannowand pressEnter.
![]()
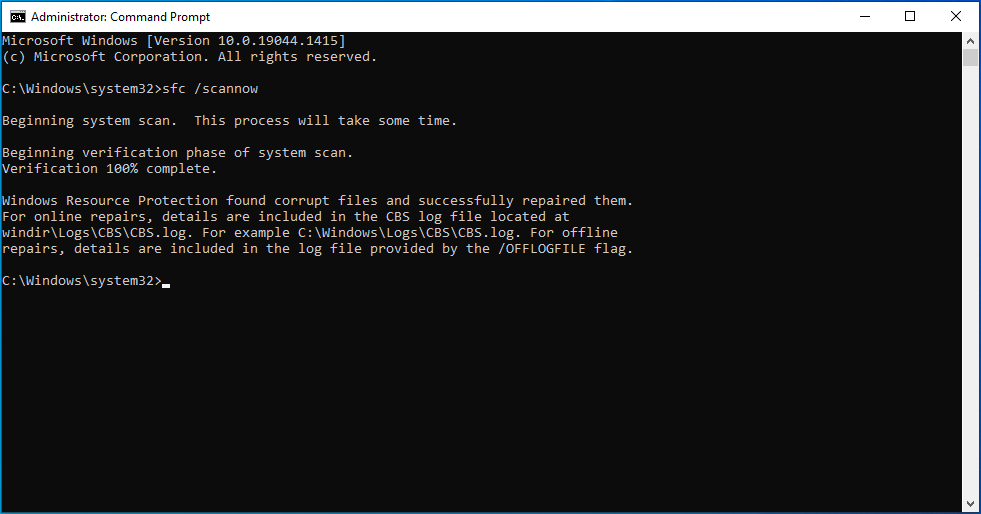
The scan will take several minutes to complete.
![]()

Once it does, any corrupt or missing system files should be repaired or replaced, thus getting rid of the ServerManager.exe error.
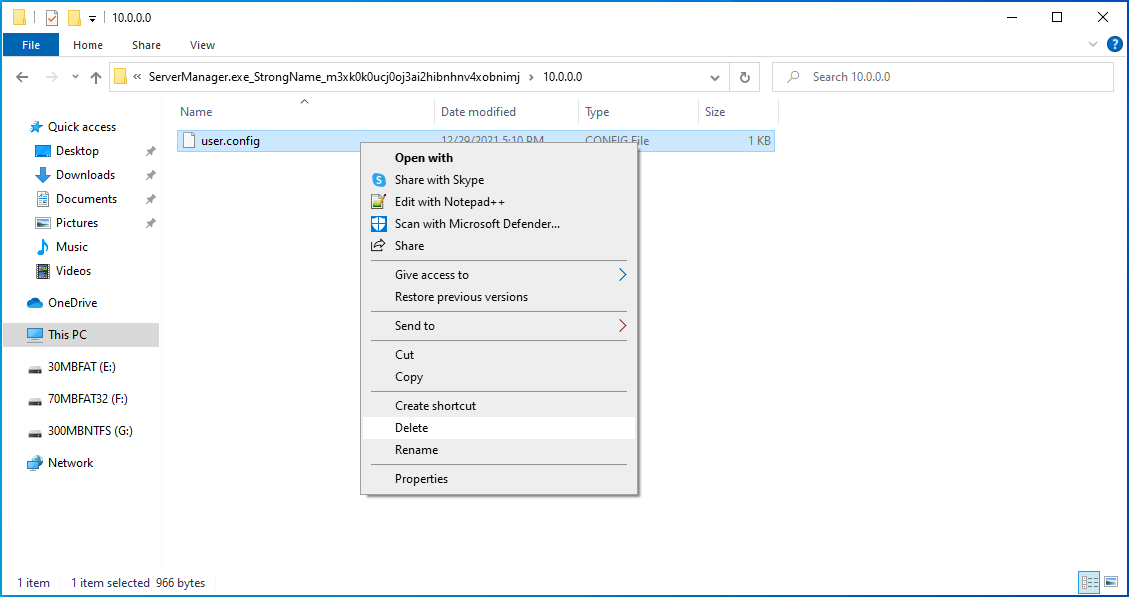
Solution 3: Manually Delete the User.config File
The user.config file, which holds all your unique settings, can become corrupted and cause the “ServerManager.exe. This application could not be started” error message. To resolve this problem, try manually deleting the file. It will then be recreated when you run the Server Manager.
Here’s how:
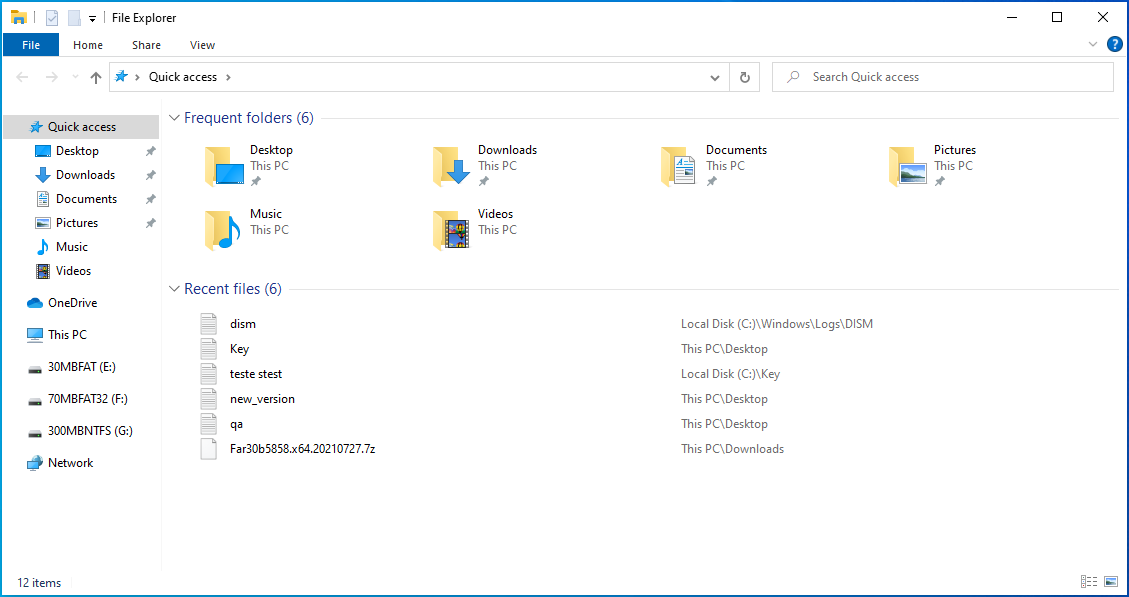
- Launch File Explorer using the
Win + Eshortcut.
![]()
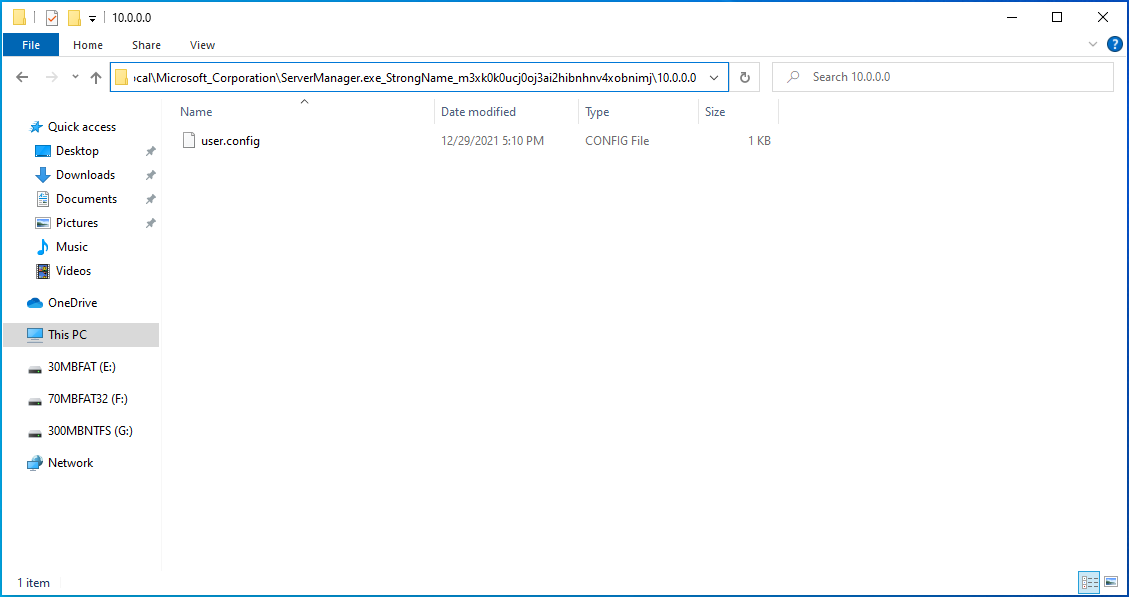
- Open the location containing the config file. Usually, the default location is on the C: drive. Here’s the full path (all together):
NoteC:\Users\YourUserName\AppData\Local\Microsoft_Corporation\ServerManager.exe_StrongName_m3xk0k0ucj0oj3ai2hibnhnv4xobnimj10.0.0.0user.config![]()
- Delete the config file and restart the Server Manager. This recreates the user.config file, fixing other issues, like file corruption, in the process.
Hopefully, deleting the user.config file fixes the ServerManager.exe error.
Solution 4: Reconfigure ServerList.xml
If you’re running multiple server operating system installations, one of the servers might be causing the error. To identify the culprit, open the Server Manager on all the servers and try adding servers.
Servers that are functioning correctly will be added without problems. However, when you get to the problematic server, the Server Manager will crash and stop working. After you identify the server causing the error, try editing ServerList.xml and removing the server.
This should get rid of the Server Manager error.
Solution 5: Roll Back the Changes
If the Server Manager had been working fine and only started throwing up the error recently, you can try rolling back the changes to remove any conflicting software. System Restore is a Windows feature that will help you since it allows you to undo system changes.
Here are the steps you should take:
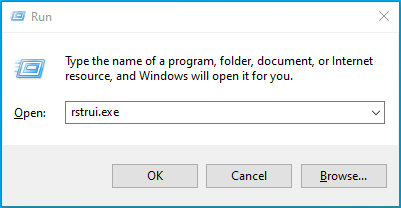
- Press the
Win + Rkeyboard shortcut and typerstrui.exeinto the Run dialog box. PressEnterto launch System Restore.
![]()
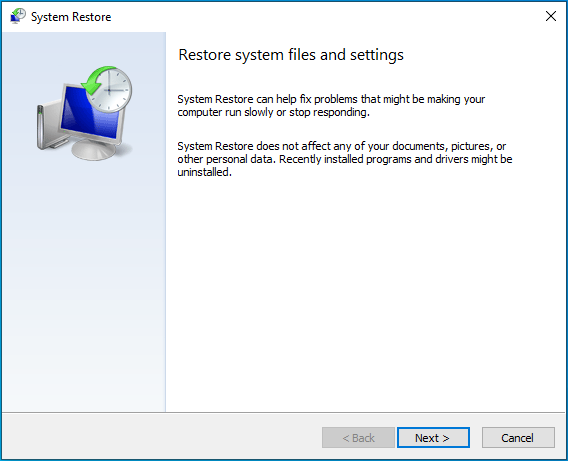
- In the System Restore window, click Next.
![]()
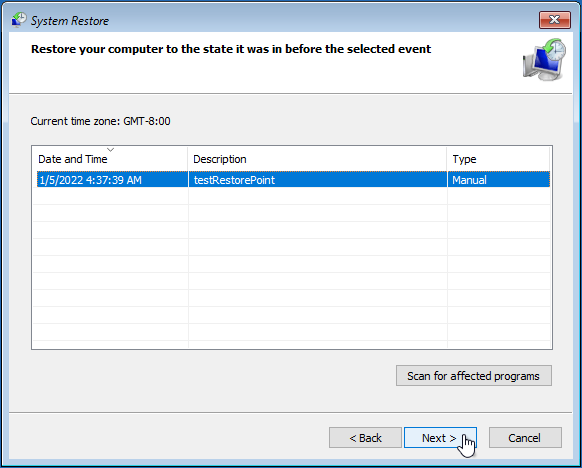
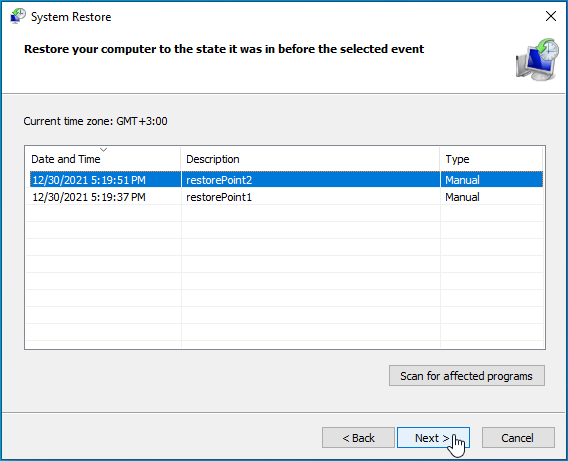
- Select a restore point.
![]()
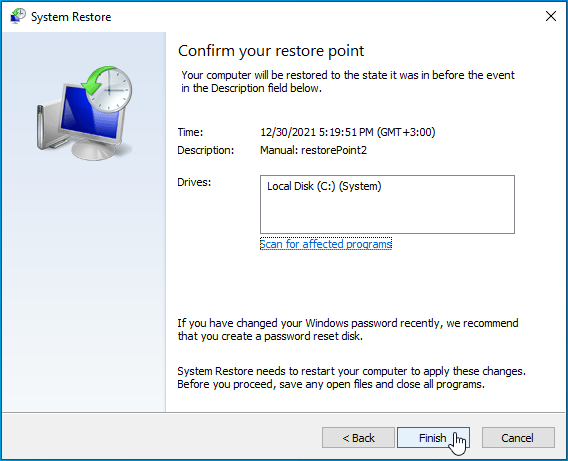
- Click on Next and review the details.
![]()
- If you’re satisfied, click on Finish.
![]()
- Click Yes to proceed.
![]()
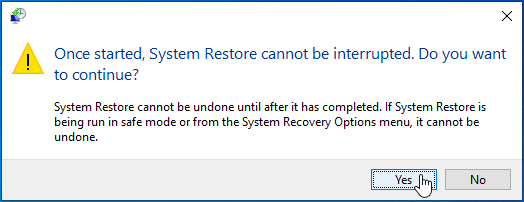
The system will be restored to the date you selected as the restore point. Hopefully, you can access the Server Manager without further issues.
Also Read: Ultimate Windows Recovery Guide: How to Restore Your Windows System
Solution 6: Update Windows
Updating Windows installs the latest version of .NET components, which are crucial for the smooth running of the server. It also installs upgraded features and updates that may help to fix issues with the Server Manager. To proceed, follow the steps below:
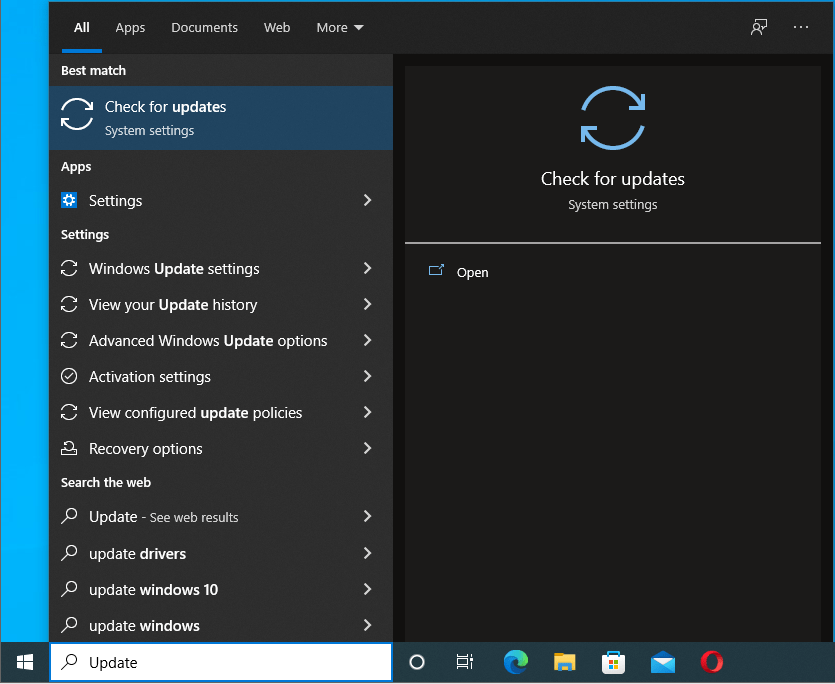
- Press the
Windows logoon your keyboard and typeUpdate.
![]()
- Select Check for updates and you’ll be taken to the Windows Update screen in the Settings app.
![]()
- Click on the Check for updates button to see if there are any updates available. Install any that are pending.
![]()
- Also, be sure to install the latest version of Remote Server Administration Tools for Windows 10. The tool is included as a set of Features on Demand in Windows 10:
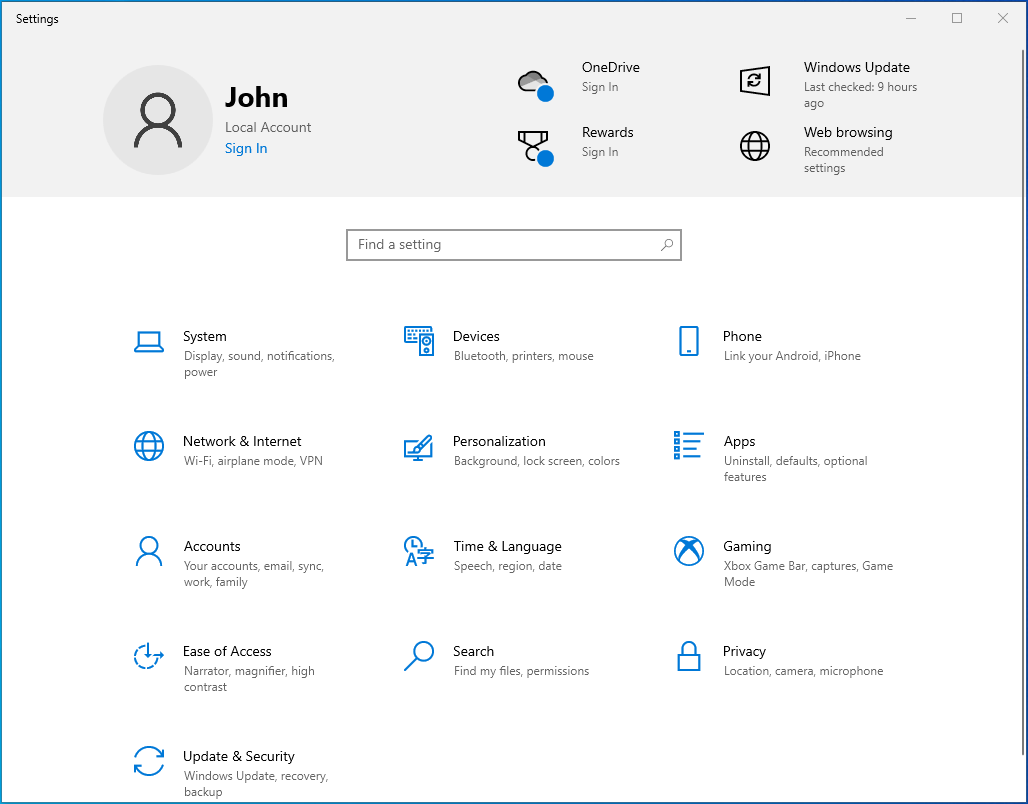
- Open the Settings app (
Win + I).
![]()
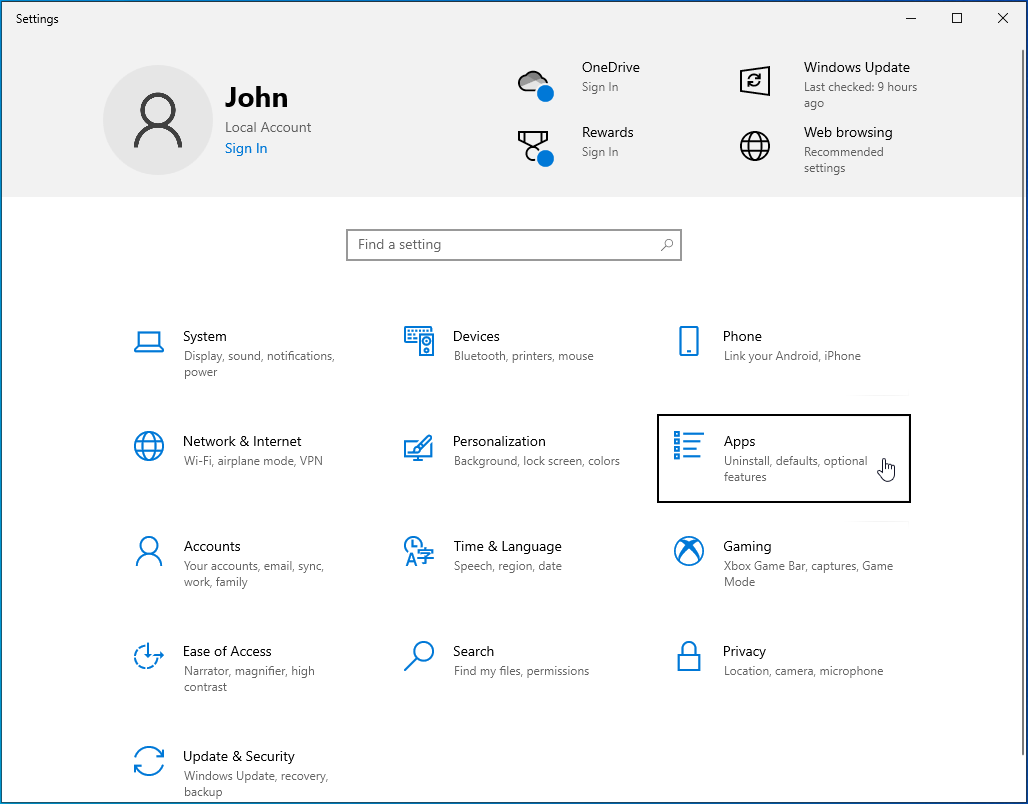
- Go to Apps.
![]()
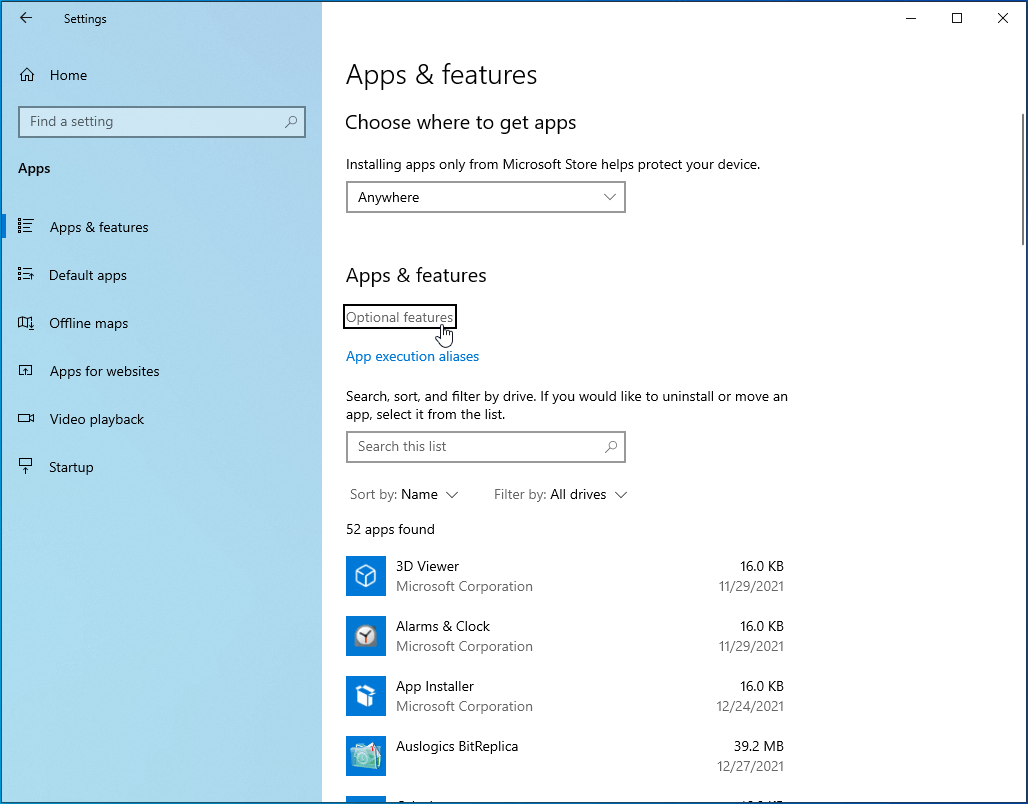
- Click the Optional features link.
![]()
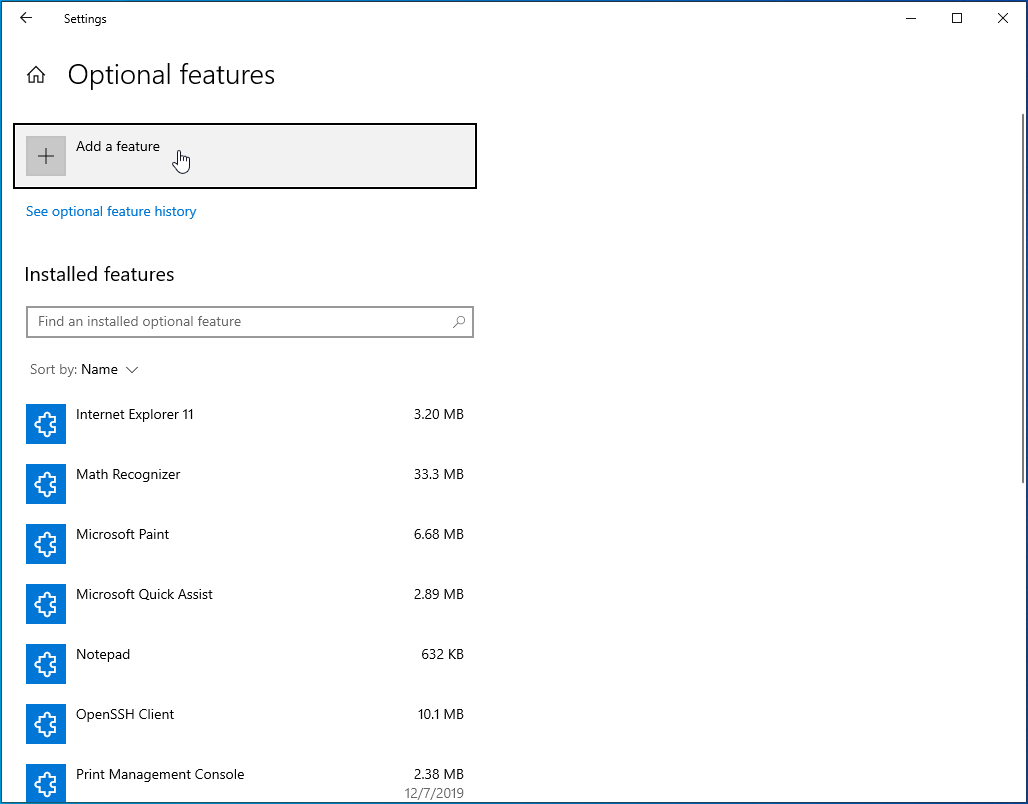
- On this screen, click on Add a feature and then select and install the specific RSAT version you need.
![]()


Related: Ultimate Guide: How to Manually Check and Install Windows Updates
Solution 7: Clean Install the Server Operating System
Just like you’d clean install the Windows 10 OS if it throws up errors that you can’t resolve, you can do the same with the server OS. A clean install erases all existing programs and settings and installs a clean copy of the server. It’s a useful process, especially if other methods to get rid of a troublesome error fail to work.
But before you start, it’s advisable to back up your data to an external storage device so that you can access it later. A clean install is different from an in-place upgrade, where you go from an older OS to a newer one, keeping your settings, server roles, and data intact.
Use this method as a last resort since you have to start from scratch.
The “ServerManager.exe. This application could not start” error should no longer be a problem after performing a clean install.
Meanwhile, you need to ensure that your system is always running at peak levels. You see, over time, the constant use of your operating system causes problems here and there. From performance issues and slow boot times to applications loading slowly and the system crashing unexpectedly, these issues can interfere with the user experience.
Luckily, you can avoid all that using a PC optimization tool like Auslogics BoostSpeed. It’s an all-in-one utility program that gives you access to more than a dozen tools to tweak your system.
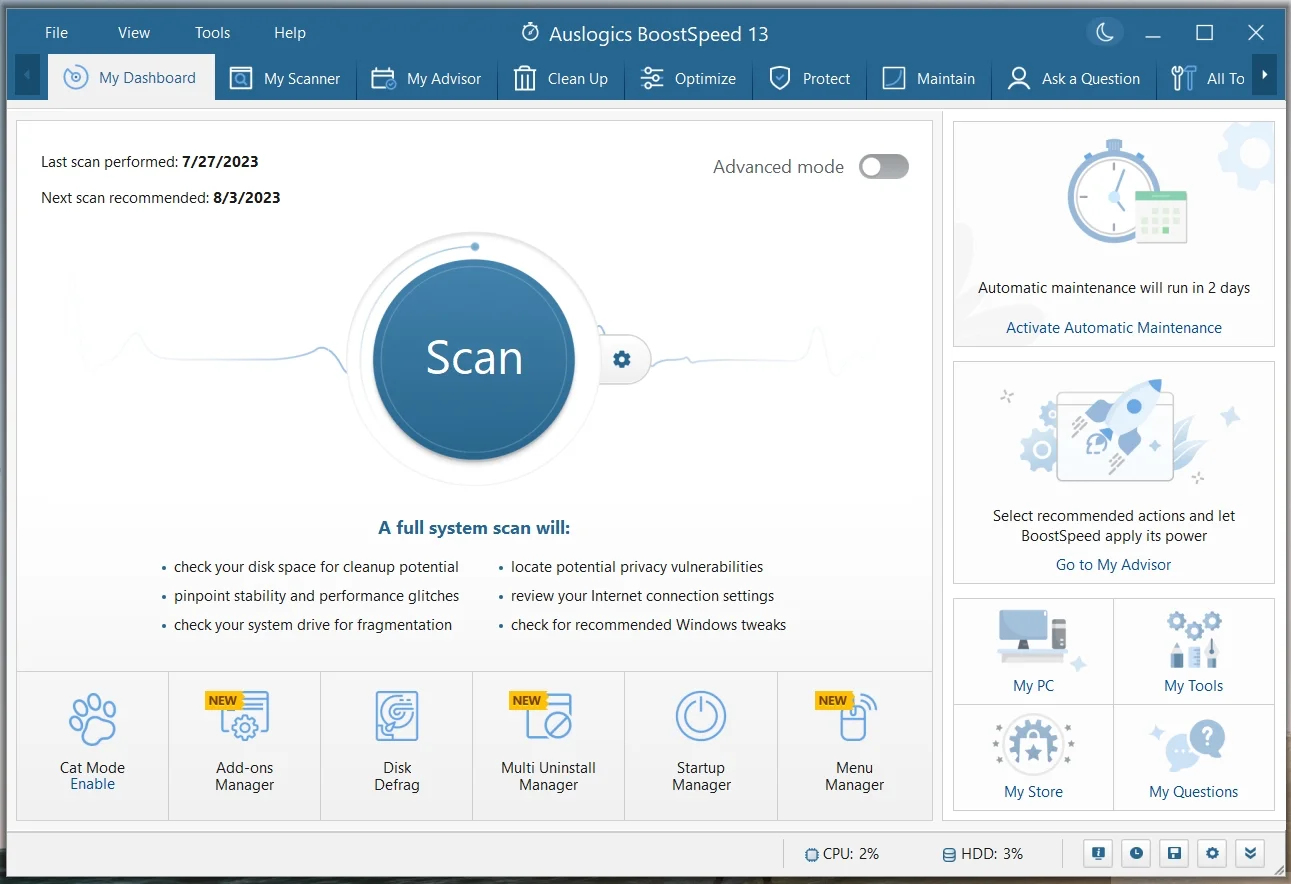
Whether it’s the registry, your hard disks, or even browsers, BoostSpeed will optimize them, leaving your system slim and fast. You don’t have to deal with computer lags every time you use your PC. Simply install Auslogics BoostSpeed and enjoy smooth and stable performance.