

Welcome to the ultimate guide on how to record Skype calls and videos!
Skype is a fantastic platform that allows us to connect with others through voice and video communication. In fact, over 2.2 billion people use Skype.
Back in 2018, Skype introduced a new feature that allowed users to record Skype calls. In case you havent’s tried it, here your complete guide to record calls and videos on Skype!
How to Record Skype Calls
There are two main ways to record calls on Skype.
First, since Skype introduce the new Skype record feature in 2018, you can now record calls (both video and audio) right within the app. Super convenient, right?
Second, you can use a third party app to record Skype calls.
Let’s see.
Option #1: Use Skype’s Built-in Feature to Record Calls
Now that Skype has added the recording feature to the app itself, recording a call in Skype is easier than ever. You basically just need to select “Skype call recording” during the call. We will cover this in more detail below.
Remember: After the call, the recording will be posted in your chat and will be accessible for 30 days. You can download and save the recording locally at any time during this period.
Also Read: [FIXED] Why Skype Keeps Not Responding in Windows 10
Option #2: Use Third-party Software
If, for any reason, you prefer not to use Skype’s built-in call recording feature, you always have the option of using third-party software.
There are several options available, such as:
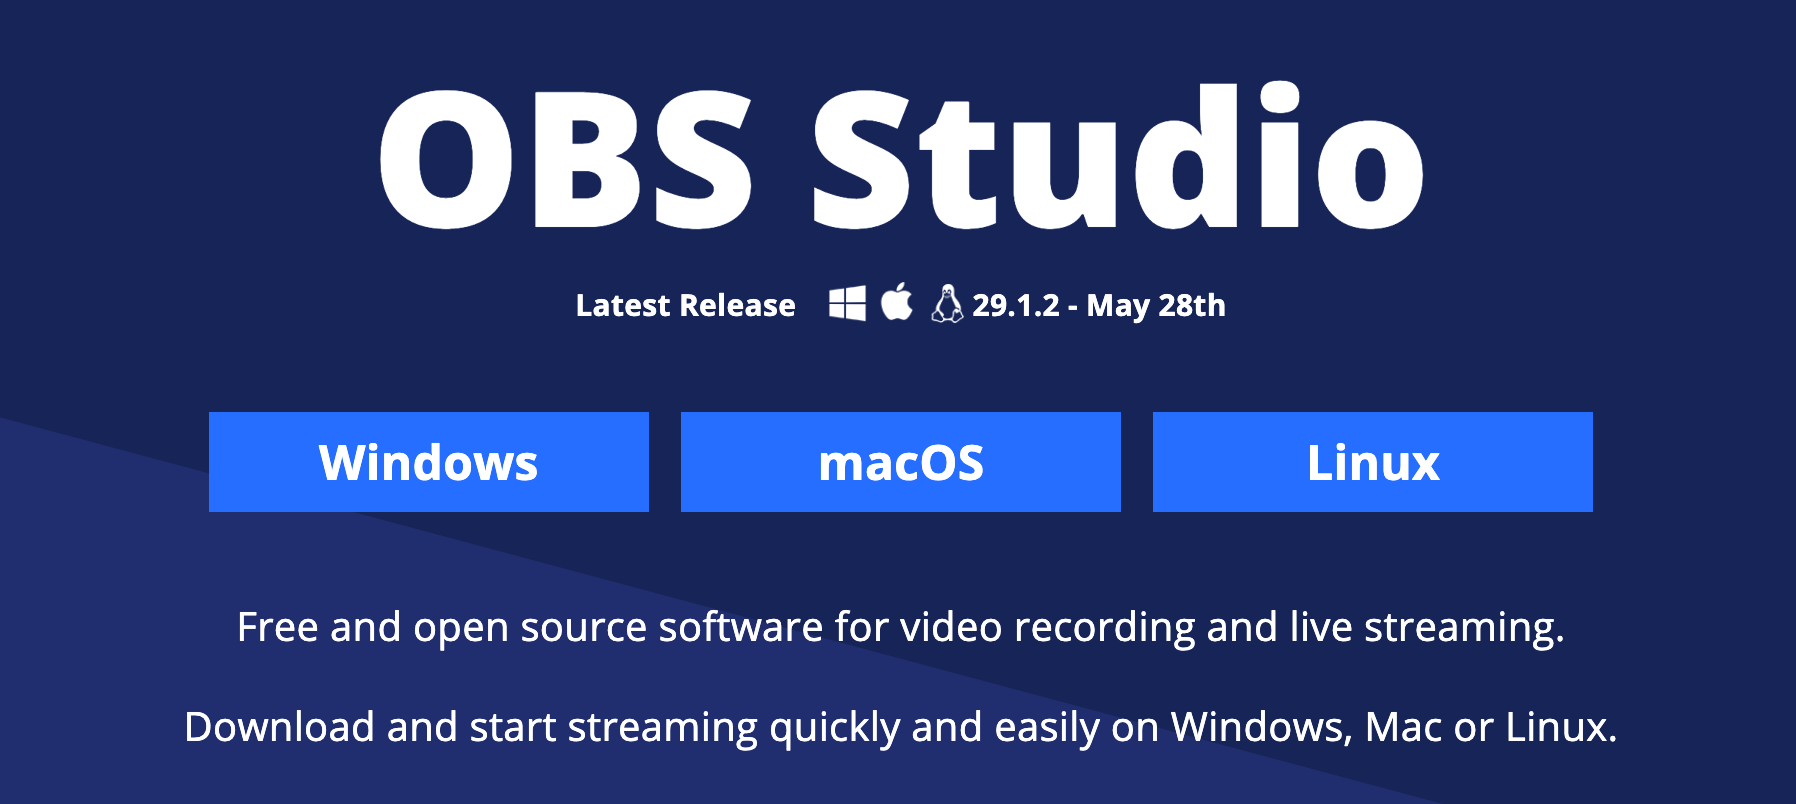
OBS Studio is a free and open-source software that allows you to record Skype calls. Install OBS Studio and configure it to capture the Skype call audio and video.
XSplit: XSplit is another popular software for recording Skype calls. Install XSplit and set it up to record your Skype conversations.

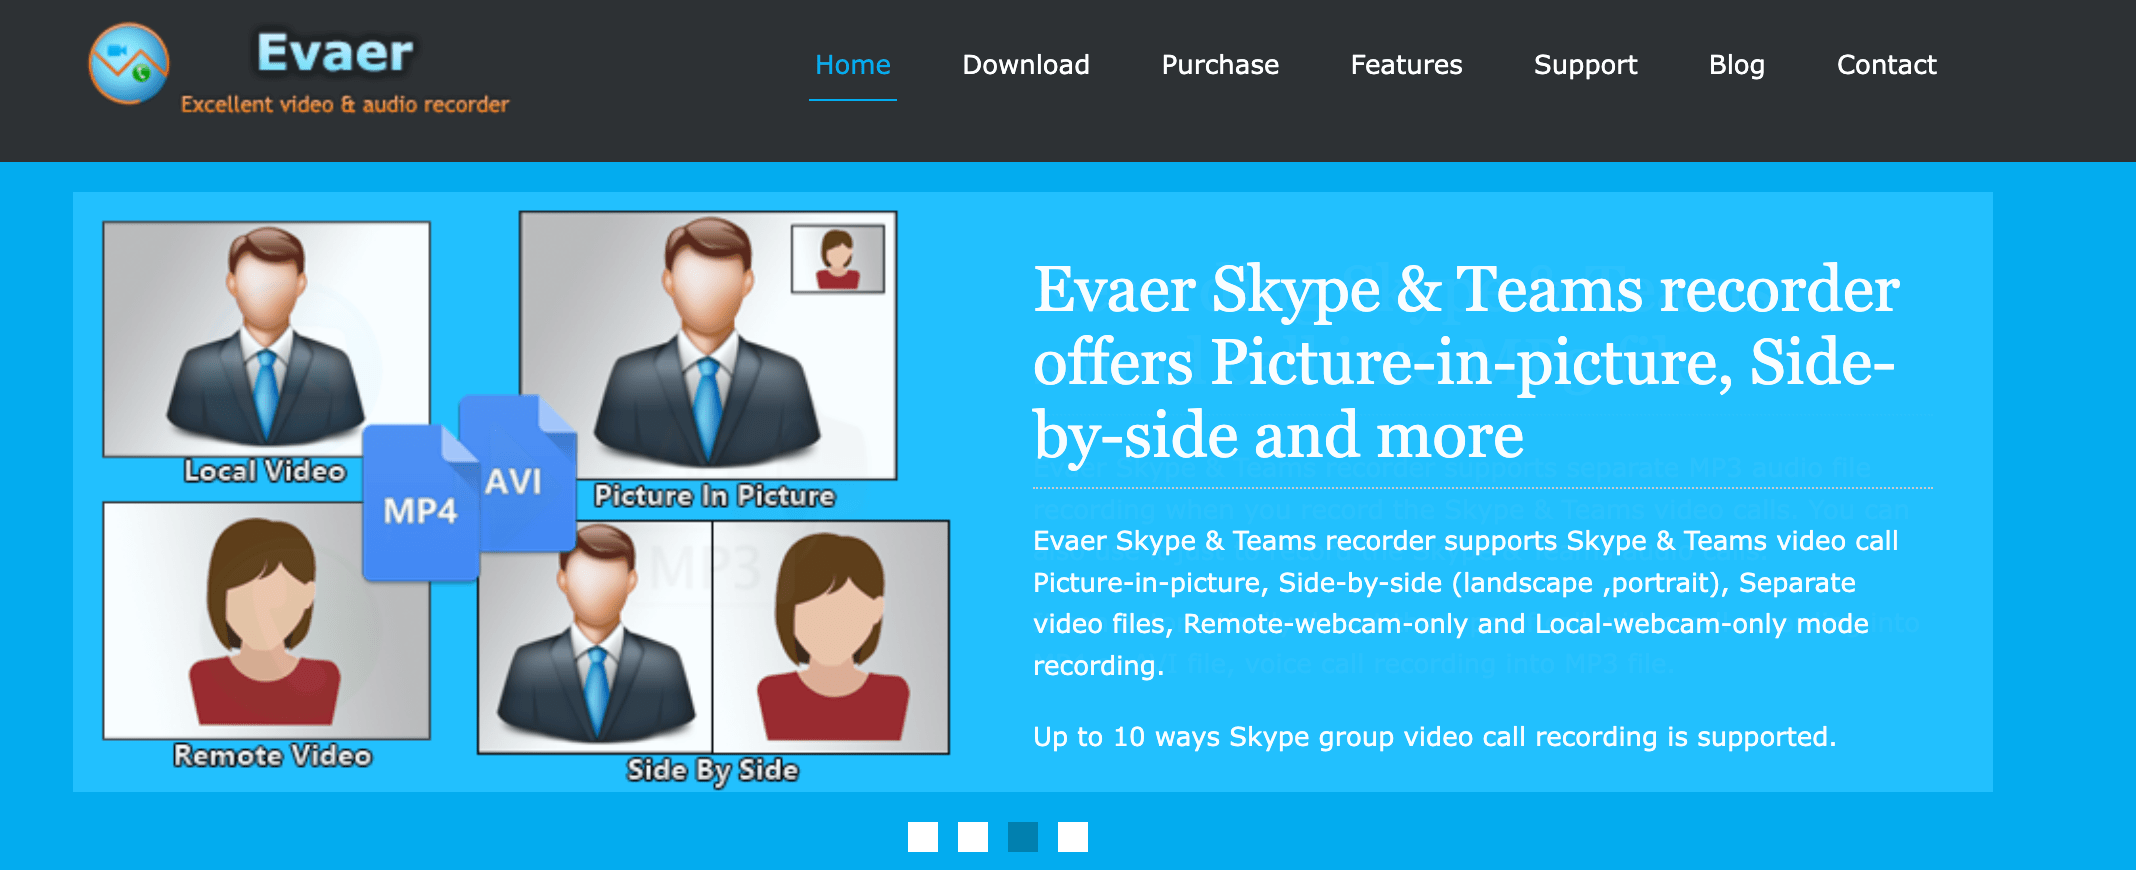
Evaer: Evaer is a dedicated Skype call recording software that offers a user-friendly interface and additional features like automatic recording and easy playback.
The specific steps for recording a Skype call may differ based on the software you use. But, in most cases, things will be pretty straightforward:
- Download the software from the official websites and follow the installation instructions provided.
- Once the software is installed, open it and configure the recording settings. Set the audio source to capture the Skype call audio. You may also want to adjust other settings such as video quality, recording format, and destination folder.
- With the software running and the settings configured, start your Skype call. Activate the recording feature in the software you installed before or during the call. The software will capture the audio and video of the conversation.
- Once your Skype call is finished, stop the recording in the software. Save the recording to your desired location on your computer.
Note: Before recording any Skype call, make sure to comply with applicable laws and regulations regarding call recording and obtain the necessary permissions from all parties involved.
Also Read: Digital Privacy: Tips on How to Protect Yourself on the Internet
Check Your Audio and Video Settings
To make sure the quality of your recorded Skype call us up to par, check you audio and video settings.
Adjust Microphone Settings
In Skype’s settings, you can adjust the microphone’s volume level and test it by speaking into the microphone while observing the input level meter. Make adjustments as necessary to achieve a balanced and clear recording of your voice.
Click on the three-dot menu icon (⋯) located at the top-left corner of the Skype window. From the drop-down menu, select “Settings.”
- In the Settings menu, click on the “Audio & Video” tab in the left-hand sidebar.
- Under the Audio section, you will see a dropdown menu labeled “Microphone.” Click on the arrow next to it to reveal the available microphone options.
- From the dropdown menu, select the microphone you want to use for your Skype calls. Below the Microphone dropdown menu, Skype provides a preview window with an input level meter. Speak into your microphone to observe the input level. Make sure the input level meter shows activity when you speak, indicating that the selected microphone is working properly.
- If necessary, you can adjust the microphone volume by moving the slider next to the “Microphone volume” label. Slide it to the left to decrease the volume or to the right to increase it.
- Once you are satisfied with your microphone settings, click the “Save” button at the bottom of the Settings window to apply the changes.
Optimize Video Settings
If you plan to record a video call, it’s essential to optimize your video settings for a high-quality recording.
- In Skype’s settings, navigate to the Video tab.
- Select the appropriate camera you wish to use for video calls and ensure it is positioned correctly.
- Adjust the video settings, such as resolution and frame rate, based on your preferences and the capabilities of your camera.
- Preview the video feed to ensure it appears clear and well-lit, making any necessary adjustments to lighting conditions or camera placement.
How to Initiate a Skype Call Recording
Before you start the call:
- Ask all call participants for permission to record the call.
- Choose how you will record the call: use Skype’s built-in feature or third-party software.
- Adjust video and sound settings.
Start the Call Recording
If you are using Skype’s built-in call recording feature:
On desktop:
Click the “More options” button at the bottom of the screen. Select “Skype call recording” during the call.
On mobile:
- Tap the “more” menu during the call for additional options.
- Tap “Skype call recording” and select “Start recording.”
- A banner will appear, reminding you to inform everyone that the call is being recorded.
If you are using a third-party app to record Skype call, follow the in-app instructions. In most cases, you will need to take these steps:
- Launch the recording software you installed.
- Make sure it is running in the background before starting your call
- Start a call with the person or group you wish to record.
- Once the Skype call is connected, switch to the recording software and locate the “Record” or similar button. Click on it to initiate the recording.
Recording Skype Video Calls
To record video calls on Skype, follow the same instructions as above.
When recording a video call on Skype, the platform will automatically merge and record the video streams of all participants, including your own. This means that everyone’s video will be captured in the recording. Skype allows you to record calls for a duration of up to 24 hours.
Recording Group Calls
You can record group calls on Skype following the same instructions as above. Make sure everyone in your group call has given consent for being recorded.
Save Your Recorded Calls and Videos
Save your recorded calls on the Skype app:
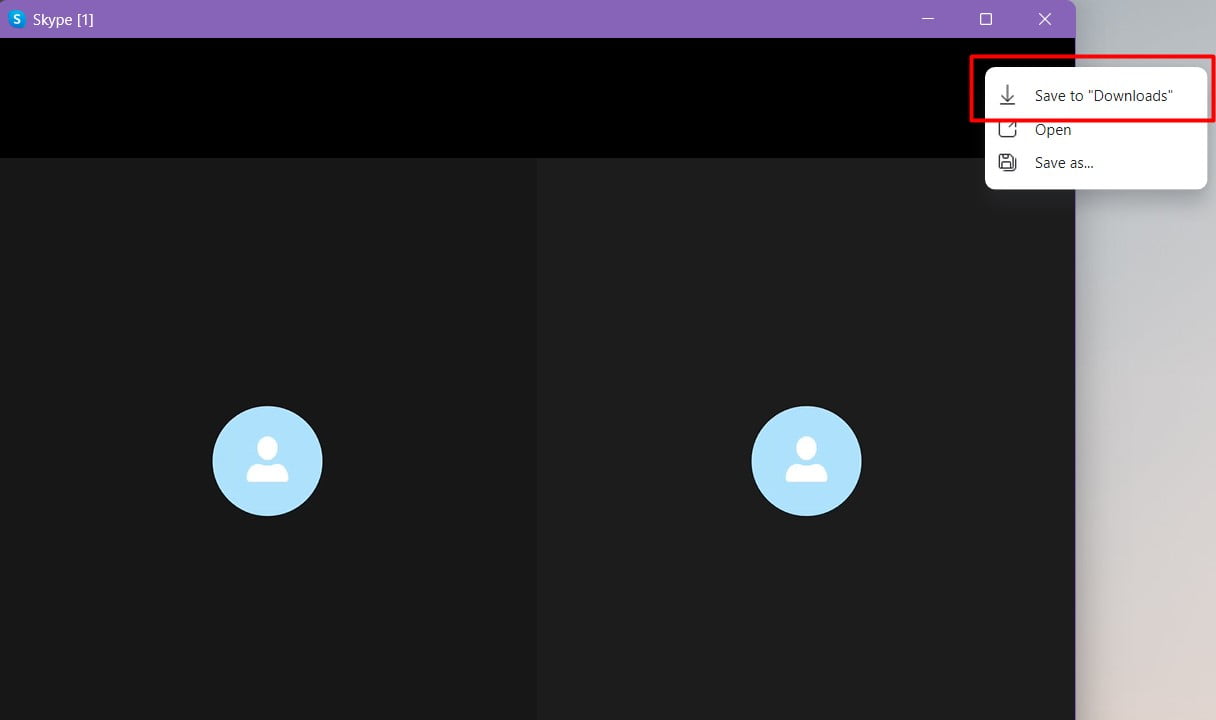
If you are on desktop:
- Select Save to “Downloads” (your recording will be saved in the Downloads folder on your PC) or
- Select “Save as” to choose another loctatiion.
If you are on mobile:
- Tap “Save” to automatically download and save your the file to your to Camera Roll.
To access your recorded calls later, simply go to the Downloads/other selected folder on your PC or to the Camera Roll on your phone,
How to Save Recorded Calls With Third Party Software
If you are recording a Skype call with a third party app, the specific steps for saving the call may differe depending on the software you use. In most cases, you will need to do the following:
- Stop the recording by clicking the “Stop Recording” button or similar.
- Review the recording to make sure theaudio and video are captured correctly.
- Determine the folder or directory on your computer where you want to save the recorded call. epending on the recording software you used, you may have the option to choose the file format for saving the recorded call. Select a compatible format that meets your requirements.
- Click the “Save” or “Export” button within the recording software to save the recorded call to the chosen location.
Remember to follow any specific instructions or guidelines provided by the recording software you are using, as the exact steps and options may vary.
Share Recorded Calls and Videos
Share a recorded call/video call via Skype:
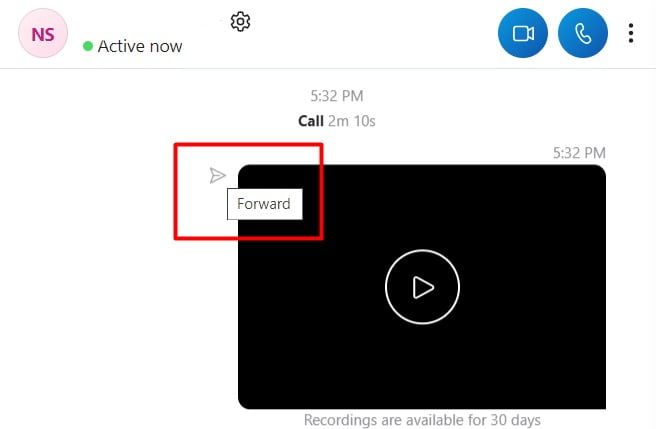
- On desktop, go to More options and select Forward.
![]()
- In the Forward Message box you can send to all the suggested contacts who you want to share the recorded call with.
- To share a call recording on mobile, tap and hold the recorded call and then tap Forward.
- On mobile, tap and hold the recorded call and tap Forward.
- In the Forward Message box, tap the suggested contacts who you want to share the recorded call with, tap Send.
Share a recorded call/video via third-party software:
Find the saved recording of your Skype call on your computer.
Depending on the size of the recorded file and your preferences, there are several ways to share the recording:
Email: Attach the recording file to an email and send it to the desired recipient(s). Note that there may be file size limitations for email attachments, so ensure the file size is within the allowed limit.
Also Read: [FIXED] How to Fix “Can’t Attach Files in Gmail” Error
File-Sharing Services: Utilize cloud-based file-sharing services like Google Drive, Dropbox, or OneDrive. Upload the recording to your chosen service and share the file with others by sending them a link to access and download it.
Messaging or Chat Apps: If you and the recipient(s) are using a messaging or chat application that supports file sharing, such as WhatsApp or Slack, you can send the recording directly through the app.
Video Hosting Platforms: If the recording is too large to share via traditional methods, consider uploading it to video hosting platforms like YouTube or Vimeo. Set the appropriate privacy settings to control who can access the recording and share the link with the intended audience.
Optional: Compress or Convert the Recording: If the recorded file size is too large for sharing through the selected method, you can compress or convert the file to a more manageable size. Use video editing software or online file conversion tools to adjust the file size or format while preserving the quality as much as possible.
Remember to respect privacy and legal considerations when sharing recorded Skype calls. Obtain consent from all participants before sharing the recording.
Troubleshoot Skype Recording Issues
Sometimes when recording calls on Skype you may run into a minor tech issue. Here’s how to fix them.
Audio or Video Quality Issues
Check Audio and Microphone Settings:
- Go to Skype’s settings and verify that the correct devices are selected for audio input and output.
- Adjust the volume levels and test the audio to confirm they are working correctly.
Test Internet Connection
Check your internet connection speed and stability using online speed testing tools. If the connection is weak or unstable, consider troubleshooting your internet connection or switch to a more reliable network.
Also Read: Boost Internet on Your PC: Tips on How to Speed Up Your Internet Connection
Improve Lighting and Camera Placement
Adjust the lighting conditions in your recording environment. Ensure that your camera is positioned correctly and has adequate lighting to produce clear and well-lit video.
Recording Not Starting or Ending Unexpectedly
- Update Third-party Software or Skype: Make sure you have the latest versions installed on your computer
- Restart Third-party and Skype: Close both the recording software and Skype, then relaunch them. Sometimes, software conflicts or temporary glitches can interfere with the recording functionality. Restarting both programs can help resolve these issues.
Compatibility Issues with Third-party Software
- Verify Software Compatibility: Ensure that the recording software is compatible with your operating system and the version of Skype. Check the software’s system requirements or compatibility information on their website.
- Update Recording Software: Similar to updating Skype, check for any available updates for the recording software. Developers frequently release updates to address compatibility issues and improve performance.
FAQ
Is It Legal to Record Skype Calls?
The legality of recording Skype calls can vary depending on your jurisdiction and the specific circumstances. It is essential to understand and comply with the relevant laws and regulations regarding recording conversations in your country or region.
Why Can’t I Record My Skype Call?
If you’re having trouble recording your Skype call, here are a few possible reasons:
- Software compatibility: Ensure that you’re using recording software that is compatible with Skype.
- Settings and permissions: Check your recording software settings and permissions to ensure it has the necessary access to record audio and video from Skype.
- Technical issues: Restart your computer, update Skype and your recording software, and try recording again.
- Security and privacy settings: Verify that you have allowed external applications to access and record Skype calls in your Skype settings.
- Legal restrictions: Familiarize yourself with the local laws on call recording, including consent requirements.
- Call type limitations: Some call types may have restrictions on recording.
How Can I Record Skype Calls on Windows?
There are several options for recording Skype calls on Windows. First, you can do this via the Skype app itself:
Simply click the “Skype call recording” button during the call.
Alternatively, you can use third party software to record calls on Skype.
Is It Possible to Record Skype Calls Without Using Third-party Software?
Yes, it is possible to record Skype calls without using third-party software. Skype has a built-in feature for call recording, so you don’t need to rely on external software or applications for recording Skype calls.
Can I Record Both Audio And Video During a Skype Call?
Yes, you can record both audio and video during a Skype call.
When recording a video call on Skype, the platform combines and captures the video streams of all participants, including your own. Skype allows you to record calls for a duration of up to 24 hours, ensuring that the entire conversation is saved and accessible for later reference or sharing.
How Can I Access Or Retrieve My Recorded Skype Calls Later?
To access your saved Skype calls, do the following:
From your chat:
- On desktop: Go to “ More options”.
- On mobile: Tap and hold the call recording you’ve made.
Now you can download and save your recording as an MP4 file. Here’s how:
On desktop:
- Select Save to “Downloads” (your recording will be saved in the Downloads folder on your PC0) or
- Select “Save as” to choose another loctatiion.
On mobile:
Tap “Save” to automatically download and save your the file to your to Camera Roll.