
Ndis.sys problems are something that a Windows PC user may encounter at any moment and get a serious case of frustration. These are persistent, elusive and annoying issues that crop up out of the blue and result in Blue Screen of Death errors, high latency, and a lot of hissing and tearing of hair.
Luckily, we know how to fix ndis.sys blue screen on Windows and how to fix ndis.sys latency, so keep on reading to get your issue resolved.
What is NDIS?
NDIS, which stands for Network Driver Interface Specification, is a legitimate component of your Windows operating system. It is an application programming interface that is used for network interface cards. In a nutshell, it lets drivers work the way they are supposed to on a network computer and helps the machine on which it is installed communicate with hardware and connected devices.
What is ndis.sys?
Ndis.sys is a Windows system file related to Network Driver Interface Specification. Being essential part of the Windows operating system, ndis.sys is digitally signed by Microsoft and is located in the C:\Windows\System32\drivers folder. Ideally, this file should not affect your PC’s performance or cause any issues. In practice, things often go astray, which results in ndis.sys-related nuisances.
Can I disable ndis.sys?
To be honest, you shouldn’t. First, it is essential for the normal functioning of your operating system. Second, even if you shut ndis.sys down, it will most likely start again. As such, if this file triggers BSOD errors or high latency, your best bet is, by far, thorough troubleshooting. Which is what you can easily perform if you keep working your way down.
Why do ndis.sys issues appear?
The sad truth is that the exact causes of ndis.sys problems are really hard to trace back. Bad drivers, malicious software, corrupt or missing system files, registry problems are among them, and the list goes on. Therefore, we advise you to try each fix below to make sure no stone is left unturned.
How can I fix ndis.sys Blue Screen Error and ndis.sys latency on Windows?
The good news is, the issues in question are actually solvable. In this article, you can find fixes for them when they occur in Windows 10 or 7, since these operating systems are often reported to be particularly affected by those misfortunes. However, if you happen to be experiencing ndis.sys problems in Windows 8 or 8.1 (although such cases are less frequent), feel free to try our solutions – they are likely to work for you as well.
Now that you are aware of ndis.sys basics, it is time to start our troubleshooting adventure:
Update your drivers
This is undoubtedly your first line of action since ndis.sys is closely related to your driver software. Indeed, faulty or antiquated drivers are capable of wreaking havoc upon your system, so you should deal with them straight away.
There are 3 ways to resolve your driver problems. Feel free to choose any of them according to your needs and preferences:
Use a dedicated tool
This is the easiest and the safest option on the list. You can use Auslogics Driver Updater to update all your drivers in one click and most likely say goodbye to your ndis.sys problem.
Use Device Manager
The built-in Device Manager tool can search for the necessary driver software online. Here are the instructions:
- For Windows 7
- Click on the Windows logo icon. The Start menu will show up.
- Right-click on Computer. Select the Manage option from the menu.
- The Computer Management screen will open.
- Once there, select Device Manager.
- Pick up a device and right-click on it.
- Opt to update its driver.
- For Windows 10
- Press the
Windows logo + Xshortcut on your keyboard to open the quick access menu. - Select Device Manager from the list of available options.
- Right-click on a device and opt to update the device’s driver.
Finally, select the option that lets Device Manager search for the driver needed online. Keep in mind that you should repeat the above-mentioned steps for every piece of hardware which driver software you wish to update.
Update your drivers manually
That is certainly a do-it-yourself approach. For it to work well, you should know the exact details of the driver your device needs to function properly. Then you should search for the software online. The best option is to start from the official webpage of your device’s manufacturer. Please remember that you should be very careful since installing something inappropriate may cause your system to go haywire.
Scan your PC for malware
Unfortunately, there are a lot of malicious entities that often succeed in masquerading as ndis.sys, so there is actually a high chance of your dealing with a malware-infected computer. With that in mind, you’d better perform a full system scan without further delay. For that purpose, you are free to use your main antivirus – if it is reputable and reliable enough to be entrusted with your PC’s safety.
That said, Windows Defender is still a pretty helpful solution when it comes to purging a computer of nefarious items. Here is how you can use it to your advantage:
On Windows 7
- On your keyboard, locate the
Windows logo and Skeys and press them simultaneously. This will invoke Search. - Into Search, type
Defender. - Select Windows Defender from the list of search results.
- In the Windows Defender home window, click Scan.
- Navigate to the arrow next to Scan. Click that icon.
- Select the Full Scan option.
On Windows 10
- Go to the taskbar and click on the Windows logo icon.
- In the Start menu, select the Settings gear.
- Click Update & Security. Then select Windows Defender.
- Click the Open Windows Defender link.
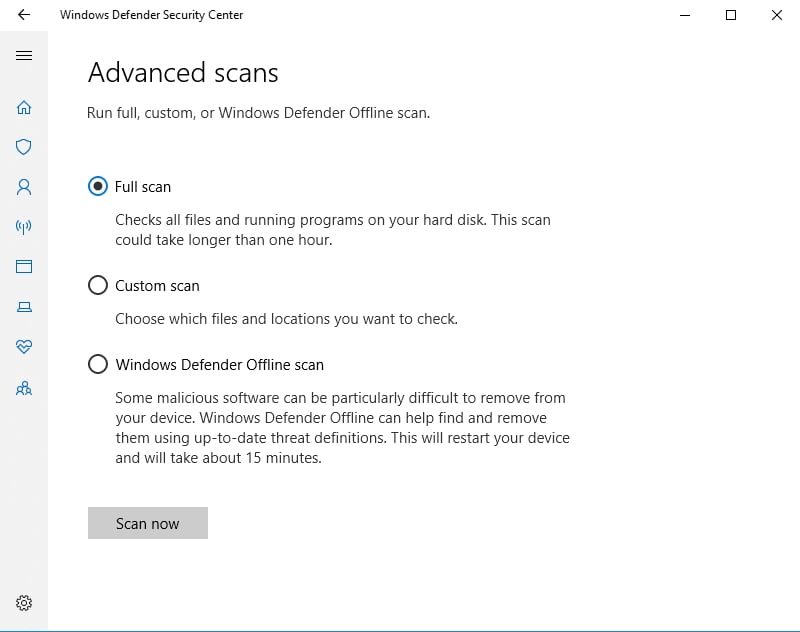
- You will arrive at the Windows Defender Security Center window. There navigate to the left pane and click the shield icon.
- Select Advanced scan. Choose Full scan.
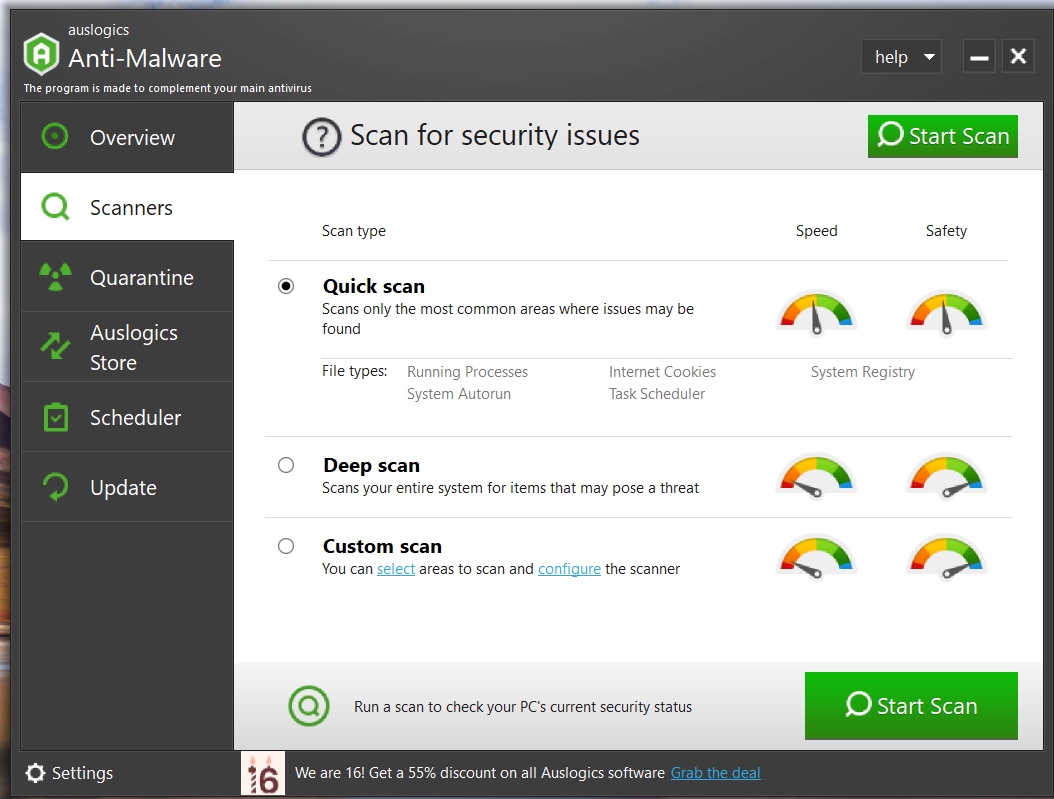
Note that if a particularly nasty piece of malware has found its way to your precious computer, good old Windows Defender might not be enough to save the day. As such, your machine may need some extra help to escape the malware trap. To rescue your computer, you can recruit Auslogics Anti-Malware to perform a real anti-malware crusade: this tool will find and remove even those threats other antivirus products may fail to detect.
Temporarily disable your antivirus
Did the installation of a new antivirus product happen to precede your ndis.sys misfortune? If so, the tool in question might be the culprit. You should disable it temporarily to check if it is truly to blame for your ndis.sys malfunction. If it indeed triggers the ndis.sys blue screen on Windows or ndis.sys latency, it goes without saying that you should stop using that software immediately and contact its manufacturer. You may even end up switching to another antivirus solution.
Update your OS
If your operating system is out of date, the ndis.sys blue screen and ndis.sys latency are among the scenarios that may evolve on your computer. Since they are both are an undesirable outcome, we recommend updating your system, using the instructions below:
To update Windows 10, do the following:
- Invoke your start menu (you have done it a good number of times already).
- Go to the Settings menu (just click on the gear icon in your start menu).
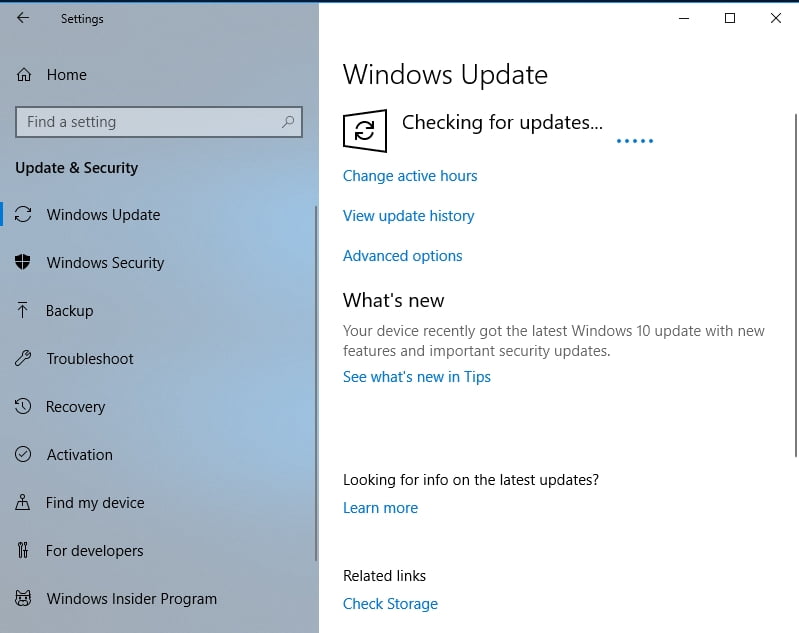
- There select Update and Security.
- See if there are any updates waiting to be installed. Confirm them.
- If there are no suggested updates, click Check for updates.
And here is how you can update Windows 7:
- Open your start menu and select Control Panel.
- Click System and Security.
- Select Windows Update.
- Navigate to the left pane and select Check for updates.
Download and install the suggested updates and see if this manoeuvre has resolved your issue.
Windows 10/11 (8, 7, Vista, XP)
Run an SFC scan
If your ndis.sys problems persist, some of your critical system files might have gone corrupt or missing. To get them up and running again, you should use the System File Checker tool, which comes as part of your OS:
- Press the
Windows logo + Skeyboard shortcut on your keyboard. - Once Search is up, type
cmd. - Locate Command Prompt and right-click on it.
- Choose Run as administrator.
- Type
sfc /scannowand hitEnterto execute the command.

You should wait patiently until the scan is complete – do not abort the process. Finally, exit your elevated Command Prompt and restart your computer. Your Windows will replace all your problematic system files at startup.
Check your hard drive for errors
Corrupt hard drives are a common cause of ndis.sys issues, so it is time to check your disk. To do that, follow these guidelines:
- Run your Command Prompt as an administrator (see the previous fix to know how).
- Type
chkdsk c: /r(if c is the partition where your system is installed) and press theEnterkey.
Wait for the scan to finish. Then exit Command Prompt and restart your PC. Hopefully, this solution has fixed your problem.
Run DISM
The Deployment Image Servicing and Management tool comes in very handy when you need to troubleshoot BSODs and latency problems. To run it, do the following:
- Launch your Command Prompt as an administrator.
- Type the following commands (press
Enterafter each):
DISM /online /Cleanup-Image / ScanHealth
DISM /Online /Cleanup-Image /RestoreHealth
Restart your PC when the process is complete. Has your issue been resolved? Well, if there is no luck so far, do not let negative thoughts take over. Just proceed to the following fix – it is reported to work wonders.
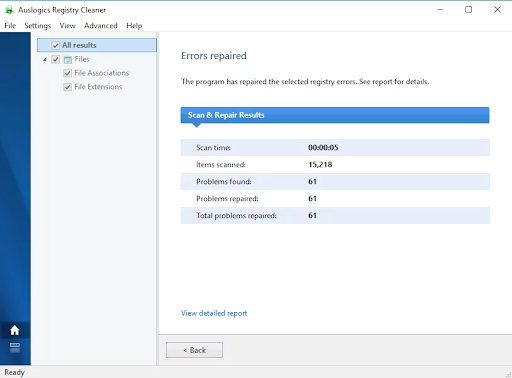
Fix your registry
If all the solutions above have failed to help you, your issues might stem from corrupt or damaged system registry. We advise against editing it manually since even a tiny mistake in the process can literally destroy your Windows. That is why the safest option is to employ a special tool to do the job for you. For instance, Auslogics Registry Cleaner will work on your registry with surgical precision so that you can get it patched and fixed with no risks involved. By the way, this tool is 100 % free.
Perform a system restore
If there seems to be no silver lining in your cloud case, the nuclear option is to resort to time travel. In fact, System Restore, which is supposed to help you in your situation, is a great feature – it will take your system back to a point time when your ndis.sys issue was not here and even leave your personal files unaffected. However, for it to work, there should be existent system restore points on your computer. Fortunately, your system often creates them automatically when something important is about to occur on your PC, so chances are this method will prove a way out for you.
Here is how you can perform a system restore:
On Windows 7
- Go to your Start menu, locate the Search box, and then type System Restore.
- On the System Restore screen, click on the Restore system files and settings option. Then click on Next.
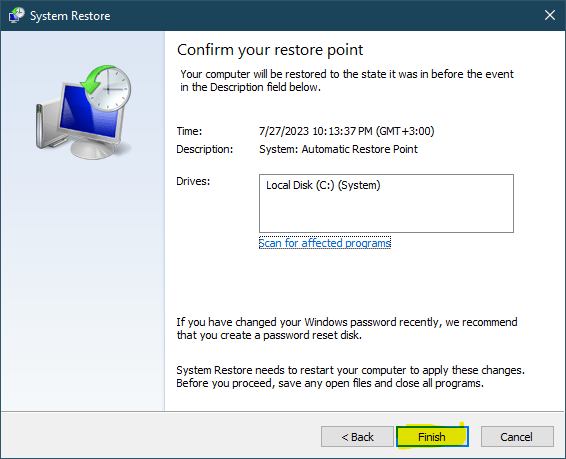
- Select the restore point you wish to restore your system to and provide your confirmation.
On Windows 10
- Open your Start menu. Locate the Control Panel tile. Click on it.
- Open System and Security. Then select File History.
- Move to Recovery. Select Open System Restore.
- Click Next. Then choose the restore point to go back to.
![Confirm your restore point]()
- Click Next and then Finish.
We hope you have successfully fixed your ndis.sys problem.
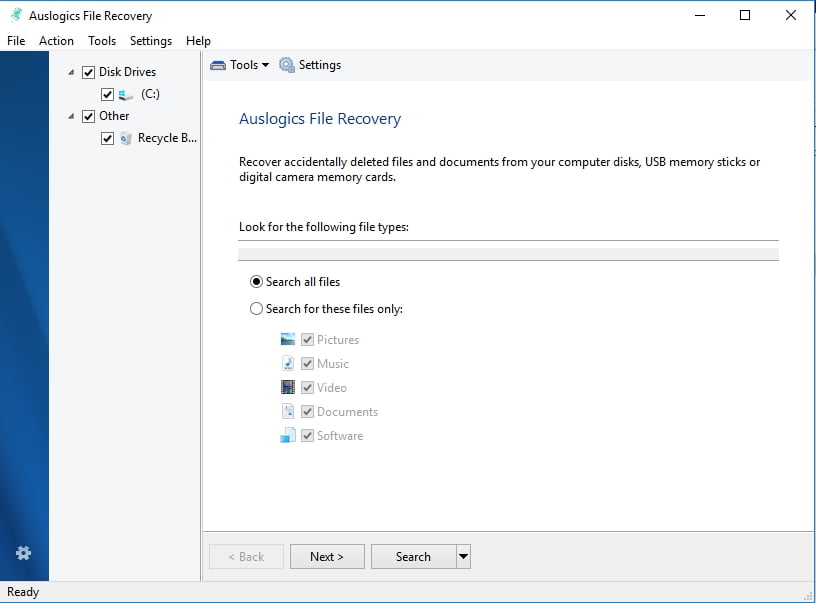
If you were unfortunate enough to lose some of your personal documents thanks to your ndis.sys problem, there is no need to worry: you can easily restore them with Auslogics File Recovery.
Should you have any questions or comments regarding the issues described in this article, you are welcome to state them below.
Windows 10/11 (8, 7, Vista, XP)