- Things to Do before Cleaning Your PC
- Tools and Cleaning Supplies You Need
- How to Clean Your Desktop PC: External Cleaning
- How to Clean a PC: Internal Cleaning
- How to Clean Your Laptop
- Tips from Users on How to Clean a Laptop Keyboard and Mouse
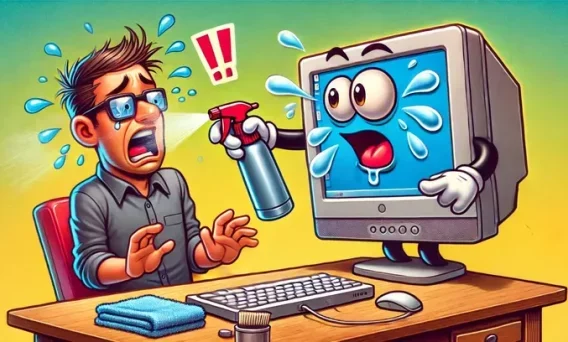
- Why You Should Clean Your PC
- How to Clean Your Computer: Explained
- FAQ
Learning how to clean your computer is essential, yet often overlooked. Many of us hesitate, thinking a functioning system doesn’t need maintenance or fearing we might cause damage.
Sadly, the surface wiping you do every week is not enough. Even though your PC looks clean on the outside, dust silently accumulates inside, potentially causing overheating and performance issues.
This guide will show you how to clean your desktop PC and laptop, including tips and tricks from users.
Things to Do before Cleaning Your PC
As you clean your PC, you will have to touch sensitive areas, so you need to tread carefully to avoid any problems. Here are the steps you should take before beginning:
- Back up your files. Anything can go wrong when cleaning your computer. So, to be on the safer side, run a Windows backup or transfer your files, like videos, images, etc., to your external drive.
- Consult the manufacturer’s guidelines. Your manufacturer should have a detailed guide and resources on how to clean the PC on their website. Go through the tips and recommendations they offer before proceeding.
- Power off your PC. Whether it is laptop or desktop cleaning, make sure to shut down your computer to prevent electrical hazards during the cleaning process.
- Unplug everything. To reduce the risk of electrical shock, make sure your computer is not connected to any power source while you clean it. So, check twice whether the power cord is unplugged from the outlet. Also, remove any connected devices before you proceed.
Tools and Cleaning Supplies You Need
To make the process easier, it’s best that you gather the tools needed first:
- Microfiber cloth. Microfiber is absorbent and therefore ideal for cleaning streaky surfaces like screens and other glossy finishes. Besides that, it’s both tough and soft, meaning it won’t damage your device’s components yet will manage to wipe away even extremely stubborn dust, fingerprints, and smudges.
- Canned air. Compressed air creates an air flow that can remove dust and dirt from your computer, even from gaps and crevices. It won’t damage your device and, in some cases, allows you to clean a PC without having to remove any components.
Use canned air in short bursts. Doing this will prevent the can from getting too cold and prevent it from spraying liquid.
- Isopropyl alcohol. This liquid is excellent for laptop and desktop cleaning. It can be used with cotton swabs or a soft cloth to get rid of stubborn dust, grime, or thermal paste leftovers and dries without leaving residue. For effective cleaning, your isopropyl alcohol should have a minimum concentration of at least 70% (check the label to see the percentage). Lower concentrations may leave residue or not evaporate quickly enough. Also, ensure you use isopropyl alcohol in a well-ventilated room.
- Cotton swabs. These small items are perfect for cleaning in hard-to-reach areas, like between keyboard keys and around connectors. They can also absorb liquids and don’t damage delicate surfaces when cleaning dust from a PC.
- Soft-bristled brush. These types of brushes won’t damage or scratch your PC’s sensitive components and will help you reach tight spaces and areas that are hard to access, such as within cooling fans.
- Screwdriver. You need one to access the internal components of your PC. It will help you remove the cover of the case or the side panel. You may also need it to remove screws that secure certain components.
How to Clean Your Desktop PC: External Cleaning
How to clean a desktop PC’s exterior surfaces
Take your microfiber cloth and gently wipe the PC’s external components, including the front panel, case, top, and sides. You can dampen it with a cleaning solution or use it dry. Ventilation grilles or ports tend to accumulate more dirt, so pay special attention to them.
How to clean a computer’s dust filters
Dust filters, when clogged with dust and dirt, restrict the airflow, leading to overheating , instability, and damage. You need to regularly clean them to speed up your PC’s performance. To do that:
- First, locate the filters. They usually look like mesh material with a housing or frame around it. And they’re typically found in areas where air gets into the case in desktops.
- Carefully remove the filters using a screwdriver.
- Use compressed air or a soft brush to remove the dust and dirt.
How to clean a desktop PC monitorCleaning the computer’s monitor is simple yet involves some technicalities. Follow the steps below:
- Get a soft microfiber cloth and a dedicated solution for cleaning monitors like Klear Screen or ScreenKleen.
- Make sure your monitor is turned off and carefully wipe the monitor with the microfiber cloth to remove the dust particles.
- Apply a small amount of the cleaning solution to the cloth and gently clean the smudges.
- Use a dry part of the microfiber cloth to wipe away any remaining moisture.
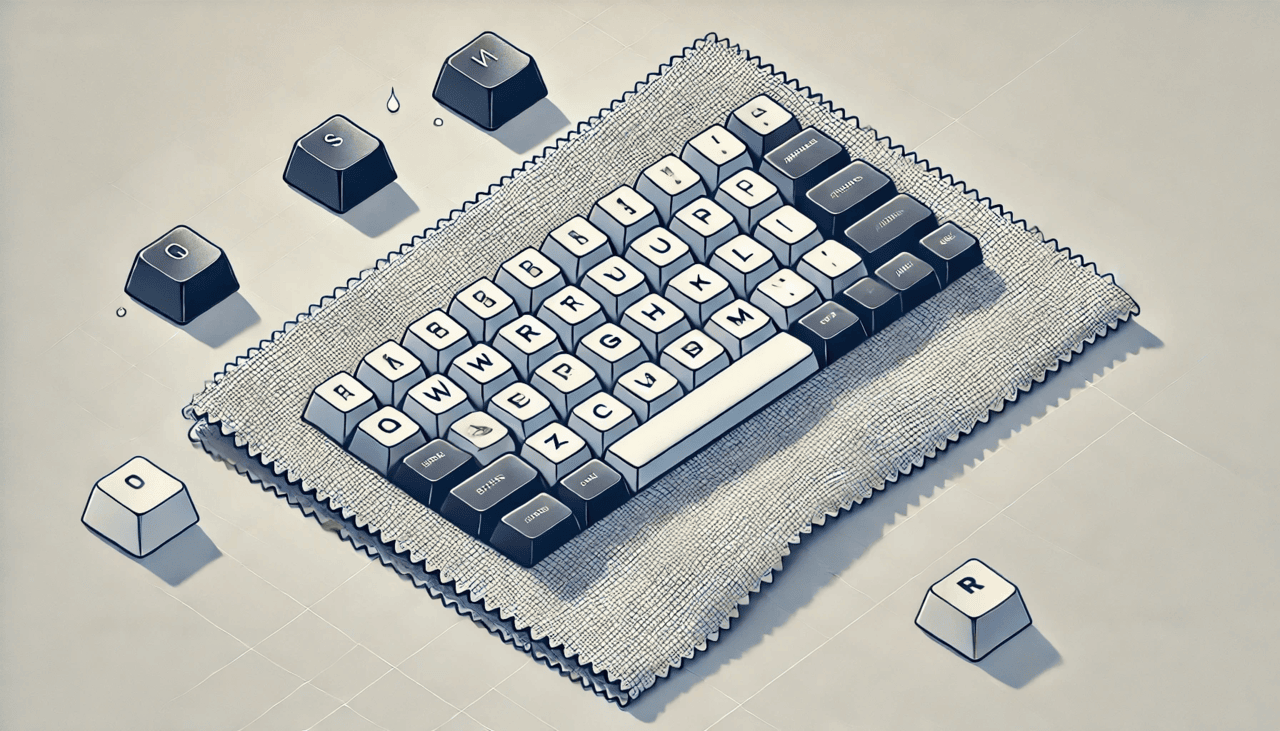
How to clean a desktop PC keyboard
Removing dust and dirt accumulated on and inside your keyboard will help maintain its functionality. However, the steps to take will depend on the type of keyboard you have.
How to clean a non-mechanical keyboard
- First, unplug the keyboard.
- Hold the keyboard upside down and gently shake it to get rid of any loose debris, crumbs, or dust.
- Hold the nozzle of your compressed air about 2 inches away from the keys. Don’t insert it directly under them.
Keep the compressed air can upright while spraying. Turning it upside down or at angles can spray liquid propellant that could damage your keyboard.
- Use short, quick bursts rather than long sprays. This provides better control and prevents the can from getting too cold.
- Work systematically from one end to the other, spraying between each key row.
How to clean a mechanical keyboard
If you have a mechanical keyboard or even a regular one that is very dirty, the above method may not work well to remove debris that is deeply embedded in the keyboard. In such cases, you may need to remove the keys. To do that, you will need a keycap puller.
This is the safest way to remove keycaps without damaging them. Alternatively, you can use a flat-head screwdriver or a plastic pry tool. For safety, you can cover the tool with a tap so it does not damage the key caps.
Place the puller on the keycap, press down gently, and pull upwards. The keycaps should pop off easily.
Follow the steps below to clean your mechanical keyboard:
- Place all the keycaps you removed in a container with warm, soapy water. Let them soak for 15-20 minutes to loosen any dirt or grime.
- After soaking, use a soft brush or cloth to gently scrub off any remaining dirt.
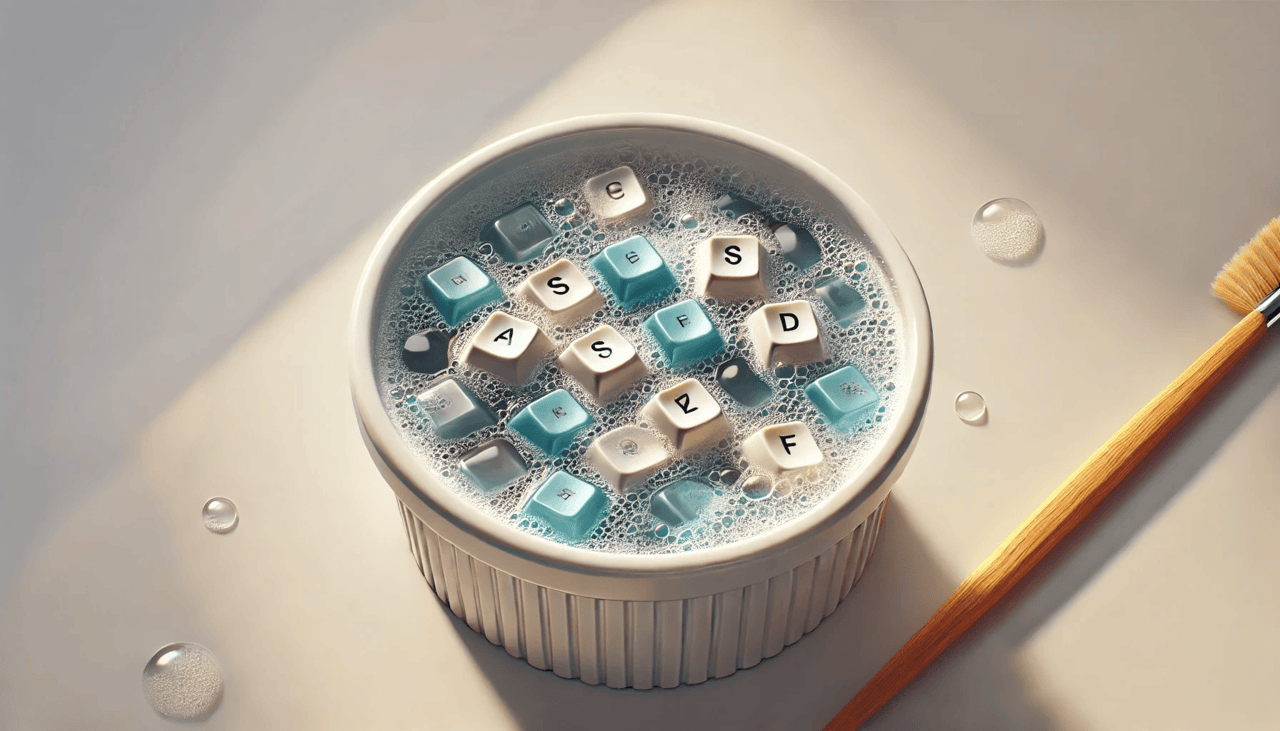
- Dry the keycaps thoroughly with a microfiber cloth or let them air dry completely before putting them back on the keyboard. Make sure they’re fully dry to avoid any moisture getting inside the keyboard.
- Now, return to the keyboard itself and use a small brush or compressed air to remove dust, crumbs, or debris that may have collected under the keycaps.
- Once the keycaps are dry, return them.
- Dampen a microfiber cloth with a small amount of isopropyl alcohol and gently wipe the keys.
- Finally, dry your keyboard with a clean and dry cloth.
How to clean a computer mouse: Basic cleaning
Wondering how to clean a PC mouse to maintain smooth cursor movement? That’s pretty straightforward. However, there are different types of mice. We’ll show you the basic way to clean it:
- Unplug the mouse and remove batteries from it (if any).
- Check its exterior for loose particles and remove it with a small brush or a cotton swab.
- Slightly dampen a microfiber cloth with isopropyl alcohol and gently wipe the mouse’s surface.
- Wipe the sensor area and mouse feet with a dry cloth.
How to clean PC fan and vents
- Carefully open the case and find all the fans and vents.
- Hold the compressed air can upright and spray short bursts of air to blow out dust from the fans and vents.
- Keep the nozzle a few inches away to avoid any damage.
- When cleaning the fans, gently hold the blades to prevent overspinning.
- For stubborn dust in vents, use a soft brush or cloth to clean them.
- If the dust is persistent, use a cotton swab slightly dampened with isopropyl alcohol.
- You can use an anti-static vacuum designed for electronics for a more thorough cleaning.
- Carefully spray compressed air while holding it upright.
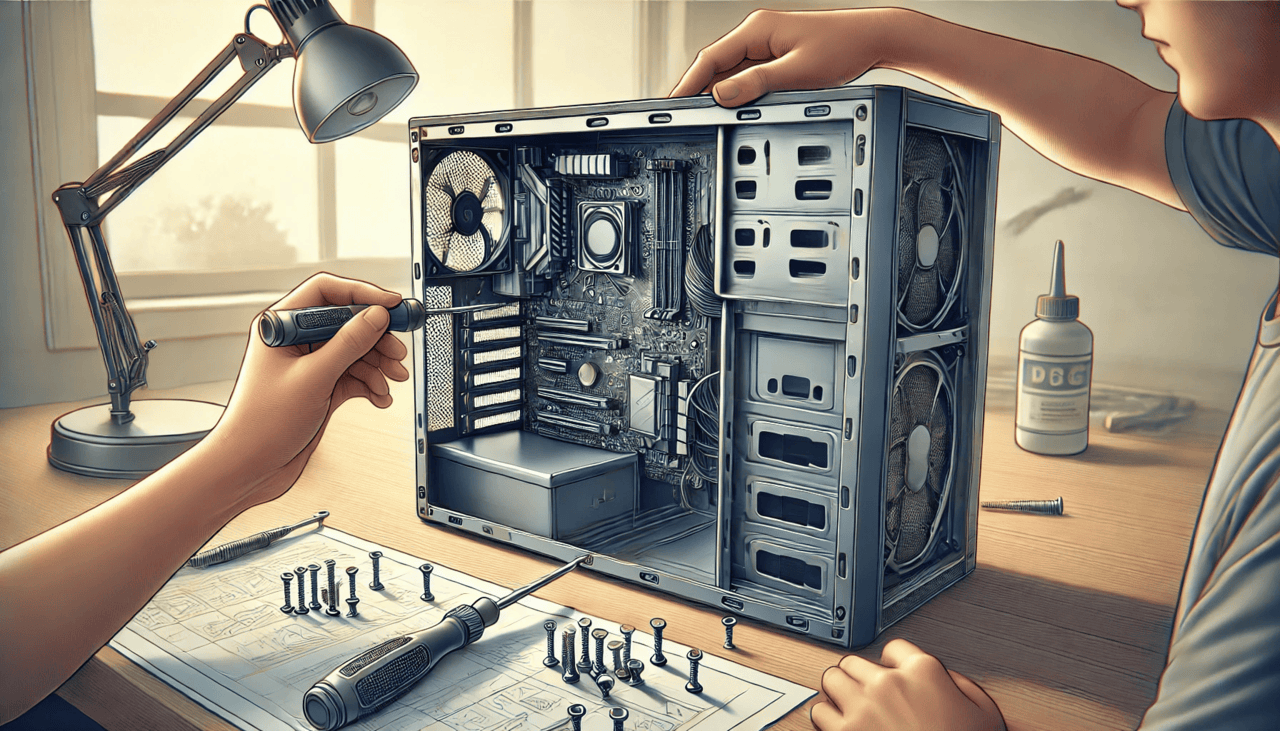
How to Clean a PC: Internal Cleaning
Cleaning dust from a PC’s interior is essential if you want to keep overheating, instability, and other issues at bay.
How to clean a PC case
- Open the case and examine the back and sides of your PC. Then, search for the screws and remove them with a screwdriver.
- Use canned air or a dust cleaner to blow dust and debris out. You can start from the upper region and work your way down.
- Do not touch the inner components unless it is necessary, like when you need to remove cable ties or empty drive bays to access the space behind them for proper cleaning.
How to clean a computer’s power supply unit (PSU)If too dirty, your PSU may overheat and burn out. To prevent that:
- Search for the PSU. It’s usually where the power cable connects to your computer.
- Use specialized vacuum cleaners designed specifically for electronics to clean this area, or you can use the canned air to blow out dust and dirt and make sure to blow from the inside outward.
- Keep blowing until no visible dust is left.
How to clean a PC’s graphics card (GPU)
Here’s how to clean your graphics card:
- Carefully remove any cables connected to the GPU and remove it from your PC.
- If you want to do a deep cleaning, take the GPU outside to avoid spreading dust indoors.
- Use canned air to remove the dust. Make sure to use short bursts and keep the can upright to prevent building moisture.
- You can also lightly clean the GPU without removing it from your computer.
- After cleaning, carefully reattach the GPU to the computer and reconnect the cable.
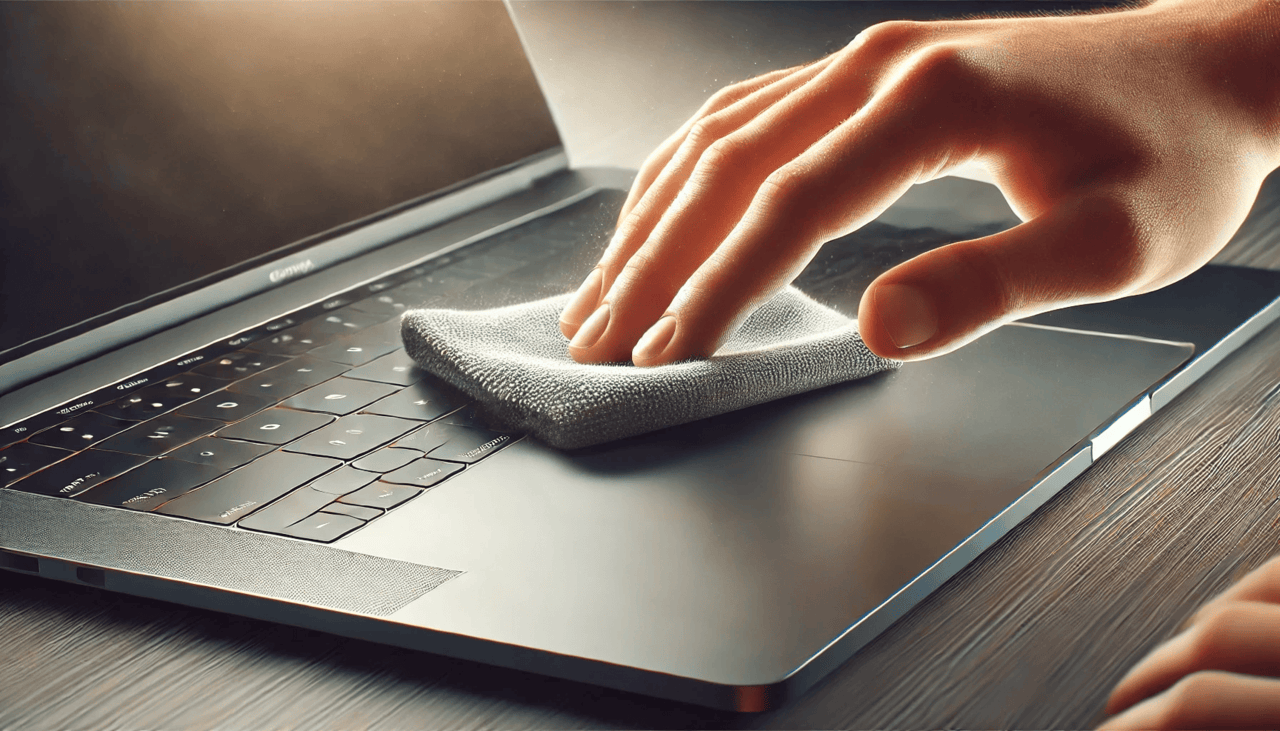
How to Clean Your Laptop
Before you go on to clean your laptop, first you need to turn it off and unplug everything (power cable and any drive attached). If possible, remove the batteries as well. This will reduce the risk of short circuits or electric shocks.
How to clean a laptop screen
- Start by wiping the screen with a slightly damp (not wet) microfiber, lint-free cloth.

- Clean in gentle circular motions and avoid excessive pressure as it can damage pixels.
- For stubborn marks, use a solution of equal parts distilled water and white vinegar.
How to clean your laptop keyboard
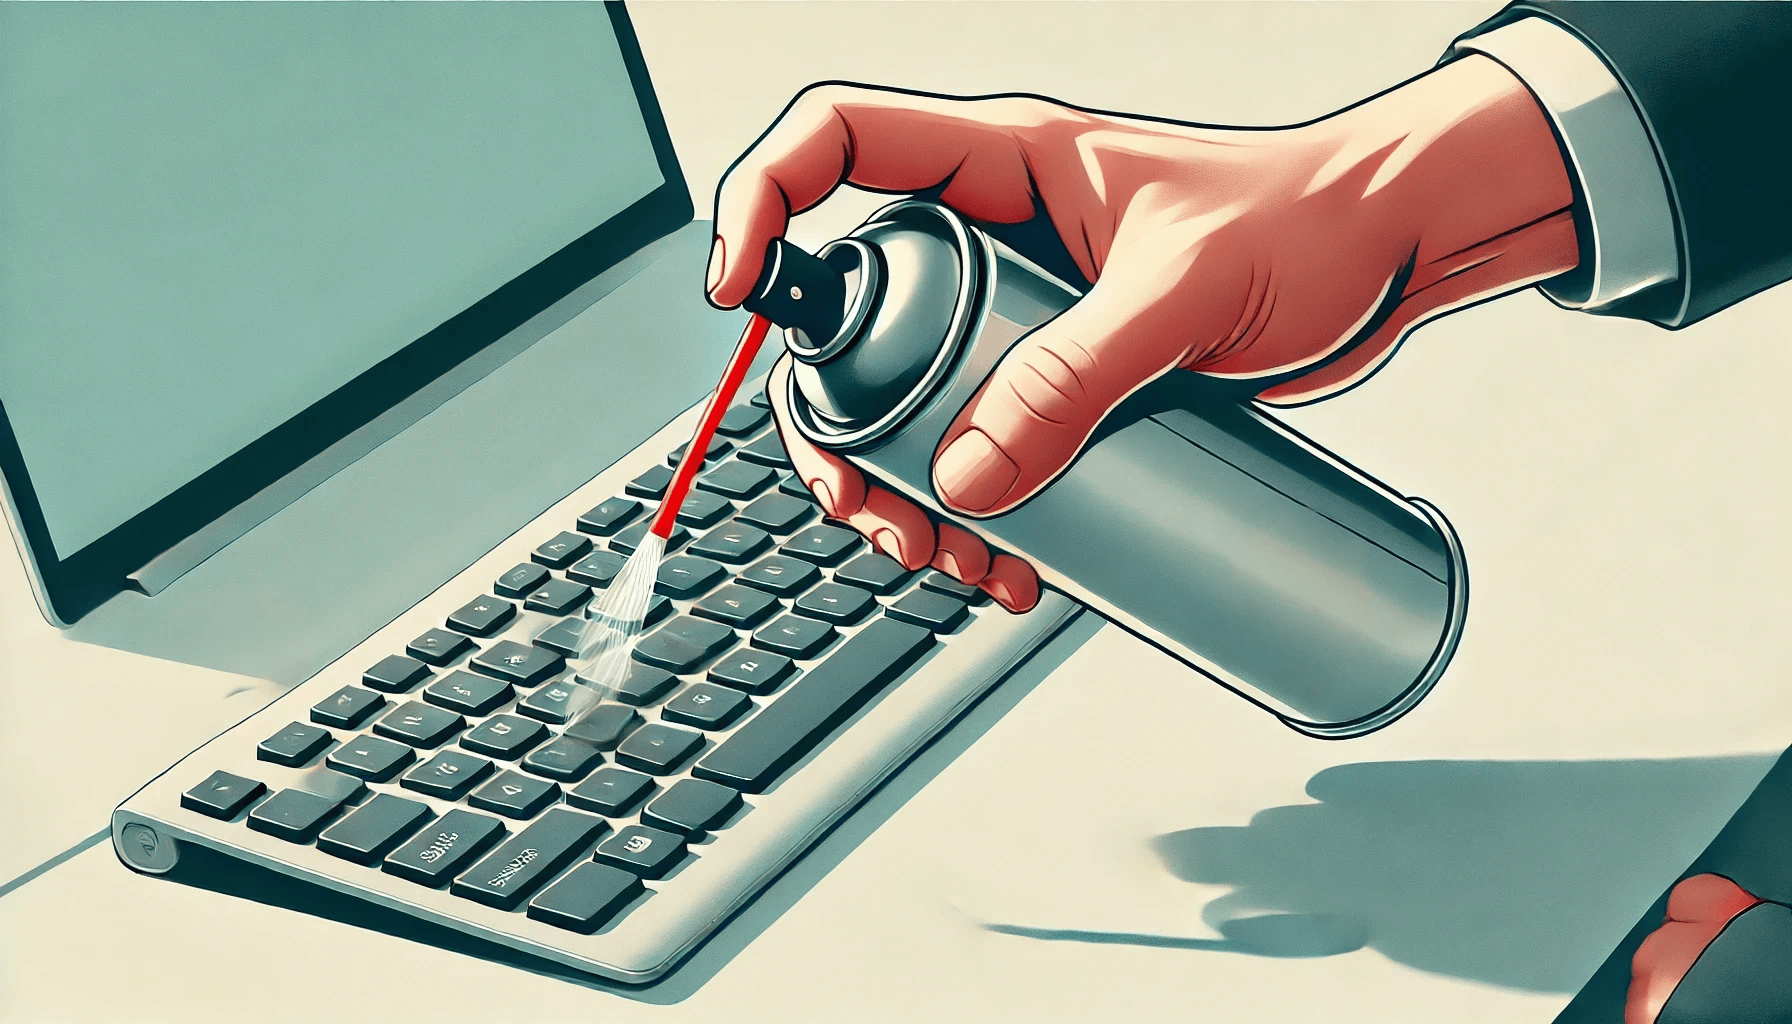
- Start by applying compressed air between keys to remove debris. Apply the compressed air in short bursts, working from one end to the other.
- As you spray the keyboard, hold the laptop at an angle so the dislodged debris can fall to the ground.
- After that, you can carefully clean individual keys with cotton swabs lightly dampened with isopropyl alcohol.
- Take a clean, slightly damp microfiber cloth. Microfiber is recommended because it is soft and non-abrasive, reducing the risk of scratches on the sensitive surface of the touchpad.
- Lightly dampen the cloth with distilled water or a screen-cleaning solution.
- Gently wipe the entire surface of the touchpad using smooth circular motions. Avoid applying too much pressure to prevent liquid from seeping into the edges of the touchpad, which could damage internal components.
- For grime or oily residue that doesn’t come off with a simple wipe, use a cotton swab (Q-tip) lightly dipped in isopropyl alcohol. Be sure to use only a small amount of alcohol—just enough to moisten the swab. The goal is to clean the surface without any liquid seeping underneath the touchpad.
- Dirt often builds up around the perimeter of the touchpad, especially where the touchpad meets the laptop casing. Use the cotton swab to clean these tight spots. If the dirt is more stubborn or compacted, you can use a soft-bristled brush (like a clean toothbrush or makeup brush) to dislodge particles. Be gentle to avoid scratching the surface.
- After cleaning, immediately dry the touchpad with a clean, dry section of the microfiber cloth. This ensures that no moisture remains on the surface, which is crucial for the touchpad’s electrical sensitivity.
Cleaning the vents and fans
- Begin by aiming the nozzle of your canned air at the laptop’s vents. Depending on your laptop make, the vents are typically located on the sides or bottom. Blow air through the vents to dislodge dust.
- Tilt the laptop slightly to encourage dislodged dust to fall out rather than settle deeper inside the device.
- Carefully remove the screws and open the back panel of the laptop. Make sure you use the appropriate tools to avoid stripping screws.
- Once the internal components are exposed, locate the fans and gently clean the fan blades using a soft brush or cotton swab. Be gentle to avoid bending or breaking the blades.
- To clean the heatsinks (the metal components designed to dissipate heat from the processor and other components), use compressed air to blow out any dust. You can also clean any visible dust around the cooling system.
- Avoid touching sensitive components like the motherboard and RAM modules while cleaning.
- After cleaning, ensure everything is dry and dust-free before closing the laptop. Carefully screw the back panel into place and reconnect the battery (if removed).
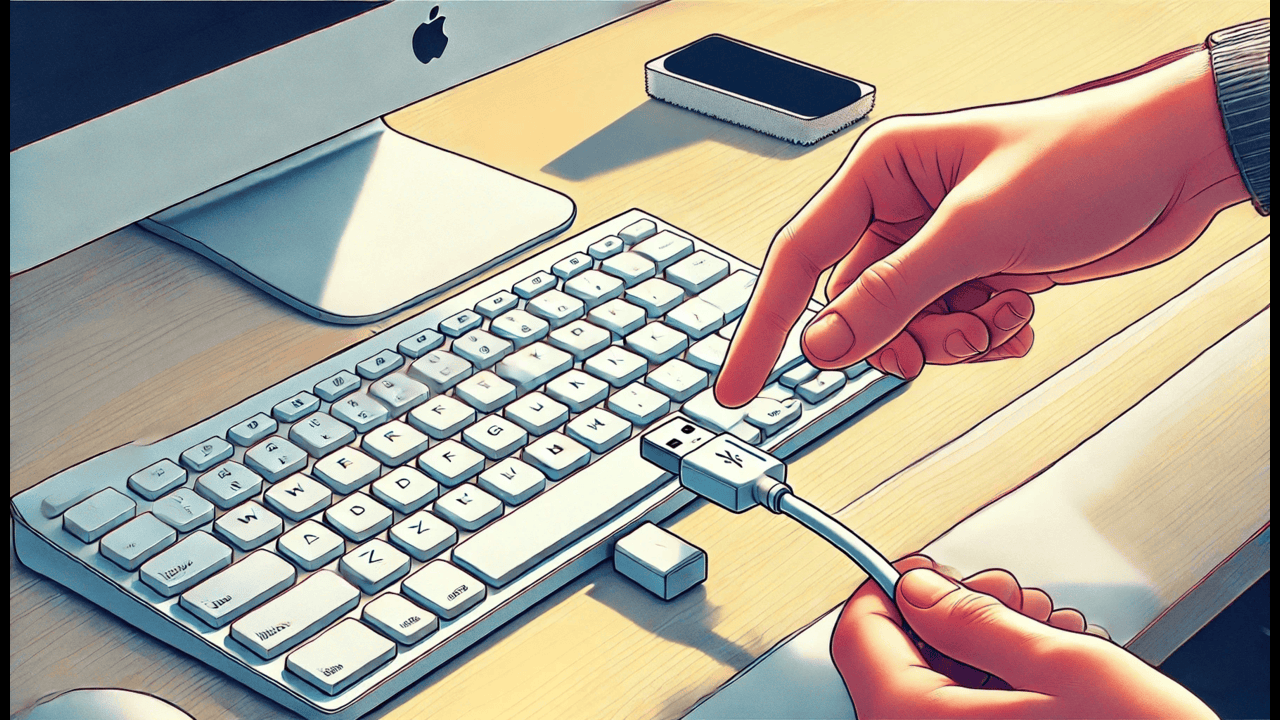
Cleaning ports and connectors
- Take a can of compressed air and direct short bursts of air into each port (USB, HDMI, Ethernet, audio jack, etc.). This will help dislodge dust, dirt, or small debris stuck inside.
- Hold the laptop at an angle, allowing the dislodged particles to fall out rather than settling back inside the port.
- For any remaining dirt or stubborn debris that doesn’t come out with compressed air, use a dry cotton swab (or a soft-bristled brush) to gently clean inside the ports. Be careful not to leave cotton fibers behind. A tightly wound swab works best to avoid shedding.
- For particularly tough grime, lightly dampen the swab with a small amount of isopropyl alcohol (70% or higher). Be sure the swab is just moist and not dripping, as too much liquid can damage the internal components.
- If the metal connectors inside the ports appear tarnished, you can use a specialized electronic contact cleaner. Apply the cleaner to a cotton swab or a lint-free cloth and gently wipe the connectors.
- Do not apply excessive pressure, as the delicate metal prongs inside the ports can be bent or damaged easily.
- After cleaning, ensure that the ports are completely dry before plugging anything into them. Moisture can damage both the connectors inside the port and the device you’re connecting.
Cleaning the body and casing
Finally, wipe the exterior of the laptop with a microfiber cloth lightly dampened with isopropyl alcohol. Pay extra attention to seams and corners where dirt can collect. You can use a toothpick to dislodge debris from those areas. If there are stickers or adhesive residues on the laptop, you can clean them with rubbing alcohol. Finish up by cleaning the rubber feet to maintain grip on surfaces.
Tips from Users on How to Clean a Laptop Keyboard and Mouse
To learn the best way to clean your laptop keyboard and mouse , you can check communities on social media. Tech enthusiasts and experienced users often share valuable cleaning tips on forums like Quora and Reddit. Here are some popular community-sourced tips:
- Melamine sponges: Also known as magic erasers, these can be effective for cleaning key surfaces (use with caution and minimal moisture).
- Sticky notes trick: Slide the sticky edge of a Post-it note between keys to collect dust and small particles. The only downside is that it might not reach deeper dust or crumbs stuck further, and the paper can tear if you’re not gentle enough.
- Toothpick and cotton: If compressed air does not get the debris out, some users suggest using this method. For precision cleaning, wrap a small amount of cotton around a toothpick, slightly dampen it with alcohol, and clean between keys. This is helpful for stubborn stains lodged between your keys.
- Keyboard cleaning gel: Some users also recommend keyboard cleaning gel. It is a sticky, putty-like substance that you can use to remove dust, crumbs, and debris from your keyboard. To use it, knead the gel to warm it up, gently press it onto the keyboard surface between the keys, and lift it straight up to collect debris. Repeat across the entire keyboard using clean sections of the gel each time, and store the gel in its container when finished to prevent it from drying out.
- Some users suggest using LCD cleaner to replace rubbing alcohol. If you have this at home, it’s a good idea, as the liquid is specifically designed for delicate electronic surfaces, so it’s less likely to cause damage compared to household cleaners.
Why You Should Clean Your PC
Cleaning dust from your PC is more than just about aesthetics; it’s crucial for maintaining optimal performance and longevity. Here are some key reasons to clean dust from your computer regularly:
- Reduces germ exposure: Your PC harbors more germs than you might realize—potentially even more than a toilet seat. Regular cleaning helps reduce your exposure to germs.
- Prevents overheating and improves performance: Dust buildup can obstruct your computer’s cooling system, leading to overheating. This can cause your PC to slow down, shut off unexpectedly, or even sustain permanent damage. Regular cleaning helps prevent these issues, allowing your PC to operate more smoothly and perform better overall.
- Extends the PC’s lifespan: By keeping your PC clean, you can prevent moisture buildup and protect it from corrosion damage, thereby improving its lifespan.
With 30+ features, BoostSpeed can help keep your computer in good shape.
How to Clean Your Computer: Explained
Cleaning your computer might not be the most exciting task, but it’s important if you want the computer to perform well. If your computer was overheating before the cleaning, by now, you should notice an improvement.
Now that you know how to clean your computer from the exterior to the interior, don’t stop here. Try to make this a regular practice. A consistent cleaning routine offers many benefits, from prolonging the life of your PC to improving your health by reducing dust and germs.
Finally, as always, we would like to hear from you. Did this process work for you? Did you experience any issues? Please leave us a comment below.
FAQ
To clean the keys without removing them:
- Turn off the laptop and unplug it.
- Use compressed air to blow out any dust and debris from between the keys.
- Gently brush the keys with a small, soft-bristled brush.
- Wipe the keys with a slightly damp microfiber cloth or alcohol wipe (70% isopropyl alcohol or more).
- Allow the keyboard to air dry completely before powering it back on.