
If you want to know how to prioritize tasks in Windows 10 , this quick guide is here to help. One advanced and practical way to boost your PC performance is to change the process priority. Setting the process priority is easy, but it can be tricky if you don’t have the right instructions.
So how to set priority in Task Manager? And what even is the process priority? This guide will answer these questions and more.
Let’s begin.
Understanding Process Priority
Computers rarely perform multitasking. In fact, when your computer looks like it’ s managing several apps or background processes, it is actually just switching between them rapidly.
There is a limit to the number of tasks your PC can take on this way—even if your computer runs on multi-core processors.
So it’ s important to manage the time assigned to each task.
Also read: CPU Cores Explained: Does the Number of Cores Affect CPU Performance
Your computer must establish a priority system to determine which jobs are more crucial to appear to be functioning in real time.
The process priority determines the “importance” of each task. Tasks essential for the smooth operation of your PC get priority, mainly system processes rather than standard applications.
This ensures that your computer’s core operations continue running normally, even when working hard.
What Are Various Levels of Process Priority?
Like a ranking system, process priority is separated into numerous levels. Processes are ranked from least important to most important in this order.
There are six priority levels in Windows, but you or other apps can only change five. Let’s go through them:
- Normal
Most applications operate at this standard priority level.
- Below normal
These processes use fewer resources than standard applications. This level would work best for less essential activities without strict deadlines.
- Low
This is the lowest priority level in Windows. These activities only receive resources after other processes have finished.
- Above normal
This level is a bit above average. It would be best applied to tasks that require a modest performance boost without competing with system functions.
- High
Reserved for vital system operations required for efficient computer functioning. It is not suggested for regular user applications.
- Realtime
This is the highest priority level. Here, tasks run in real time.
Keep in mind that if you use Realtime priority level for routine apps, system crashes may happen. This level is mostly meant for hardware interfacing tasks. It’s recommended that you stick with Normal and occasionally Above Normal priority levels for basic tasks.
Assign lower levels to less significant background processes and the higher levels for system operations.
In the next sections, we’ll go through how to change priority in Task Manager.
Setting Priority from the Details Tab
Here’s how to change the priority of a process in Windows 10:
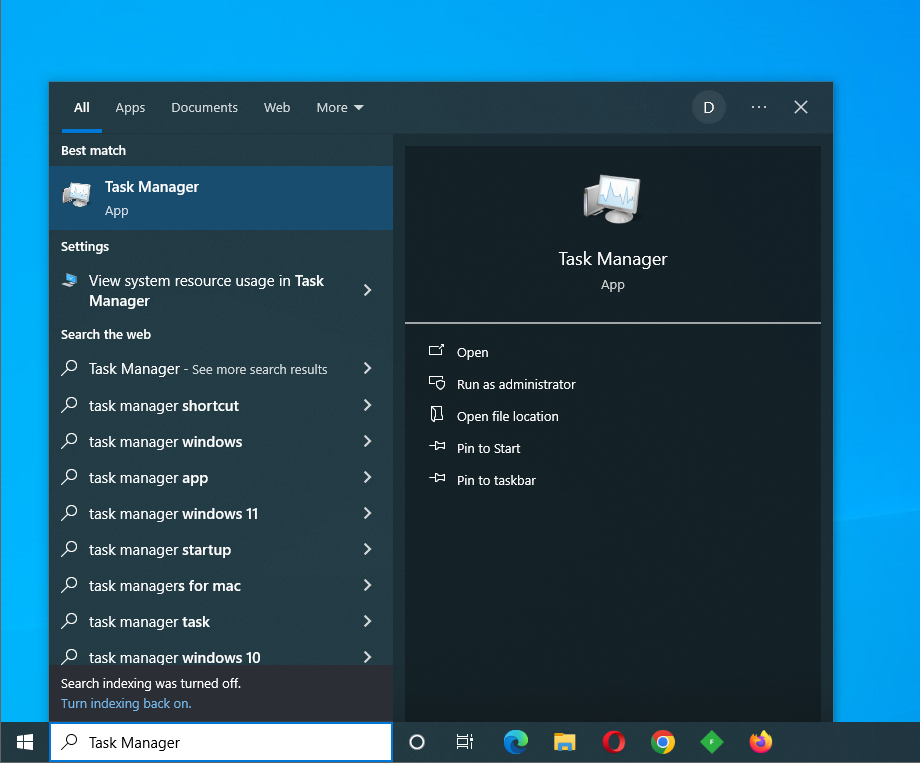
- Type
Task Managerin the search bar and click on it to open. You can also pressCtrl + Shift + Escto open Task Manager.
- Go to the Details tab and right-click the process you need.
- Choose Set priority and choose the value you want.
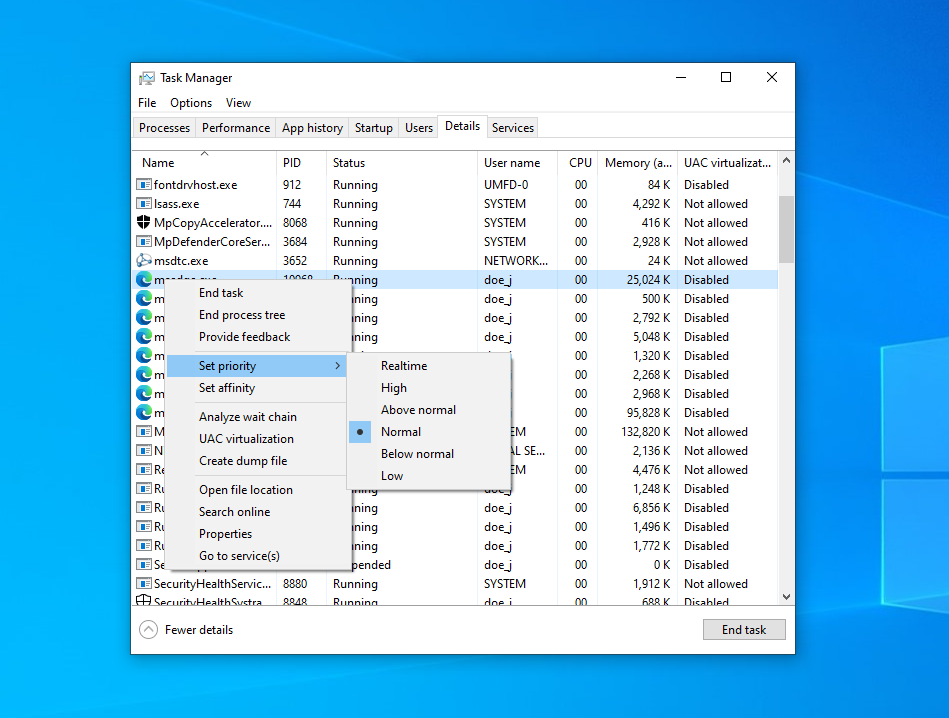
- Choose Change priority when the confirmation dialog displays.

If you want to know how to set high priority in Task Manager , this is the easy way. However, you’ll have to restart your computer to see the effects of the change.
Changing Priority via Task Manager using Command Prompt
To prioritize tasks in Task Manager using the Command Prompt , follow these steps:
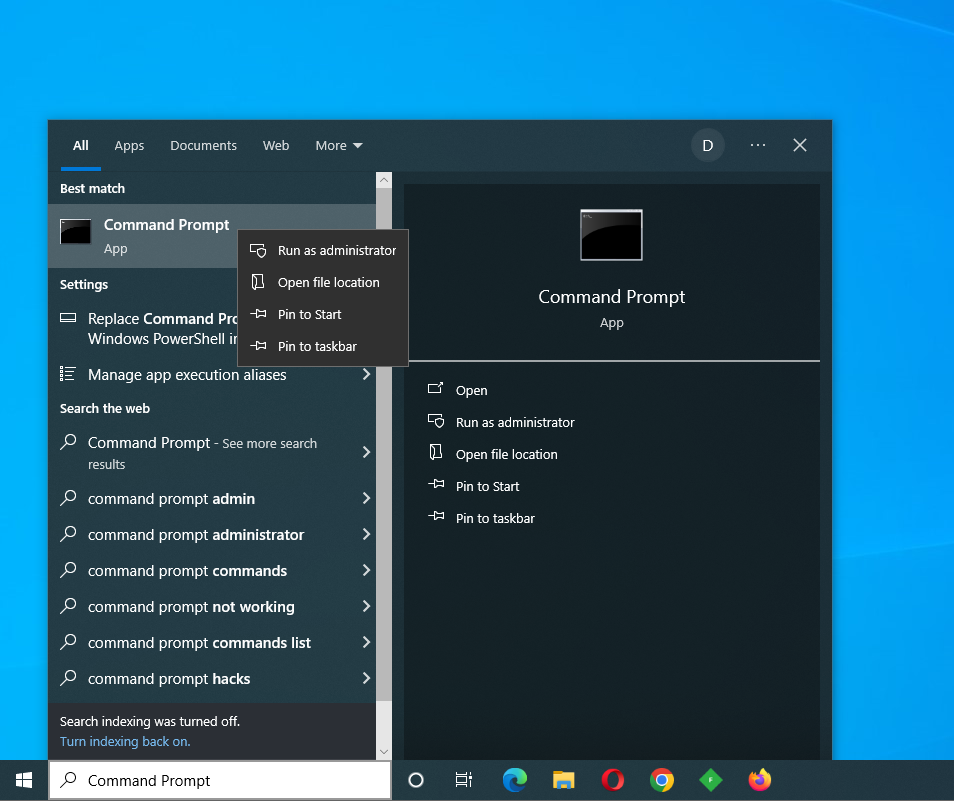
- Type in
Command Promptin the search bar. - Right-click it and select Run as administrator.
- Enter
wmic process where name="firefox.exe" CALL setpriority "Above normal"in the Command Prompt when it starts.
- You can also use a numerical value to set the process priority. For example, you can set a value like this
wmic process where name="msedge.exe" CALL setpriority 32.
Keep in mind that the process you want to change must be running before you set this command. Here is the list of priority values you can set:
| Realtime | High | Above normal | Normal | Below normal | Low |
| 256 | 128 | 32768 | 32 | 16384 | 64 |
Using PowerShell to Adjust Priority
Here’s how to prioritize tasks in Windows 10 using PowerShell :
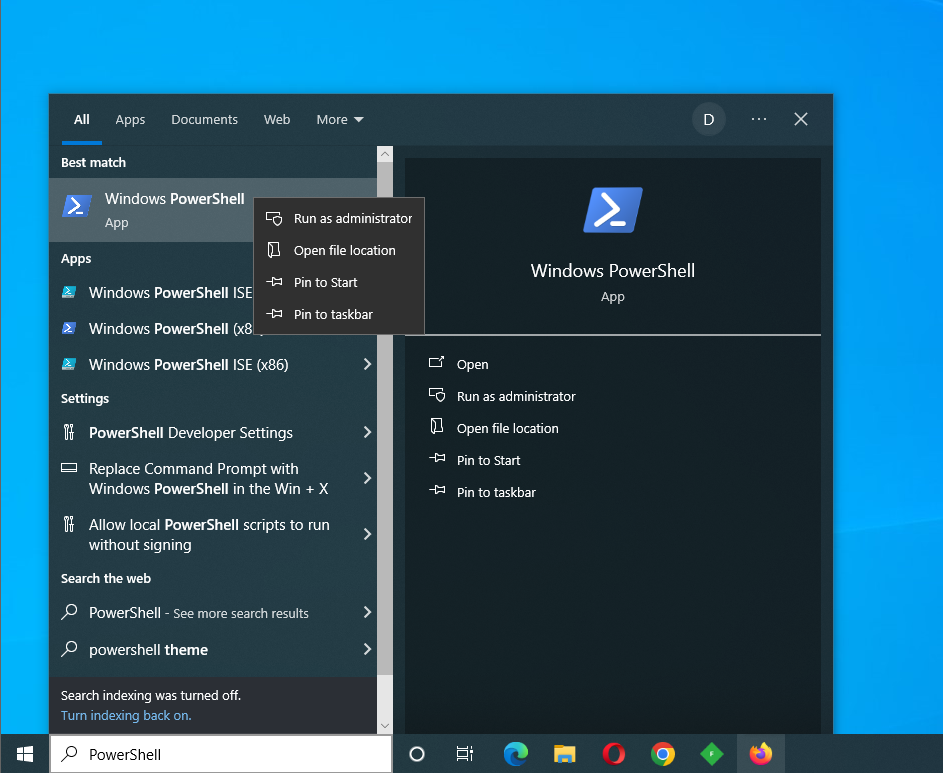
- Enter
PowerShellin the search bar. - Next, right-click Run as administrator, and click on it to open.
- You can also press
Windows key + Xand select Windows PowerShell (Admin). - Copy and paste this command into PowerShell:
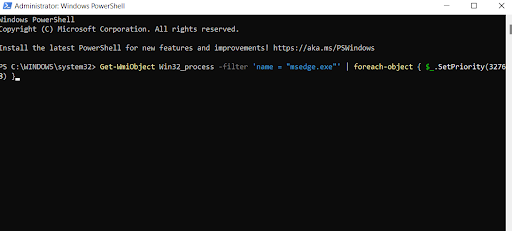
Get-WmiObject Win32_process -filter 'name = "msedge.exe"' | foreach-object { $_.SetPriority(32768) }
You can now change the priority level and process name. Use the table below:
| Realtime | High | Above normal | Normal | Below normal | Low |
| 256 | 128 | 32768 | 32 | 16384 | 64 |
Also read: Quick Tips: How to Disable Startup Programs in Windows 10
Launching Applications with Specific Priority using Command Prompt
If you want to know how to start applications using the Command Prompt, follow the steps below:
- Type
Command Promptin the search bar, right-click on it, and select Run as administrator.

- Enter the following command:
" /AboveNormal " C:\Program Files\Internet Explorer\msedge.exe"
You can use this method to launch Microsoft Edge with an Above normal priority. Choosing the right approach gives every program a varied priority level. If you want to know how to increase priority in Task Manager, go with the Details tab method if you don’t want to use the Command Prompt or PowerShell.
Conclusion
Today, we’ ve looked into how to set priority in Task Manager. We hope you now have a clear roadmap to set the process priority for different apps and tasks on your PC.
The process priority is especially helpful when you need to provide software that uses many system resources with higher degrees of priority.
For example, choosing a higher priority level can improve the performance of a game with high system needs. In some cases, raising the priority level can even assist in fixing game crashes.