
Access to the Internet has become an integral part of our daily lives. Moreover, we want our online activities to remain secure and safe from viruses and malware. This is why it is advisable for PC users to install reliable software like Auslogics Anti-Malware, which can provide us with the protection we need.
However, there are times when Windows users experience errors while installing security software. One example is the error 0x6d9—an issue that may hinder you from accessing the Internet.
What is Error 0x6d9 in Windows?
Users who had encountered the 6d9 error reported that their Windows Firewall was involuntarily turned off while they were installing their security software. They also complain of having no access to the Internet. If you experience the same problem, your operating system would most likely give an APIPA IP address. You will see an error message like the one below:
“There was an error opening the Windows Firewall with Advanced Security snap-in, The Windows Firewall with Advanced Security snap-in failed to load, Restart the Windows Firewall service on the computer that you are managing, Error 0x6D9.”
Do not panic if you see this message. In this article, we will teach you how to resolve 0x6d9 Windows Firewall error. In no time will you be able to access the Internet and enjoy all the features of your security software.
Of course, the first solution to fixing this problem is uninstalling your anti-malware/anti-virus software. On the other hand, there are cases where doing this step does not completely resolve the error. So, you might have to resort to the other options listed below.
Method 1: Conducting a System Restore on your Computer
After uninstalling your security software, you can perform a system restore. This will allow you to go back to the system settings before the error occurred. Follow the steps below:
- Click the Search icon.
- Type
System Restore. - In the System Restore section, click the System Restore button.
- Click Apply and then click OK.

After following the steps above, check if the issue has been resolved.
Method 2: Reviewing the Status of the Following Windows Services
If you notice that the system restore did not thoroughly fix the error 0x6d9, the next resolution would be to check the following Windows services:
- Windows Firewall
- Base Filtering Engine (BFE)
- Windows Firewall Authorization Driver (MPSDRV)
To check them, follow the instructions below:
- Press the
Windows Key +R. This should open the Run dialog box. - Type in
services.mscand clickEnter. - Once the Services Manager window is up, look for the aforementioned services and check if they are set to “Started”.
Windows 10/11 (8, 7, Vista, XP)
Method 3: Resetting the Windows Firewall
Most of the time, users who researched how to resolve 0x6d9 Windows Firewall error followed this method and were able to fix the problem. You can reset the Windows Firewall via the Control Panel or by using an elevated Command Prompt. Doing so will allow you start the services and re-register the firewall DLL file. Here are the steps:
- Press the
Windows Key +Rto open the Run dialog box. - Type in
cmdand hitEnterto open Command Prompt. - Once the Command Prompt is up, execute the commands below, one by one:
netsh advfirewall reset
net start mpsdrv
net start mpssvc
net start bfe
regsvr32 firewallapi.dll
Check if this method resolved the issue. If not, try the next fix.
Method 4: Resetting the Permissions for Microsoft Protection
In this method, you will deal with Windows Registry, which is a sensitive database. If you incorrectly modify it, registry files may be damaged, causing bigger problems to your computer. So, before you follow the steps below, make sure you back up the registry first.
Note the following keys and permissions:
Permission needed: Query Value; Set Value
Keys: HKEY_LOCAL_MACHINE\SYSTEM\CurrentControlSet\Services\SharedAccess\Defaults\FirewallPolicy
Permission needed: Full Control; Read
Keys: HKEY_LOCAL_MACHINE\SYSTEM\CurrentControlSet\Services\SharedAccess\Parameters\FirewallPolicy
Permission needed: Full Control; Read
Follow these steps:
- Press the
Windows Key +Rto open the Run dialog box. - Type in
regeditand pressEnter. - Navigate to the aforementioned registry keys and look for “Enter the object names to select field”.
- In the column, type
NT SERVICE\mpssvc. Click Check Name and then press OK. - Add the permissions to their corresponding keys.
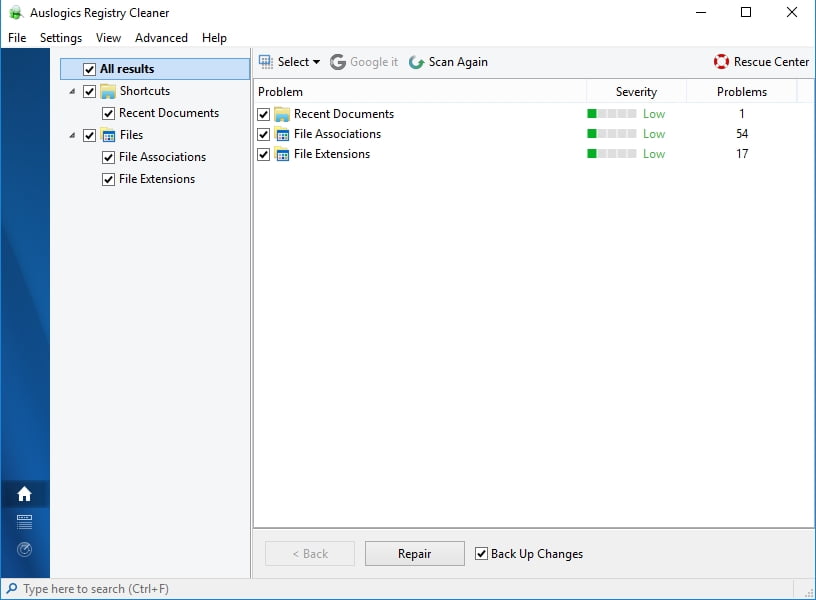
As we’ve warned you, updating and cleaning the registry files can be complicated. Thankfully, you can use a one-click solution like Auslogics Registry Cleaner to fix this issue. With this tool, you can conveniently repair damaged and corrupted registry files.
Have you experienced the same issue on your Windows Firewall?
Let us know how you fixed it in the comments below!