Experiencing a hard disk error can be worrisome since it’s where you store all your valuable data. When you encounter the S.M.A.R.T. hard disk error 301 or the equally dreaded Error Code 305, you can be left wondering what to do.
These hard disk errors are common in HP laptops but the good news is that they are simple to rectify with a little guidance and the right tools.
In our comprehensive guide, we provide practical solutions on how to fix hard disk 1 quick 303 and hard disk 1 full 305. We also share how to fix S.M.A.R.T. hard disk error and restore your drive’s health.
Let’s get started!
What Are Hard Disk 1 Quick 303 and Full 305?
When your computer displays the Hard Disk 1 Quick 303 and Hard Disk 1 Full 305 error codes, it means that the life of your hard drive has come to an end. It is no longer functional and needs to be replaced at once with a new HDD or SDD.
This error appears when trying to boot your system but it fails and redirects you to the System Diagnostics. After it runs the Primary Hard Disk Self-Test, it throws you the error Hard Disk Quick Error (303) or SMART Hard Disk Error 301.
Sometimes, errors like Hard Disk 1 Quick (303) or Hard Disk 1 Full (305) may appear.
What Are the Causes of Hard Disk Errors?
Understanding the underlying causes of hard disk errors can help you address the issues more effectively. Here are some of the common factors that can lead to hard disk errors like 303 Error Code or Error Code 305:
- Physical damage, such as dropping your computer or something heavy falling on it.
- Overheating, where your laptop or computer is exposed to excessive heat that damages the hard disk and other components.
- Power surges or voltage fluctuations.
- Malware and virus attacks
- Loose connection
How to Fix Hard Disk Errors 303 and 305 on Windows PC
When the ‘ Hard Disk 1 Quick 303’ or ‘Full 305’ errors appear, it means your hard drive is failing. You’ll need to act fast to avoid losing your important data. Here is what you should do:
Fix 1: Backup Your Data
The first step to protecting your data is to back it up to an external storage device or cloud-based service. You can follow the procedure below to back up the data on your damaged hard drive:
- Go to the Start menu and click on the Settings icon. You can also press the
Windows + Ikeyboard combination to open the Settings app without going to the Start menu.
![]()
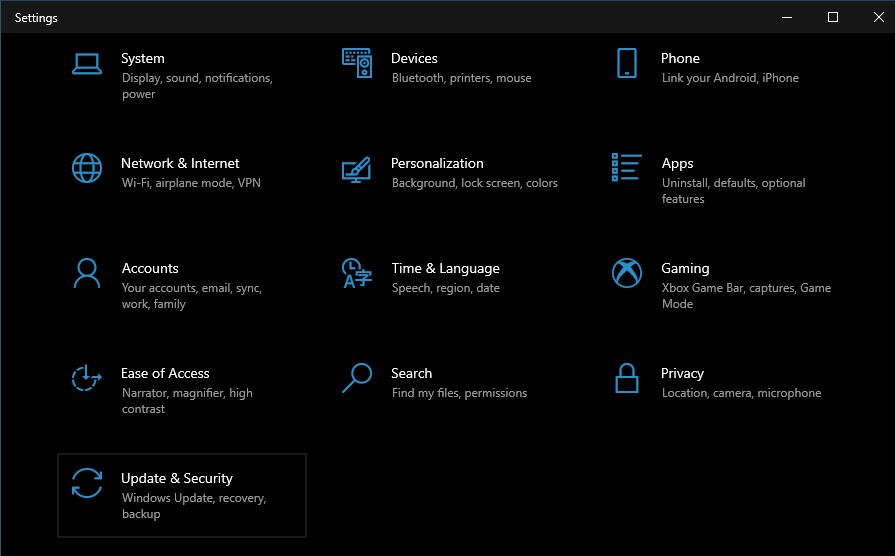
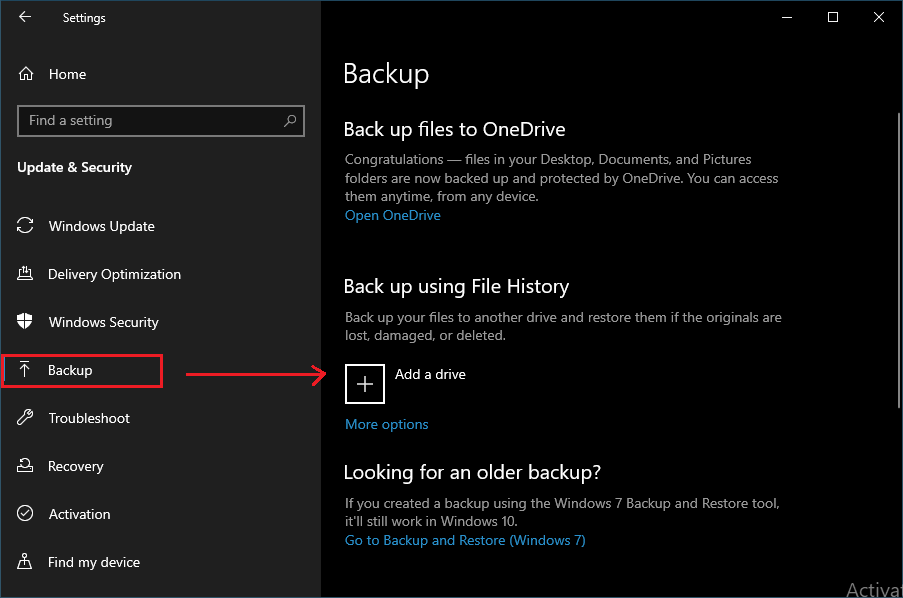
- Click on Update and Security. Then, click on Backup from the left pane of the new page.
- Click on Add a Drive and select an external drive to where your data will be sent to. You can also use a network location for your backup.
![]()
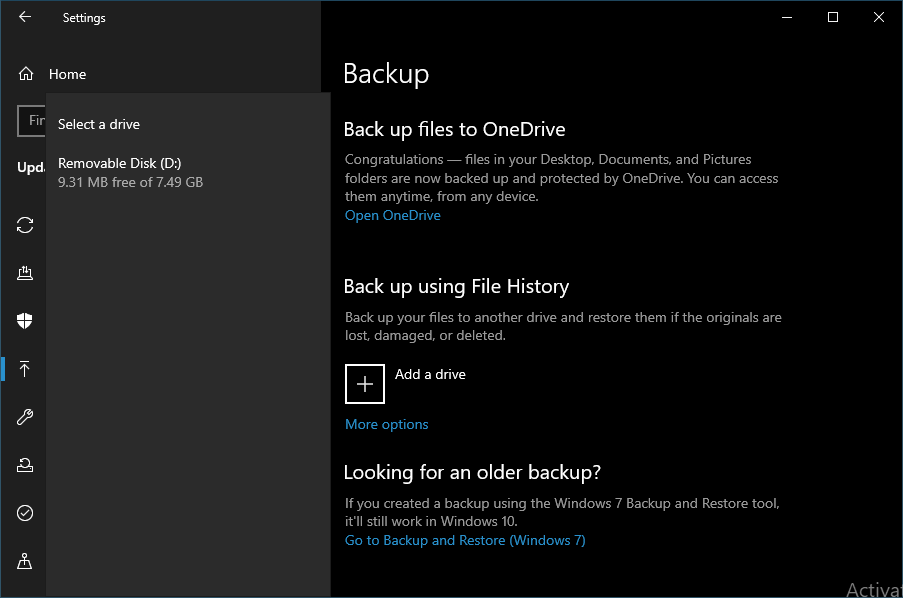
- Select the drive you want to use for the backup.
![]()
If you’re a Windows 11 user, follow the steps below:
- Connect your external storage device to the computer that contains the files you want to back up.
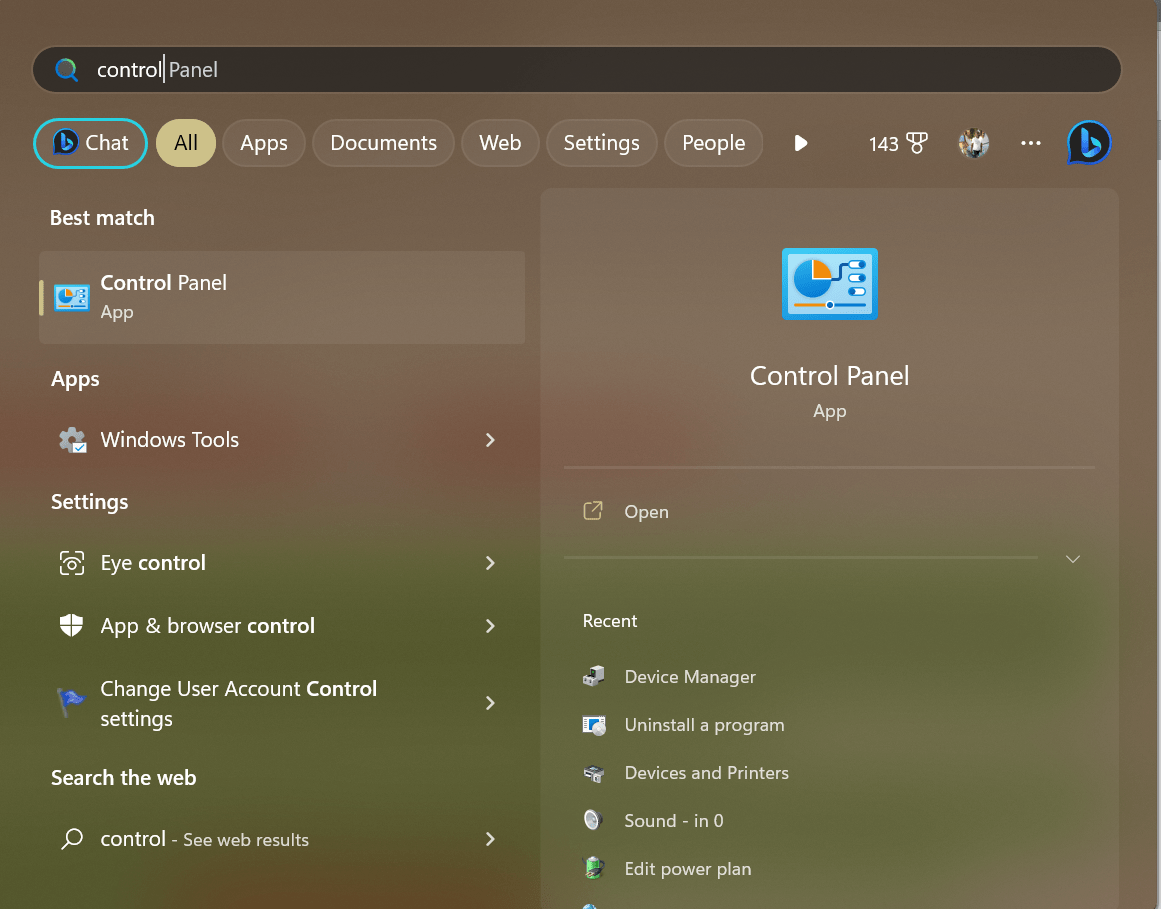
- Hit the Windows Key and type
Control Panel, then select it from the list.
![]()
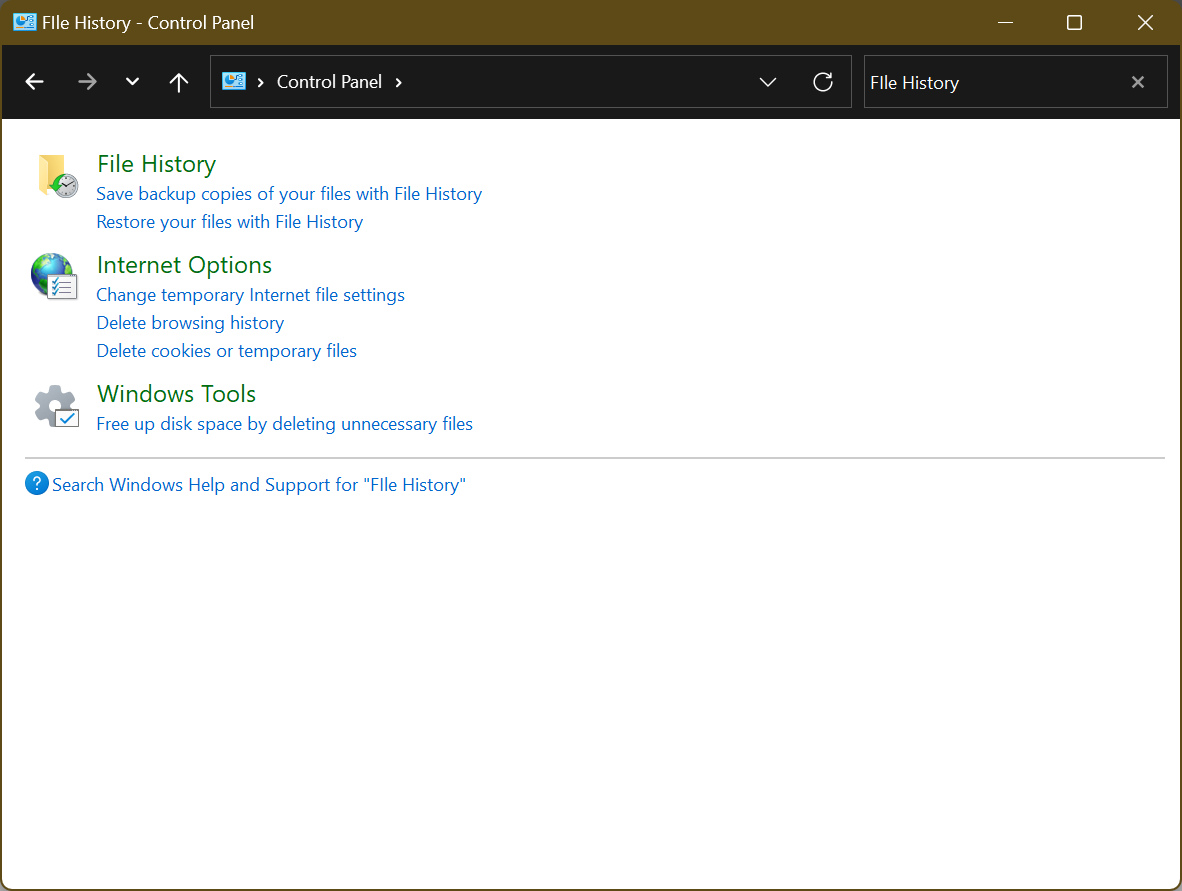
- Type
File Historyin the Control Panel’s search box, then select Save backup copies of your files with File History.
![]()
- Turn on File History to commence the operation.
After the backup is complete, you can restore your files and folders anytime you want using the Backup and Restore tool. Here is how to do so:
- Type
Restore filesin the search menu and select Restore your files with File History. - Search for the file you want to restore. You can see all the available versions of the file. Select the version you want to restore and click on Restore. Doing so will save the file to its original location. However, if you’re going to save it in a different place, then click on Restore To.
The System image backups you created in your previous version of Windows are available to you:
- Open the Run command (Press the
Windows + Rkeyboard combination) and typeControl Panelin the text box. Then, hitEnter. - Click on System and Security > Backup and Restore.
- Follow the on-screen instructions to complete the process.
If you’ve upgraded to Windows 11 and you turned sync on, your synced settings will automatically be restored on your new PC when you sign in with your Microsoft account.
Related: How to Download and Install Windows 11
Fix 2: Check Disk Cables and Connections
Loose disk cables and connections can contribute to Error Code 305 and 303 Error Code by disrupting communication between your hard disk and the PC. When the cables are not securely connected or are partially disconnected, it can lead to intermittent data transmission or complete data loss, which could result in those error codes.
For that reason, you need to ensure the disk cables are connected properly. To do so:
- Power off the PC and unplug it from the power source.
- Open the computer case to access the hard drive.
- Check the cables and ensure the SATA or IDE cables, as well as the power cables, are firmly connected to the hard drive and corresponding ports on the motherboard and power supply. If the cables are damaged, replace them with new ones.
- Once done, close the PC case and check if the 303 error has been resolved.
Fix 3: Perform a Disk Check
When you encounter a hard disk error like error code 305 , you can use the Windows built-in Check Disk tool to try to resolve it. Here’s how to proceed:
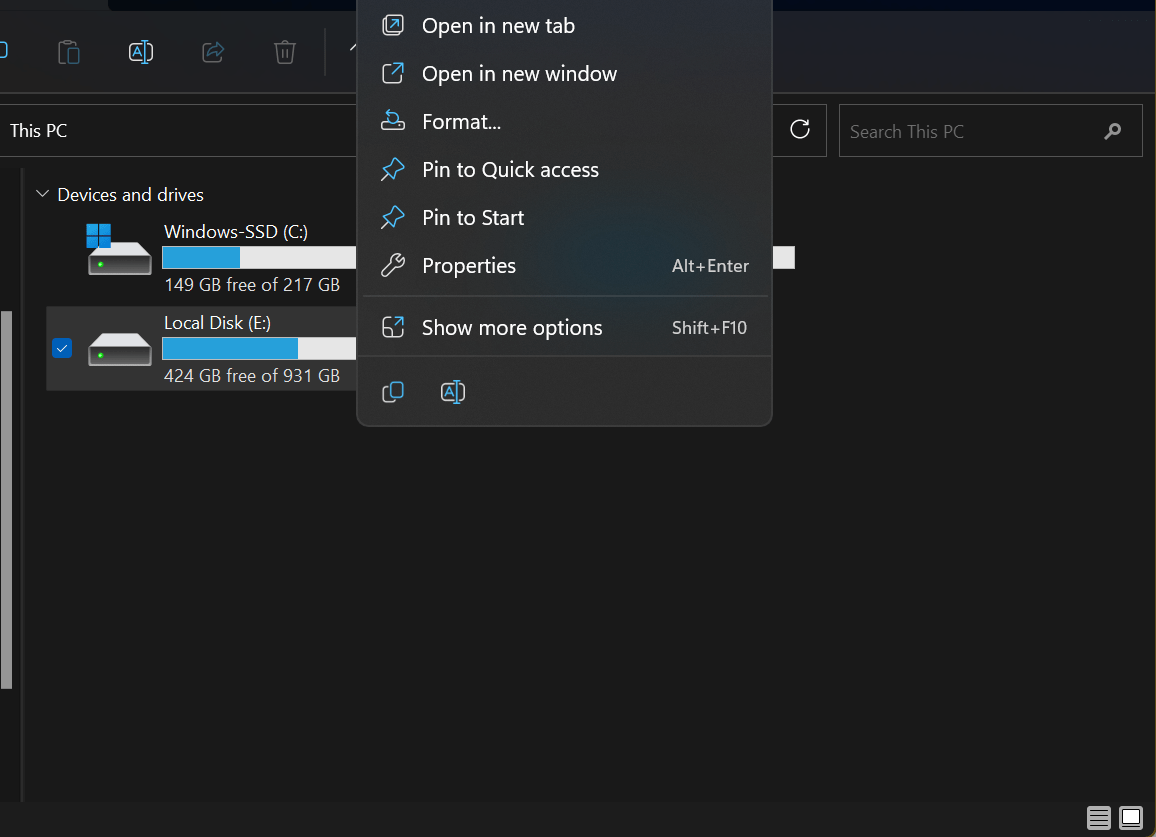
- Launch File Explorer using the
Win + Ekeyboard shortcut, and select This PC. - Right-click the hard drive giving you the SMART hard disk error , under the Device and drives, and open its Properties.
![]()
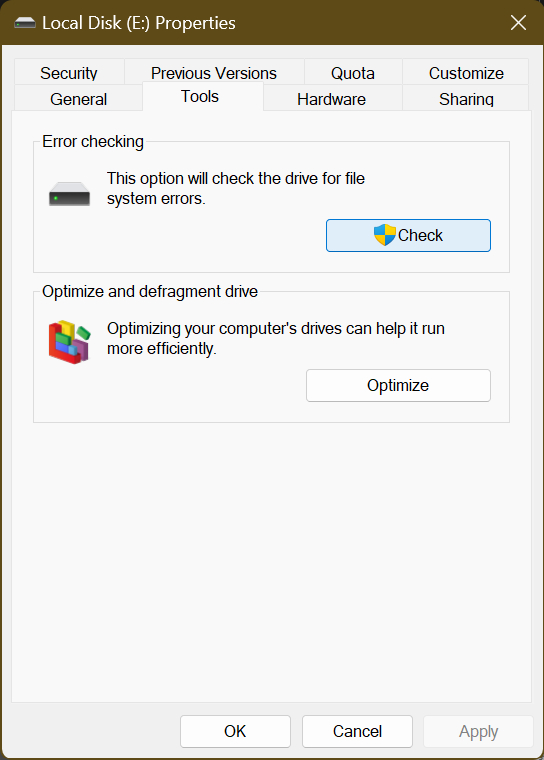
- Switch to the Tools tab, then click on the Check button under the Error checking section.
![]()
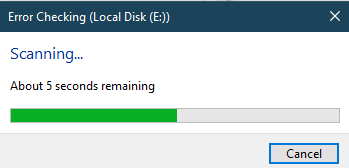
- You’ll get the notification “You don’t need to scan this drive.” Ignore it and click on Scan drive. This will initiate the scan of your entire drive.
![]()
Alternatively, you can run the CHKDSK tool to diagnose your hard drive for file system issues and correct them. Here’s how:
- Run the Command Prompt as the admin. To do so, press the
Win + Rkeys or right-click Start and select Run. TypeCMDin the Run dialog box and pressShift + Ctrl + Entersimultaneously. - Select Yes to grant user access.
- Type the command
chkdskand hitEnterto execute. This command will only tell you if there are any errors on your hard disk drive but won’t fix them. If your hard drive doesn’t have any problems, you’ll see the notification “Windows has scanned the file system and found no problems. No further action is required.” In that case, you can proceed to the next method below.
If it finds errors, execute the command chkdsk /f to perform a thorough scan and fix any issues discovered. Use the command chkdsk /r to repair faulty hard drive sectors that could be causing the Hard Disk 1 Quick 303 or Hard D
Fix 4: Update Device Drivers
Keeping your device drivers up to date is a crucial maintenance task that can enhance the performance, stability, and compatibility of your hardware components with the operating system.
Learn more: [EASY GUIDE] How to Update Device Drivers on a Windows 10 PC?
Fix 5: Run System Diagnostics
A System Diagnostics report provides a detailed look at the hardware, software configurations, system response times, and much more. Essentially, it provides information on all aspects of your system.
To create a System Diagnostics report, follow these steps:
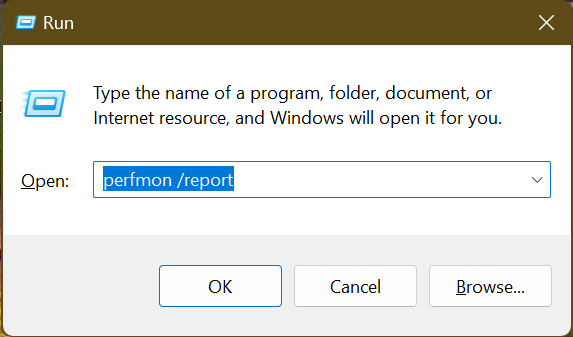
- Press the
Win + Rkeys on your keyboard to launch the Run dialog box. - Type
perfmon /reportand hit theEnterkey.
![]()
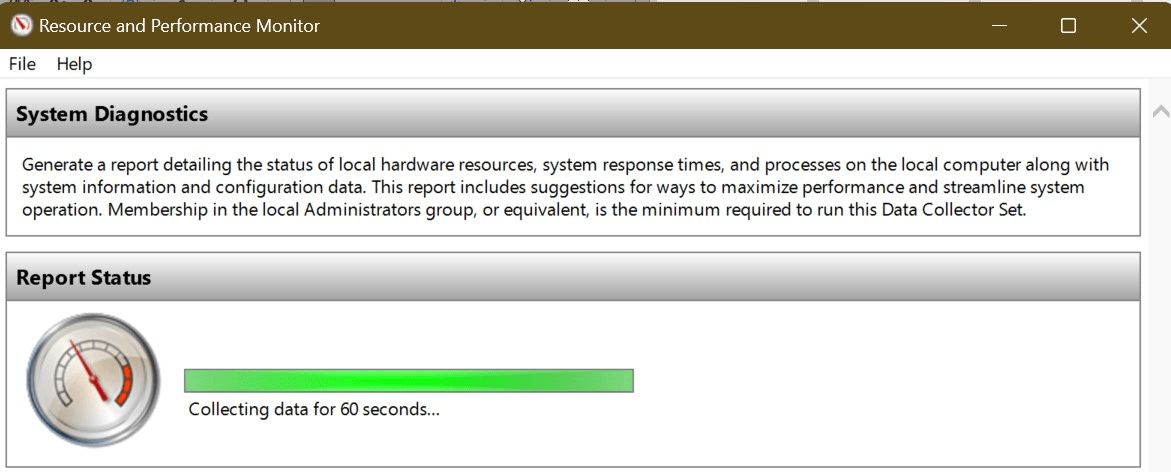
- The Resource and Performance Monitor window will appear and the diagnostic test will start running. The process takes 60 seconds to complete.
![]()
- Once it finishes, you’ll see a summary of your overall system’s health along with results for various components. You’ll see data on components like Memory, CPU, Network, and software configuration diagnostics.
- Expand each category (specifically the Hardware Configuration category) to view the details of what might have caused the hard disk errors 303 and 305.
Fix 6: Replace Your Hard Disk Drive
If all else fails, you might be left with only the option of replacing your hard drive with a new one. As mentioned earlier in the article, the error codes 303 and 305 may indicate that your hard drive has failed and it’s likely you won’t be able to restore its health.
Therefore, research the best hard disk drives you can purchase or better still, upgrade to an SSD (solid state drive), which is faster and more effective.
You can also contact HP Support if your PC is still under warranty.
Related: SSD vs HDD: What’s the Difference and What to Choose?
What Is SMART Hard Disk Error 301?
SMART or Self-Monitoring Analysis and Reporting Technologyhard disk error 301 is an alert generated by your system’s BIOS (Basic Input/Output System) during the startup process on HP laptops.
Also Read: What is BIOS on a Computer: Everything You Need to Know
The error signifies that the system has detected a potential issue with your hard disk’s health status. The error is typically associated with the hard drive’s imminent failure or other critical issues that need immediate attention.
How to Fix SMART Error 301?
Before we begin, be sure to backup all important data and filesif you can access them. Here are some solutions you can perform to fix the SMART hard disk error 301 :
Fix 1: Try a System Hard Reboot
Usually, it’s advisable to restart the system if you encounter any problems. However, in the case of the SMART hard disk error, a simple restart might not be enough. That’s where a hard reboot comes in.
To perform a hard reboot:
- Turn off your computer and disconnect the power cable.
- Remove the battery (if it’s a laptop with a removable battery).
- Press and hold the power button for around 15 seconds. This discharges every bit of current left in the motherboard.
- Wait a few minutes and repeat the process.
- Replace the battery and power cable and switch the PC on.
Hopefully, this solution works. If it doesn’t, try the next method.
Fix 2: Check for Drive Errors
Your HP PC comes with a built-in Hardware Diagnostics Tool to help you determine whether your PC’s hardware is functioning correctly. The tool can quickly diagnose hardware failures and memory issues.
To run it:
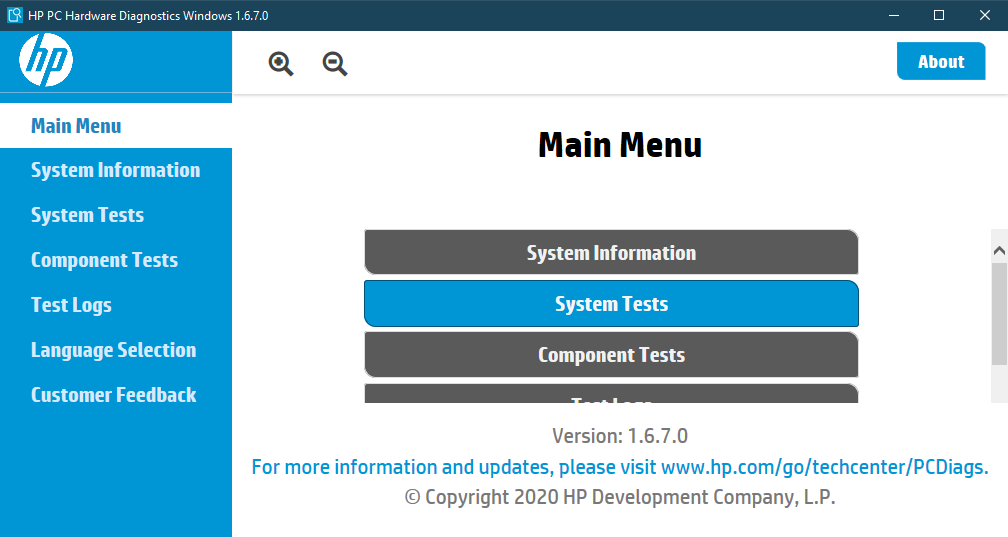
- Press the Windows Key and type HP PC Hardware Diagnostics Windows. If you can’t find the HP PC Hardware Diagnostics Windows tool, download it on HP’s Support page.
- Select Run as administrator and click Yes when prompted by the UAC.
- Select System Tests > Fast Test > Run. This operation will check your computer hardware.
![]()
- If the System Tests do not identify hard drive issues, run Component Tests to try to identify the source of the errors. Select Storage from the list and choose your devices, then click Run. This test determines if your HDD or SSD is functioning properly.
- If a test fails, it will be displayed once the test completes. Select Troubleshoot to try to resolve it.
Alternative Method:You can run a hard drive error check without downloading the HP PC Hardware Diagnostics Windows. Here’s how:
- Switch off your PC.
- Press the power button and immediately hit the
Esckey several times to open Startup Menu. - Press
F2to launch System Diagnostics. - Use the arrow keys to select Hard Drive Check and hit
Enter. - Select Quick Check and press
Enter. - The tool will perform a SMART Check and Short DST. This test might take a while. If the results show PASSED, hit
Enterto go back to the main menu. - Select Extensive Check and press
Enter. This test might take up to an hour or longer to complete.
Fix 3: Recover Your Data
The above methods should fix the SMART hard disk error 301. However, sometimes the hard disk might be severely damaged or corrupt, and therefore, beyond saving. In such a case, you can try to recover the data using the procedures below:
Set Up a Recovery Drive
To prepare a recovery drive, follow the procedure as shown below:
- Open the Start menu on your computer. To do so, press the Windows button on the lower-left corner of your screen or press the
Windows Keyon your keyboard. - Type
Create a recovery drivein the search box and click on the search results matching entry. - Enter your admin password if the system prompts you.
- When the recovery tool opens, see that the Backup system files to the recovery drive option is selected. Then, click Next.
- Get an empty USB drive with at least 16 gigabytes of storage capacity. A USB drive with more than 16 gigabytes of storage space is preferable.
- Plug the USB drive into your computer. It will appear on the recovery tool window. Select the drive and click Next.
- Click Create.
The process will take a fair amount of time to complete since many files will be copied to the recovery drive.
Perform Data Recovery from the Recovery Drive
Note that the below procedure for recovering files from an external drive using CMD works for any external storage media, including USB, HDD, and SD card.
Let us see how it is done:
- Plug your storage media into your computer.
- Go to the Start menu and type
Command promptorCMDin the search bar. When the option appears in the results list, right-click on it and select Run as Administrator. - Click Yes when the UAC (User Account Control) dialog prompts you to confirm your action.
- Once the Command Prompt (Admin) window opens, type in the following line and hit
Enterto run it:
attrib -h -r -s /s /d drive letter:\*.*”
attrib -h -r -s /s /d H:\*.*”
where ‘H:’ is the letter of the drive you want to recover.
When you get to Step 4, you can use a different command:
- Type
chkdsk H/fand hitEnter. Note that H is the letter of the drive you want to recover. If the letter is different in your case, then use the appropriate one. - Press
Y. - Type in the drive letter (That is,
H) and hitEnter. - Type (or copy and paste) the line below:
[H : \ >attrib –h –r –s /s /d *.*]
- Hit
Enterto execute the command. When the process is complete, it will retrieve all the files on your drive.
Solutions shown above will help you keep the data on your failed hard drive. Sometimes, the Hard Drive Errors may prevent you from booting into your computer. You will have to use a recovery CD to boot into your computer before using the backup and recovery tool. If the procedures seem too much for you to handle, you can use a specialized third-party data recovery software like Auslogics File Recovery to create a backup image of your files (including photos, videos, documents, and other data). All you have to do is remove the failed drive and connect it to another computer. Then download and run the third-party tool.
Conclusion
When you encounter SMART hard disk error 301, it’s a strong indication that your hard disk drive is dead. While you may apply the solutions we’ve shared in this article, you might want to think about replacing the faulty disk with a new one as soon as possible.
Regularly performing drive error checks on your PC can help prevent data loss and ensure the longevity of your storage device. Since we can easily forget to perform these checks on a regular basis, we recommend installing Auslogics BoostSpeed. This PC optimization software comes loaded with more than a dozen tools to help you carry out maintenance checks on your entire system.
From disk defragmentation to driver updates to cleaning your registry and removing junk files from your system, you can trust BoostSpeed to safely keep your system lean and working optimally.
FAQ
Here are the steps to resolve error 303:
- Check for loose disk cables and connections.
- Run a disk check.
- Update your device drivers.
- Perform system diagnostics.
- Replace your hard drive if none of this works.
- Restart your computer and press the appropriate key to enter the BIOS setup. This key varies depending on your system’s manufacturer, but it’s often
F2,F10,F12, or theDeletekey. - Once you’re in the BIOS setup, navigate to the Advanced or Diagnostics tab. The exact name may vary depending on your BIOS version.
- Look for an option that says SMART Monitoring, SMART Detection, or something similar.
- Change this setting to Disabled or Off.
- Save your changes and exit the BIOS setup. Your computer should restart normally.
Remember, this is a temporary fix. If you’re consistently seeing the SMART hard disk error 301, it’s a sign that your hard drive may be failing. It’s recommended to back up your data and consider replacing the hard drive to prevent data loss.