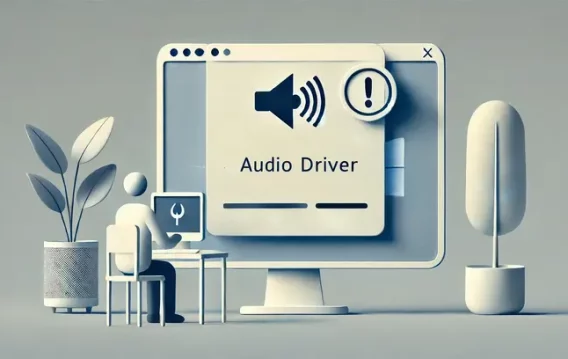
You probably landed on this article because you had been looking for a tutorial on how to fix the IDT High Definition Audio CODEC problem. Don’t worry because we’ve got you covered. It is worth noting that many users experienced the same issue.
They complained that their PC’s sound had stopped working after they had upgraded to Windows 10. In most cases, they received the following error message:
“Windows found driver software for your device but encountered an error while attempting to install it. IDT High Definition Audio CODEC
A device attached to the system is not functioning.”
If you come across this problem, it is likely that there is something wrong with the driver for the IDT HD Audio CODEC.
Thankfully, there are a few things you can do to resolve the issue, and we’ve listed them in this post.
Solution 1: Reinstalling the IDT HD Audio CODEC Driver
If you want to learn how to reinstall your IDT Audio Driver on Windows 10, simply follow the instructions below:
- Go to your taskbar, then click the Search icon.
- Inside the Search box, type “Device Manager” (no quotes). Select Device Manager from the results.
- Once the Device Manager is up, go to the ‘Sound, video and game controllers’ category and expand its contents.
- Right-click IDT High Definition Audio CODEC, then select Update Driver from the results.
- On the new window, select the option which says, “Browse my computer for driver software.”
- Now, select the ‘Let me pick from a list of available drivers on my computer’ option.
- Choose High Definition Audio Device, then click Next. You will see a warning message. Just click Yes to proceed.
After following these steps, the IDT HD Audio CODEC driver will be reinstalled successfully.
Solution 2: Installing the IDT HD Audio CODEC Driver in Compatibility Mode
It is worth noting that some of the drivers for older Windows editions are compatible with Windows 10. So, you can try installing the IDT HD Audio CODEC driver in compatibility mode to resolve the issue. Here are the steps:
- Go to the manufacturer’s site, then download the appropriate driver version for your operating system and processor type.
- Now, go through the Downloads folder in your computer and look for the setup file for the driver.
- Instead of using the regular process of double-clicking the installer, you must right-click the setup file. Select Properties from the context menu.
- Make sure that you are on the Compatibility tab, then select the ‘Run this program in compatibility mode for’ option.
- Choose an older edition of Windows from the drop-down list. Close the dialog by clicking OK.
- Begin the installation process by double-clicking the setup file. Follow the on-screen instructions, then restart your computer once the procedure is complete.
Solution 3: Using Auslogics Driver Updater
As you can see, reinstalling the IDT HD Audio CODEC driver via the Device Manager can be a complicated process. What’s more, it can be tedious to go through the manufacturer’s site to find the right driver for your computer. Keep in mind that if you make a mistake, you might end up dealing with system instability issues.
Thankfully, there is an easier way to resolve the issue. If you want to fix the IDT HD Audio CODEC driver problem without going through complicated procedures, we suggest that you use Auslogics Driver Updater.
Once you’ve installed this program, all you need to do is click a button and it will fix all driver-related problems on your computer. When the process is complete, the IDT HD Audio CODEC driver error will be gone. What’s more, you will notice a significant improvement in the overall performance of your PC.
Solution 4: Setting the Audio Service to ‘Automatic’
If you’ve tried the methods above yet the IDT High Definition Audio CODEC driver error persists, you can try setting Windows 10’s Audio service to ‘Automatic.’ To begin, follow the instructions below:
- Go to your taskbar, then right-click the Windows icon.
- Select Run from the list.
- Once the Run dialog box is up, type “services.msc” (no quotes), then click OK.
- Select Properties from the context menu.
- Click the drop-down list beside Startup Type.
- Select Automatic from the options.
- Click OK.
- Restart your computer, then check if the IDT High Definition Audio CODEC driver problem has been resolved.
The IDT High Definition Audio CODEC driver issue on Windows 10 is one of the common reasons why users experience sound problems on their PC. While the manual solutions that we shared in this article can be reliable, it is more efficient to use a powerful tool like Auslogics Driver Updater. So, if you want to save effort and time while avoiding risks, you should consider installing this software program.
Which of the solutions helped you resolve the IDT High Definition Audio CODEC driver issue?
Share your answer in the comments below!