Windows 10 is a very capable gaming OS. It comes with lots of features and options for gamers that make their experience better. Plus, there is a nice selection of games designed specifically for Windows 10.
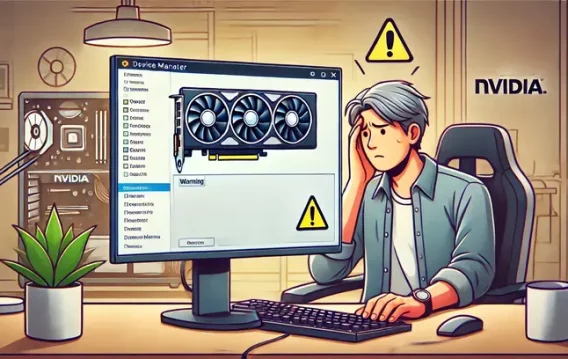
However, some users have been reporting an issue recently with their NVIDIA Graphics Card on Windows 10. The issue is that they could not find NVIDIA Graphic Card listed under the Device Manager.
How do you resolve the NVIDIA Graphics Card not showing up in the Device Manager on Windows 10? This is the question we intend to answer in this article.
How to Fix the NVIDIA Graphics Cards Not Showing Up on Windows 10 Issue?
There are many reasons why you may not be seeing your NVIDIA Graphics Card under the Device Manager. However, the most probable reason is that something may have gone wrong during the installation of the card.
If you are an avid gamer or work video rendering your Windows 10 PC, you know very well how important it is to have a properly working graphics card on your computer. Certain games require advanced graphics settings like FPS (Frames Per Second). In some cases, you will need to adjust the size, orientation, scaling, and more. In order to tweak these settings, you will need to have access to NVIDIA Control Panel. Now, if you can’t find your NVIDIA graphics card, naturally, you won’t be able to do any of that.
Here are two main methods you can try to fix the NVIDIA graphics card not showing up on your Windows PC:
- You can check the Show Hidden Devices option and reinstall your graphics driver.
- You can download and install new drivers on your PC.
Let’s start with the first option: try to enable the Show Hidden Devices option and reinstall your graphics driver.
Option One: Show Hidden Devices and Reinstall Graphics Drivers
Here is what you will need to do:
- Go to Command Prompt and open the program with administrative privileges. You can do this by going to the Start Menu, typing “cmd” (no quotes), right-clicking the program, and selecting the Run as Administrator option.
- Copy and paste the command below and hit the Enter key on your keyboard:
set devmgr_show_nonpresent_devices=1
- Launch Run (you can do this by pressing the Win + R key combo on your keyboard) and type in “Devmgmt.msc” (no quotes). This will open the Device Manager window.
- In the new window, go to View menu > Show hidden devices. You should now be able to see NVIDIA Graphics Card in its usual place.
- Now, you will need to uninstall each NVIDIA card device and unknown device. Simply right-click each one of them and select Uninstall from the context menu.
- After each of the devices has been uninstalled, restart your PC.
Your problem should now be resolved and, hopefully, you can now go back to gaming or video editing without issues. However, if you still can’t see your NVIDIA Graphics Card under Device Manager, you will need to proceed to the next solution.
Option Two: Download and Install New Drivers
If the solution above hasn’t worked, you will need to download new graphics drivers for your PC if updated versions are available. When you purchase any product from NVIDIA — and especially a graphics card — it is highly important that you keep the software updated for it to be working properly.
However, while updating an app is a rather straightforward process, updating your graphics driver can be quite a bit more complicated. There are two ways in which you can update your drivers:
Manually: This option is typically recommended for more experienced users. The process of manually updating your drivers is a multi-stage process. It involves first identifying which drivers are outdated, then downloading their updated versions from the website of the manufacturer, and, finally, performing the installation.
The problem is that if you make a mistake while installing the new drivers, you could be facing a number of serious issues on your PC. This is why this may not be the best idea to update your drivers manually if you don’t have any prior experience of doing that. You may end up causing more issues in your system than you were initially trying to solve. Consequently, you will require the help of a professional to fix your computer.
Do you feel that you are ready to update your graphics driver manually? If so, you will need to head to NVIDIA’s official page. Search for instructions on how to proceed with updating your graphics card to the latest available version. Before you begin, you must find out what NVIDIA Graphics Card you have installed on your PC. You will typically find this model name on the packaging that the card had come in. However, if you don’t have the packaging anymore, you can find out the model number by using the DirectX Diagnostic Tool. Here’s how:
- Go to Run (use the W + R key combo on your keyboard).
- Type in “DXDIAG” (no quotes).
- Check if you are using a 32-bit or 64-bit system: go to the System tab under Operating System to find this information out.
- Next, go to the Display tab. Check what’s written under Chip Type — this is your NVIDIA graphics card.
Once you know the right model, you can proceed to search for the needed driver on NVIDIA’s website and then install the updated drivers.
Automatically: when updating drivers automatically, you will need to use a specialized program that can do the job for you. A program like Auslogics Driver Updater, for instance, can update your system drivers in just one click and without the risk of damage to your system. If you prefer to update your drivers automatically, all you will need to do is download and install Auslogics Driver Updater and then run a scan for outdated drivers. Once these are located, the app will proceed to update them automatically to the latest available versions. And that’s it. You should now have the latest version of NVIDIA graphics running on your PC and, hopefully, you should no longer be facing any issues.
We hope that you now know how to fix NVIDIA Graphics Card not being detected by Windows 10 and can proceed with your gaming and video editing without any trouble.