
It can be frustrating when the wheel on your mouse is malfunctioning. You’d have to break your phalanges scrolling through documents because the wheel is dragging the mouse pointer around. We understand how annoying this problem can be.
So, we’ve put together this article to teach you how to fix the scroll wheel on a mouse in Windows 10.
Method 1: Adjust Your Mouse Settings
If you’re dealing with the mouse scroll wheel not working issue on Windows 10, you can resolve the problem via the Control Panel. To do that, simply follow the instructions below:
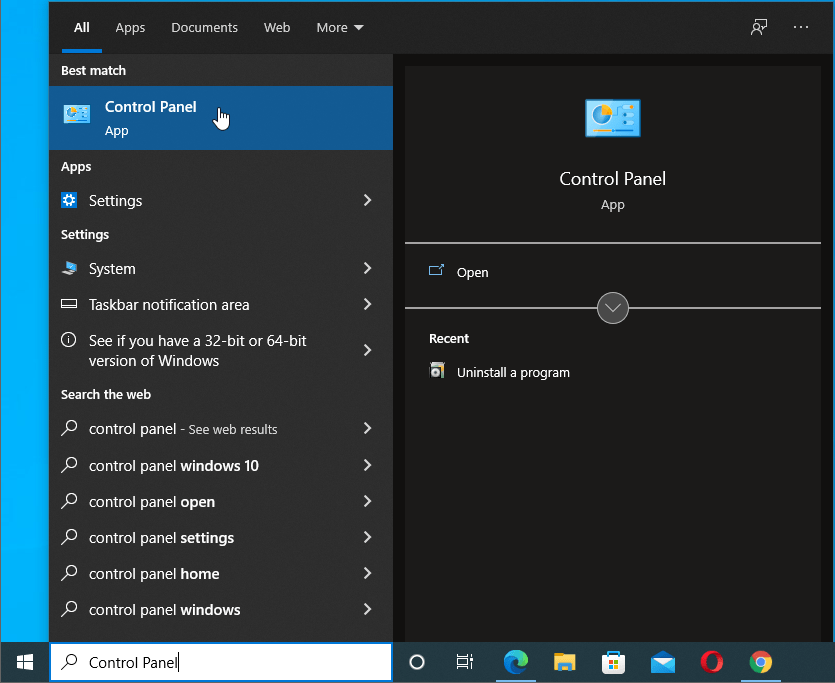
- Press the
Windows keyon your keyboard, then typeControl Panel. - Select Control Panel from the results.
![Press the Windows key on your keyboard, then type “Control Panel” (no quotes).Adjust the mouse settings to fix the mouse scroll wheel not working issue on Windows 10 Select Control Panel from the results.]()
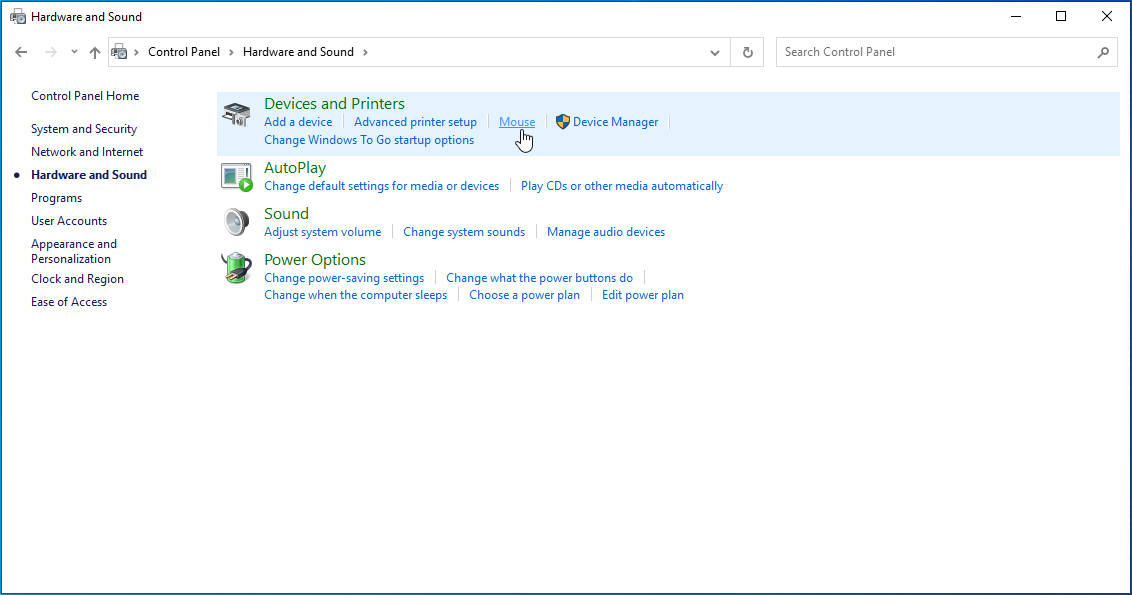
- Click Hardware and Sound.
![Click Hardware and Sound.]()
- Under Devices and Printers, click Mouse.
![Under Devices and Printers, click Mouse.]()
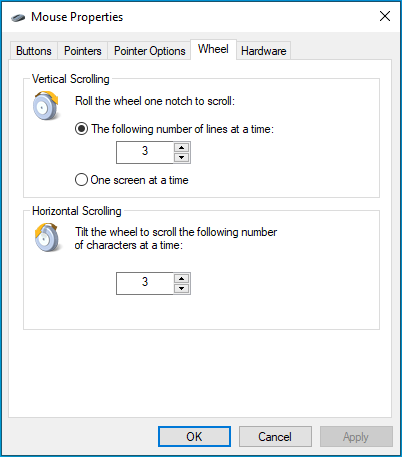
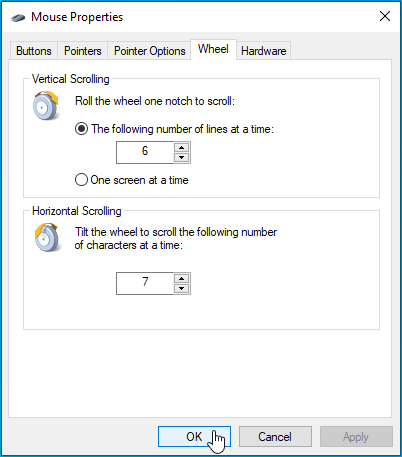
- Once the Mouse Properties window is up, go to the Wheel tab.
![Once the Mouse Properties window is up, go to the Wheel tab.]()
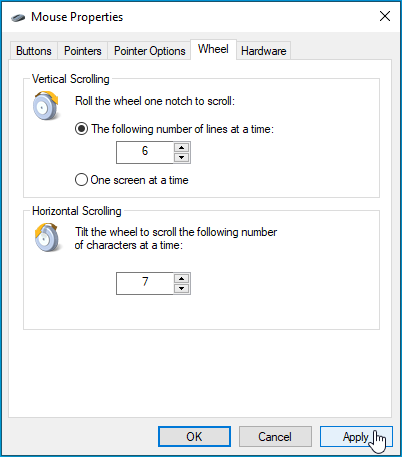
- Adjust the number of lines that the mouse can scroll, then click Apply to see how it affects the wheel.
![Adjust the number of lines that the mouse can scroll, then click Apply to see how it affects the wheel.]()
- Once you’re satisfied with the results, click OK.
![Once you’re satisfied with the results, click OK.]()

Method 2: Update Your Mouse’s Driver
If the wheel on your mouse is still malfunctioning, then we recommend that you update the hardware’s driver. There are three ways you can do this:
- Update your mouse driver via the Device Manager
- Download your mouse driver manually
- Use a third-party app to update your mouse driver
Update Your Mouse Driver via the Device Manager
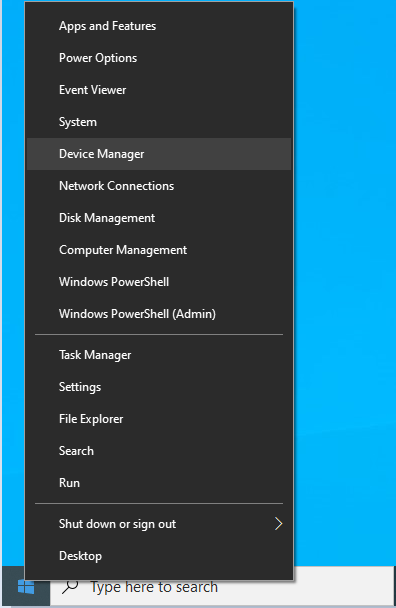
- Go to your taskbar, then right-click the Windows icon.
![Go to your taskbar, then right-click the Windows icon.]()
- Select Device Manager from the options.
![Select Device Manager from the options.]()
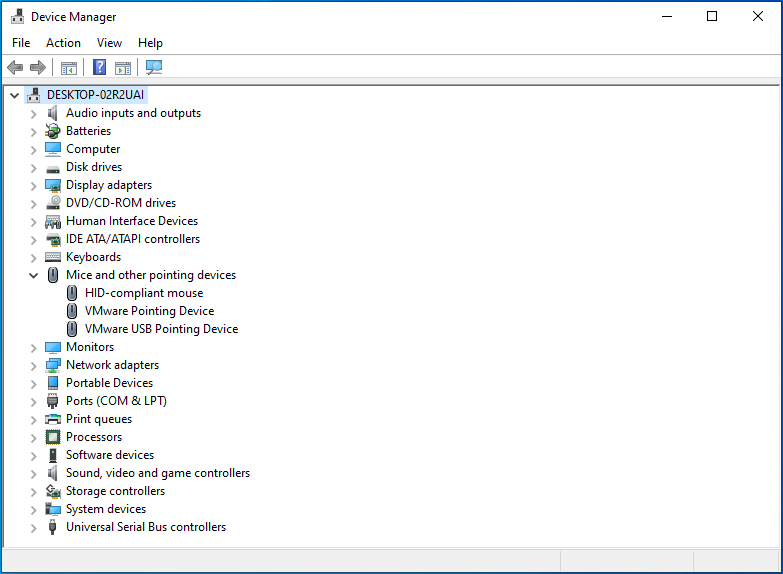
- Once the Device Manager is up, expand the contents of the “Mice and other pointing devices” category.
![Once the Device Manager is up, expand the contents of the “Mice and other pointing devices” category.]()
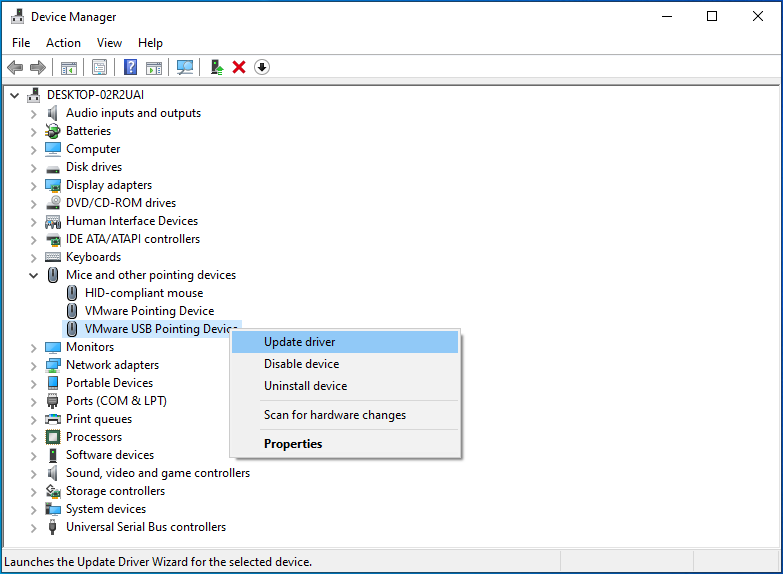
- Right-click your mouse, then select Update Driver.
![Right-click your mouse, then select Update Driver.]()
- In the next window, select the “Search automatically for drivers” option.
![In the next window, select the “Search automatically for drivers” option.]()
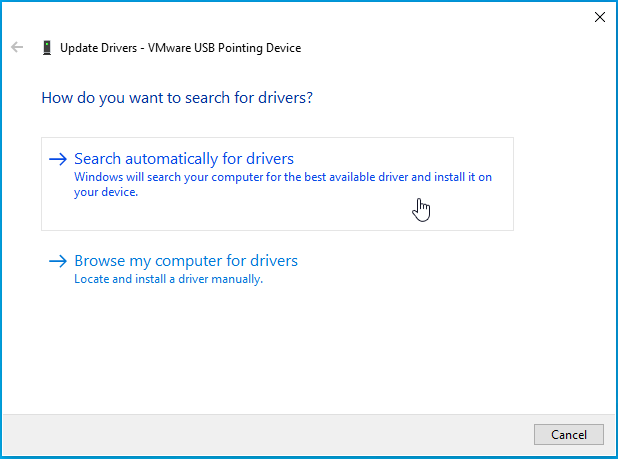
Let the Device Manager search for driver updates. The tool will also install them automatically.
Download Your Mouse Driver Manually
Sometimes, the Device Manager misses the latest releases of drivers. So, if you’re still having trouble using the scroll wheel on your mouse, then you’d have to download the driver manually. To do this, you need to go to the manufacturer’s website and find the latest compatible driver version. You need to be careful not to install the wrong version. Otherwise, you may end up with even bigger problems in your system.
Use a Third-Party App to Update Your Mouse Driver
The easiest, most reliable, and safest way to update your mouse driver is using a trusted third-party app like Auslogics Driver Updater. Once you’ve installed this program, it will recognize your operating system and processor automatically. You simply need to click a button and it will scan your computer for outdated, corrupt and damaged drivers.
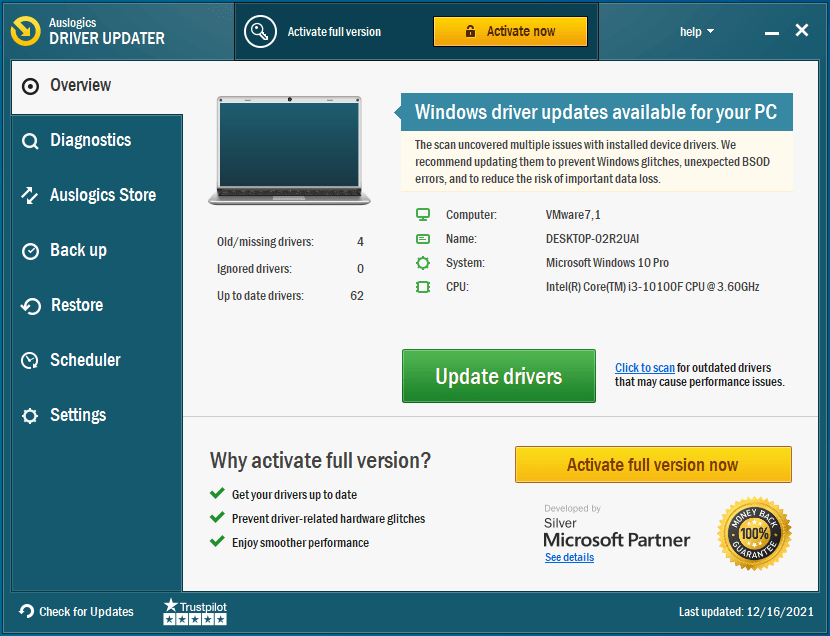
You also have the freedom to choose which drivers to update. With a few clicks, you can get the newest driver version for your mouse.
What’s great about Auslogics Driver Updater is that it will take care of all problematic drivers. So, once the process is complete, you will notice a significant improvement in your PC’s performance. You’ll be able to fix your mouse problems and update all drivers on your computer.
How to Fix the “Mouse Middle Click Not Working Only in Chrome” Issue
Some users report that the wheel on their mouse is malfunctioning in Chrome only. If it is working everywhere else, then there are some specific troubleshooting steps you can take.
Solution 1: Enable and Disable Inactive Windows
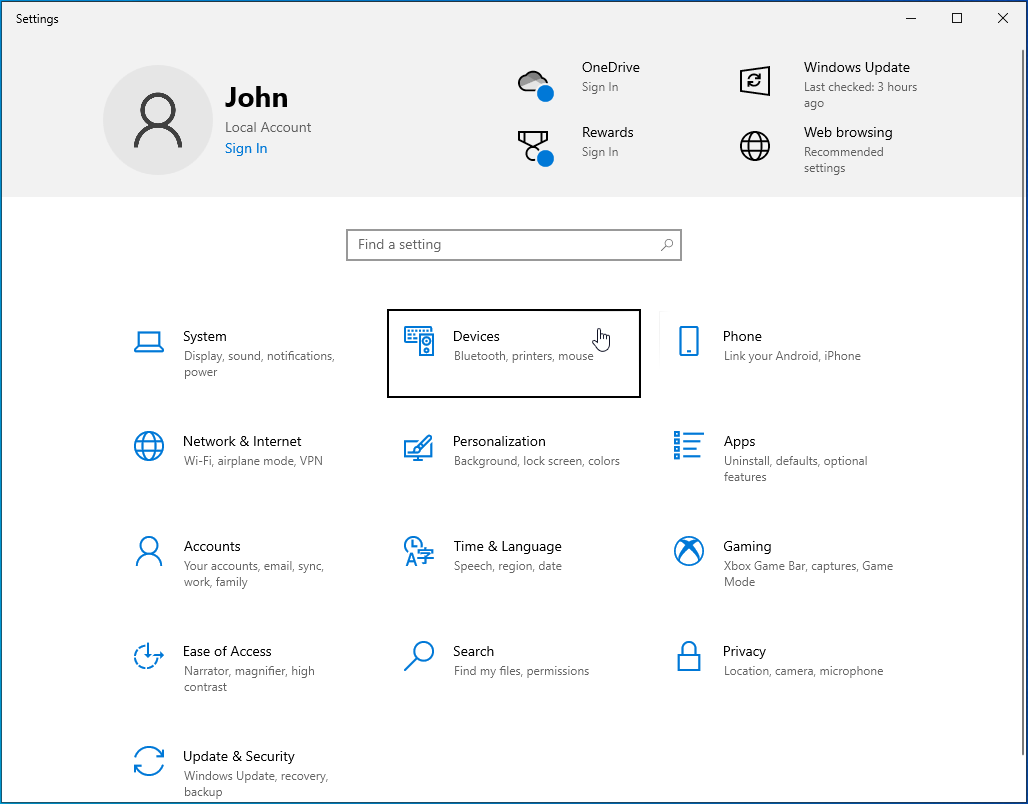
- On your keyboard, press the
Windows key + I. Doing so will launch the Settings app. - Once the Settings app is up, select Devices.
![On your keyboard, press the Windows key + I. Doing so will launch the Settings app.Launch the Settings app. Once the Settings app is up, select Devices]()
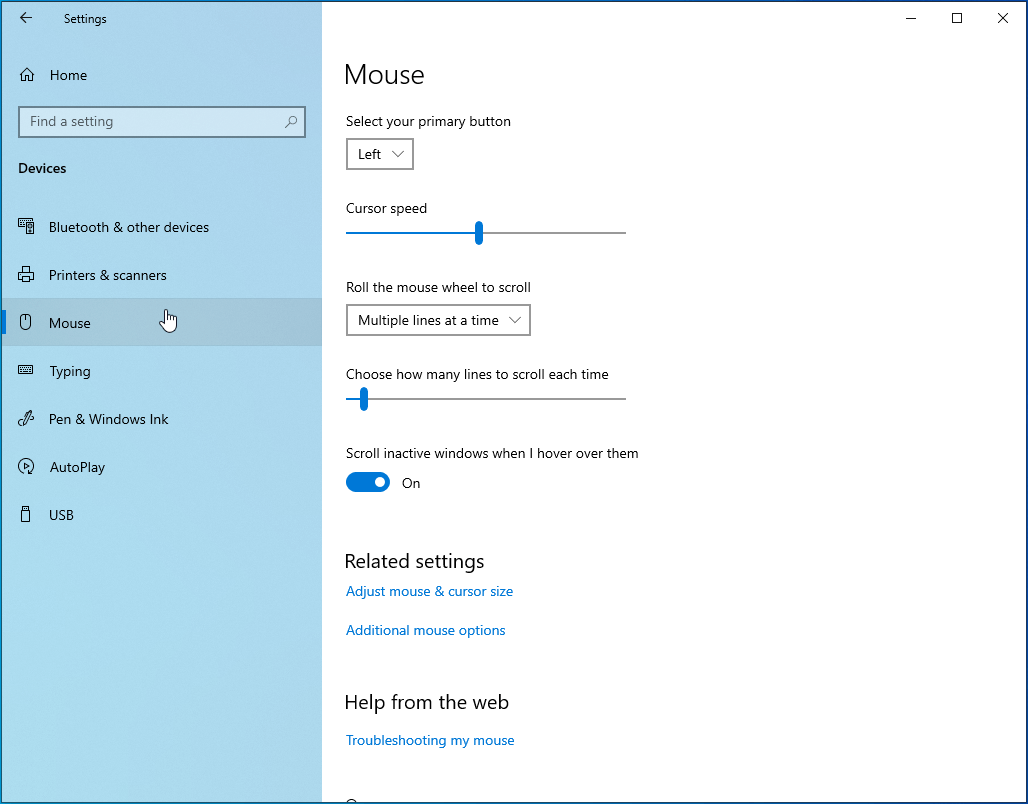
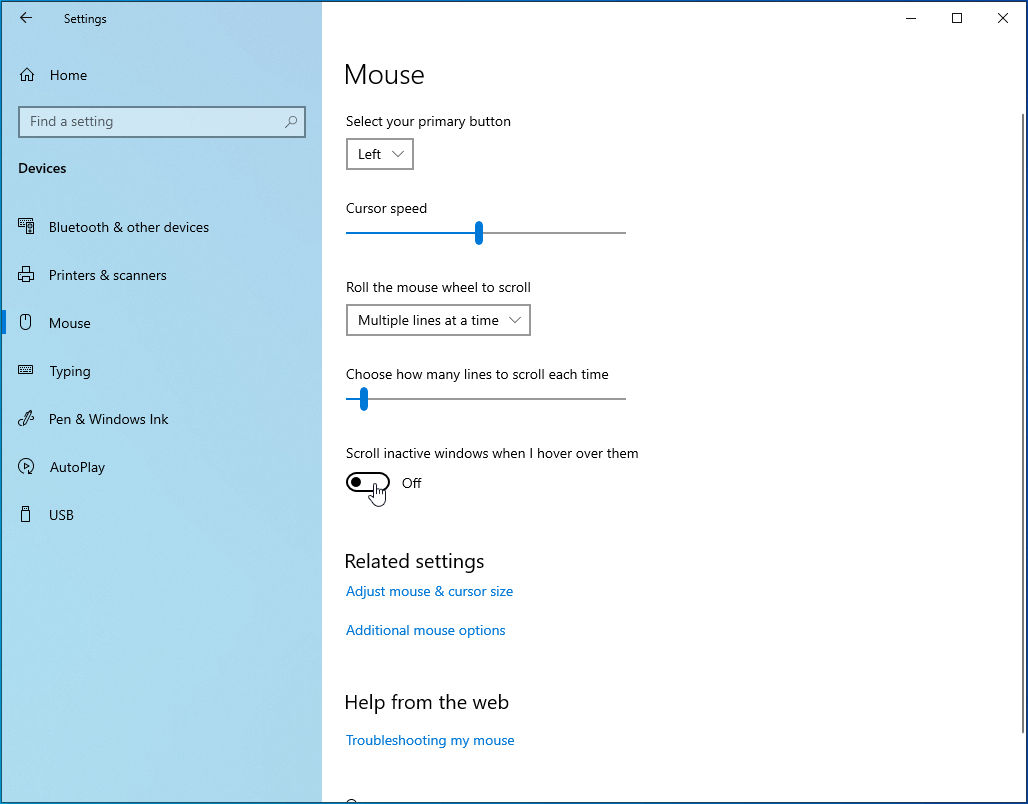
- Go to the left-pane menu, then click Mouse.
![Go to the left-pane menu, then click Mouse.]()
- Move to the right pane, then disable the “Scroll Inactive Windows” option. Repeat this step a few times, then check if your mouse wheel is responsive in Chrome.
![Move to the right pane, then disable the “Scroll Inactive Windows” option. Repeat this step a few times, then check if your mouse wheel is responsive in Chrome.]()
Solution 2: Disable Browser Extensions
If your mouse’s scroll wheel started to malfunction after you installed a browser extension, then try disabling it to resolve the issue. Many users reported that they had been able to get their mouse to work properly after applying this solution. You can also try disabling all your extensions on Chrome to see if that helps.
Solution 3: Restore Chrome’s Default Settings
If the mouse wheel is still not working properly, then your last resort is to restore your browser to its default settings. Doing so will refresh the faulty configuration that may have been causing the issue. To begin the process, follow the steps below:
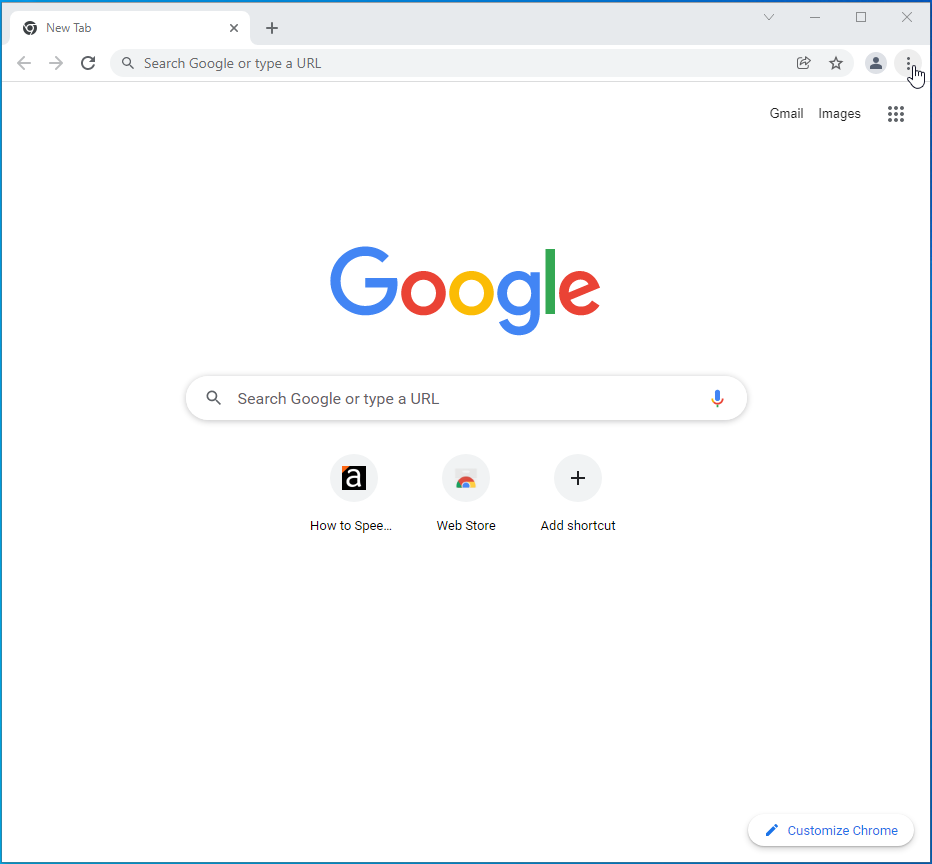
- Click the “Customize and Control Google Chrome” icon on your browser. This should be the three vertically aligned dots in the upper-right corner of Chrome.
![Click the “Customize and Control Google Chrome” icon on your browser. This should be the three vertically aligned dots in the upper-right corner of Chrome.]()
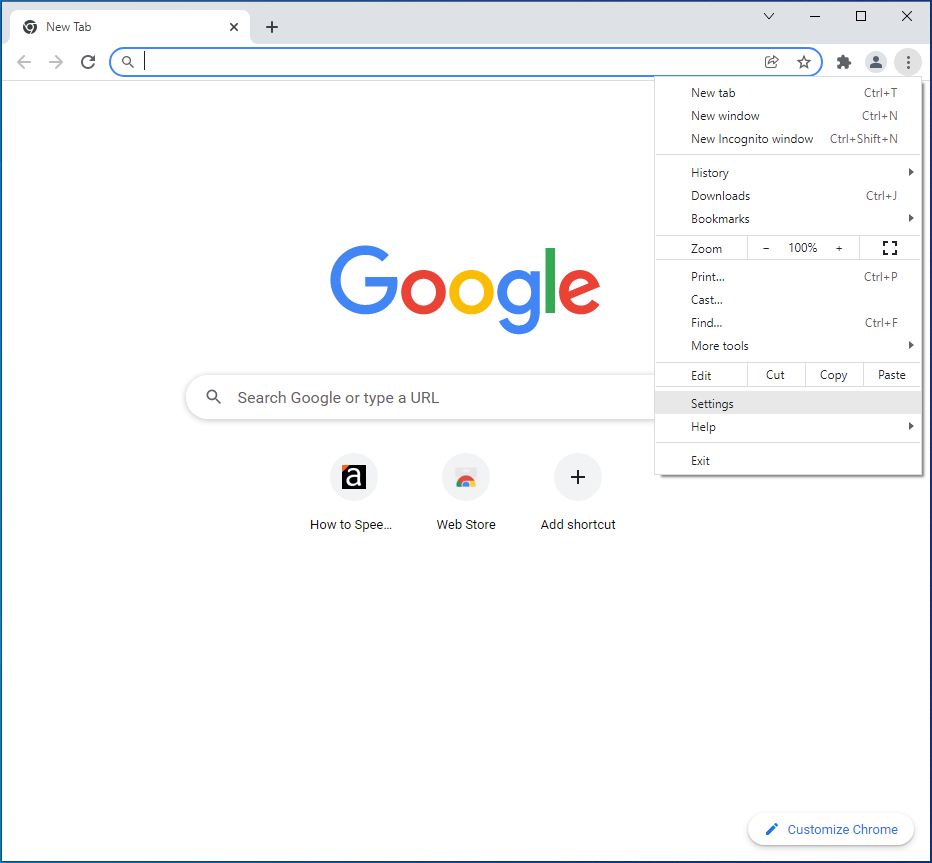
- Select Settings from the options.
![Select Settings from the options.]()
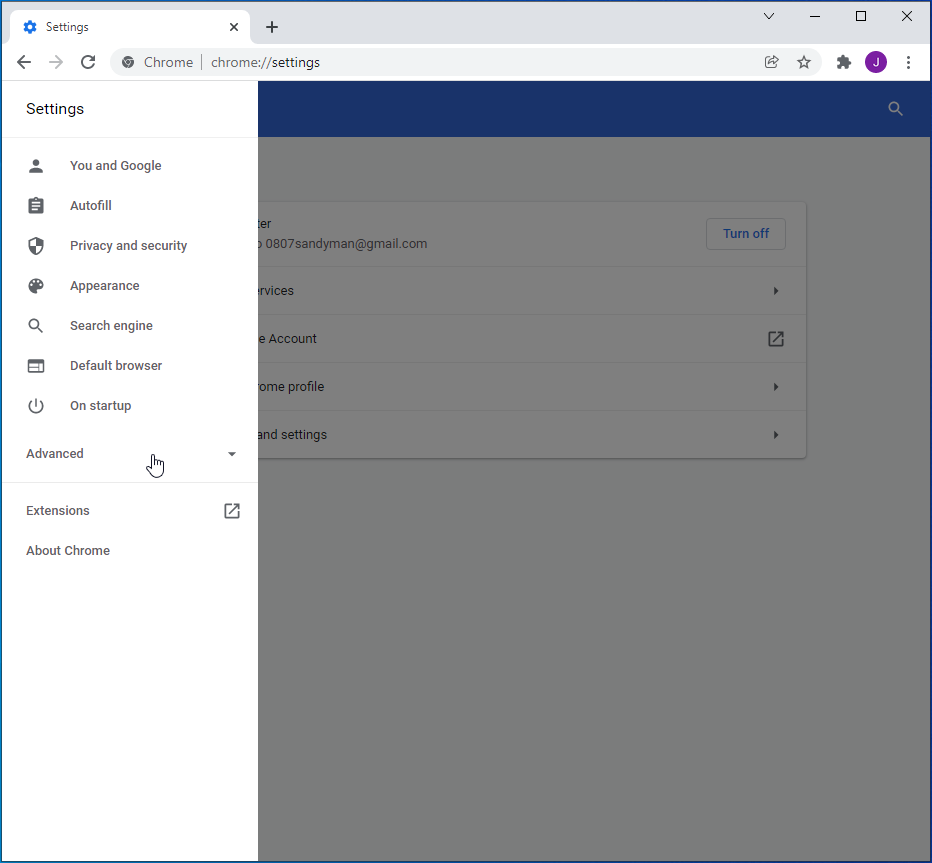
- Once you get to the Settings page, click Advanced.
![Once you get to the Settings page, click Advanced.]()
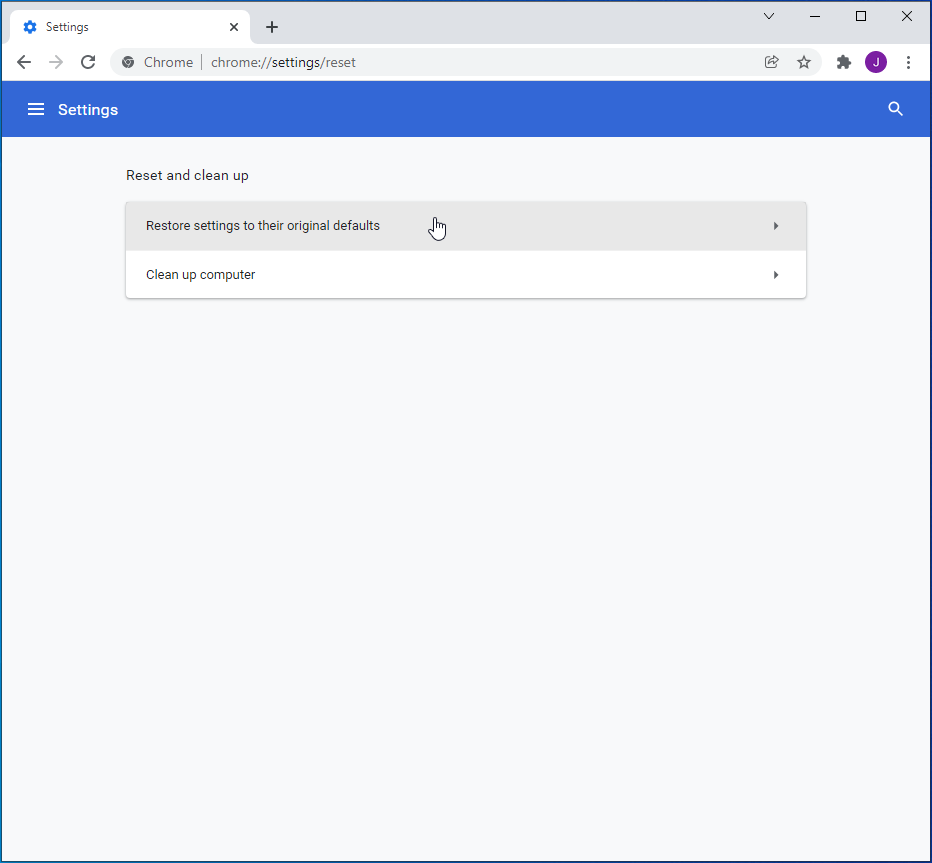
- Scroll to the bottom of the page, then click the “Restore settings to their original defaults” option.
![Scroll to the bottom of the page, then click the “Restore settings to their original defaults” option.]()
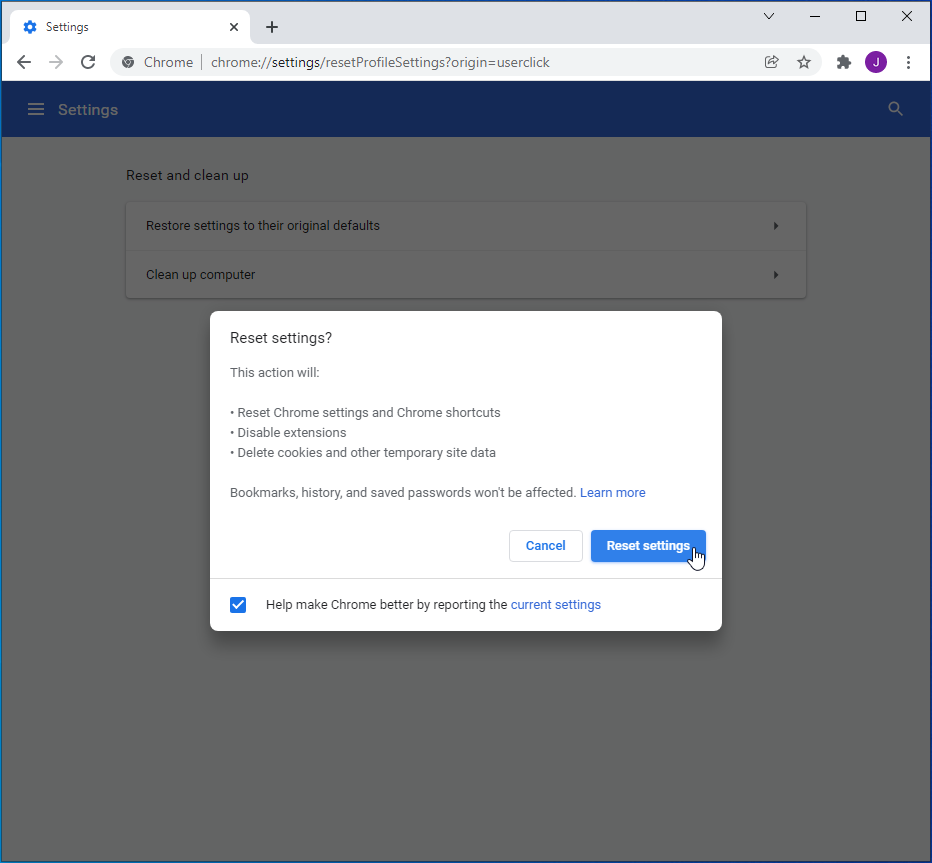
- Click Reset Settings on the prompt.
![Click Reset Settings on the prompt.]()
After performing these steps, check if the mouse wheel is functioning without any issues.
Which of the solutions helped you resolve the problem?
Share your answer in the comments below!