
- Why Is Valheim Crashing?
- How to Stop Valheim From Freezing on a Windows 10 PC
- Close Unnecessary Applications
- Run Valheim as an Administrator
- Update Windows
- Run Valheim in Compatibility Mode for Windows 7
- Verify the Integrity of Your Game Files
- Update the Game
- Update the Graphics Driver
- Stop Overclocking
- Temporarily Disable Your Antivirus Application
- Set Valheim’s Boot Priority to High
- Change Launch Options
- Wrapping Up
Valheim is undoubtedly among the most popular open-world survival games right now. Although the game is still in the early access stage, it has already built a huge fan base, with many people praising its exciting and unique features. However, Valheim isn’t perfect as you are likely to experience some issues while playing it, which has become a major challenge to many players.
Freezing and stuttering, which sometimes result in crashing, are among the most common problems you might encounter. Valheim’s developers, Iron Gate Studios, are yet to address these issues. So, you need to find some troubleshooting methods to apply before that happens. In today’s post, we will show you how to fix Valheim crashes in Windows 10. Keep reading to learn more.
Why Is Valheim Crashing?
Valheim might crash due to any of these reasons:
- Missing or corrupted game files
- Outdated graphics drivers
- Outdated OS software
- Aggressive third-party antivirus software
- Too many apps running in the background
- Failure to meet Valheim’s system requirements
The game’s minimum requirements are as follows:
- OS: 64-bit Windows 7 or later
- Memory: 4 GB of RAM
- Processor: 2.6 GHz Dual Core or similar
- Graphics card: GeForce GTX 500 series or similar
- Storage: 1 GB of available space
- DirectX: Version 11
- Network: Reliable internet connection
The recommended requirements are listed below:
- OS: 64-bit Windows 7 or later
- Memory: 8 GB of RAM
- Processor: i5 3GHz
- DirectX: Version 11
- Graphics card: GeForce GTX 970 series or similar
- Storage: 1 GB of available space
- Network: Reliable internet connection
How to Stop Valheim From Freezing on a Windows 10 PC
If your computer meets the above requirements but you still experience freezing and stuttering issues, then apply the fixes below. However, we suggest that you first restart your machine and see if the problem disappears. If it doesn’t, start troubleshooting the issue.
Close Unnecessary Applications
Many background apps consume plenty of CPU power and memory resources, severely affecting your computer’s performance. This might lead to frequent crashes while playing Valheim.
Follow the steps below to close unnecessary background apps on your PC:
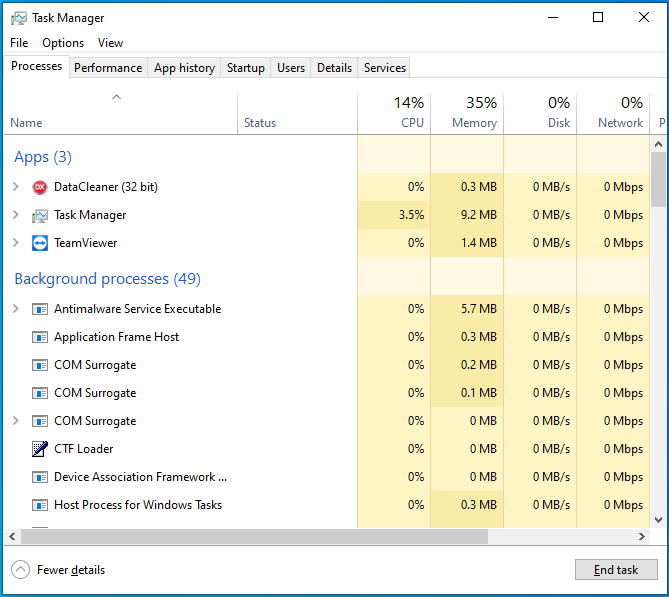
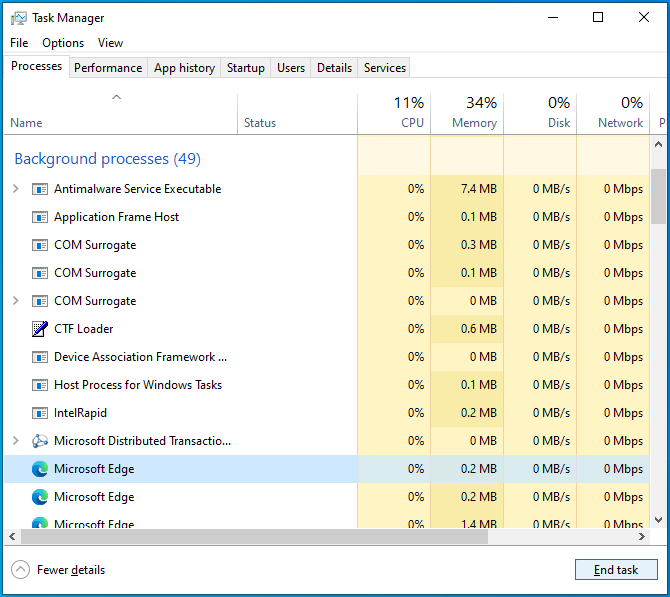
- Use the Ctrl + Shift + Esc combination to bring up the Task Manager.

- Under the Processes tab, click on one background app and select End task at the bottom.

- Repeat step 2 for every unnecessary background app.
- Close the Task Manager and reboot your machine.
- Relaunch Valheim and check if the problem has been removed from your computer.
Run Valheim as an Administrator
Many video games crash randomly when they don’t have the required permissions to run on your PC. If that’s the case, then running Valheim as an administrator might resolve your problem.
Here is how to go about it:
- Launch Steam and go to the LIBRARY tab.
- Right-click on Valheim and select Manage. Then choose “Browse local files” to open the game’s installation folder.
- Right-click on Valheim’s .exe file and choose Properties.
- Switch to the Compatibility tab and click on the option that says “Run this program as an administrator”.
- Click on the Apply button at the bottom and then select OK.
If the problem reoccurs, move down to the next fix below.
Update Windows
An outdated Windows system is usually more vulnerable to bugs, compatibility issues, and crashes as it lacks the latest patches and security features.
You can easily update your Windows system by following these instructions:
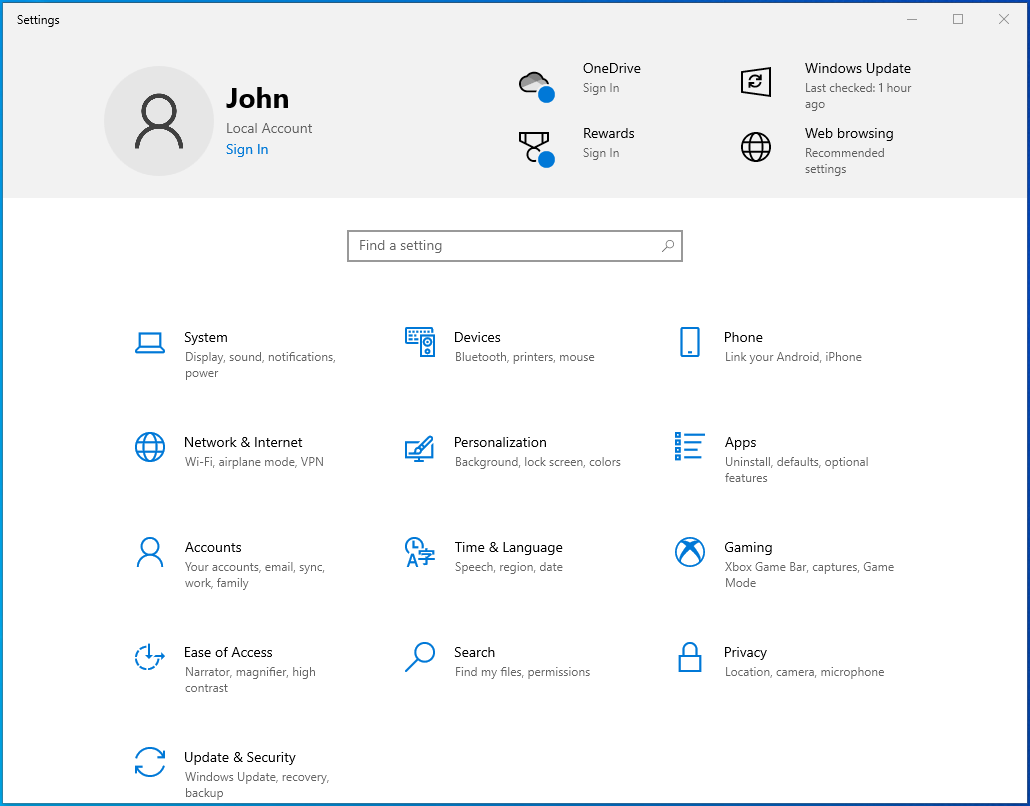
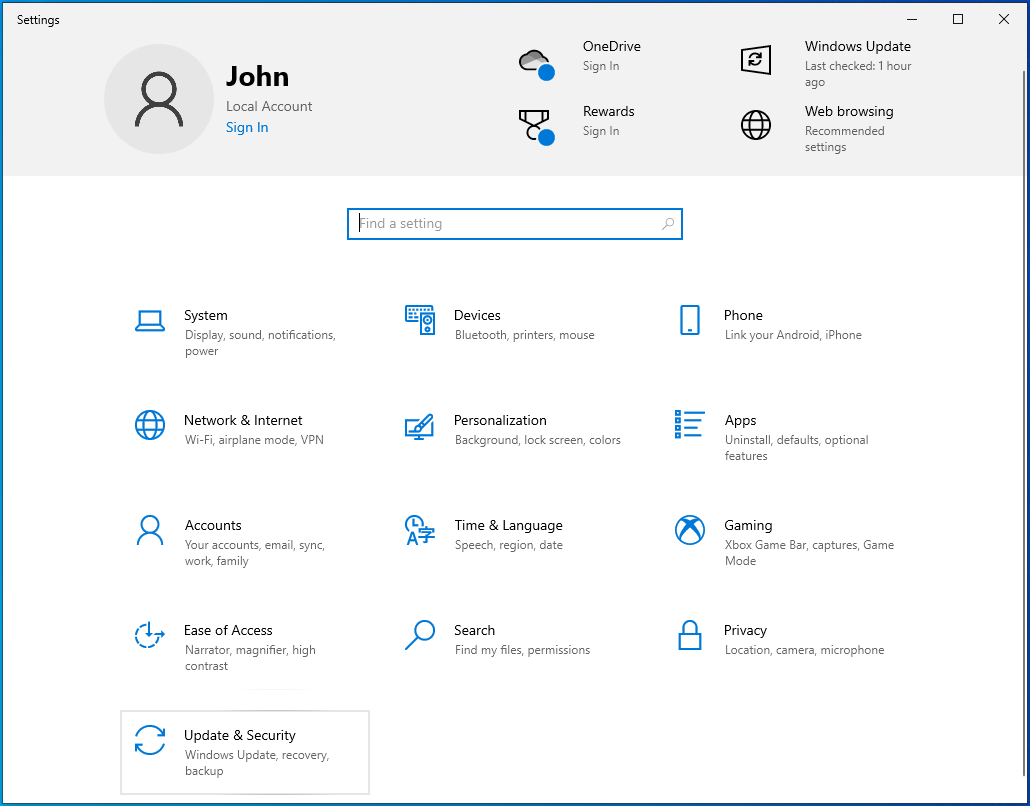
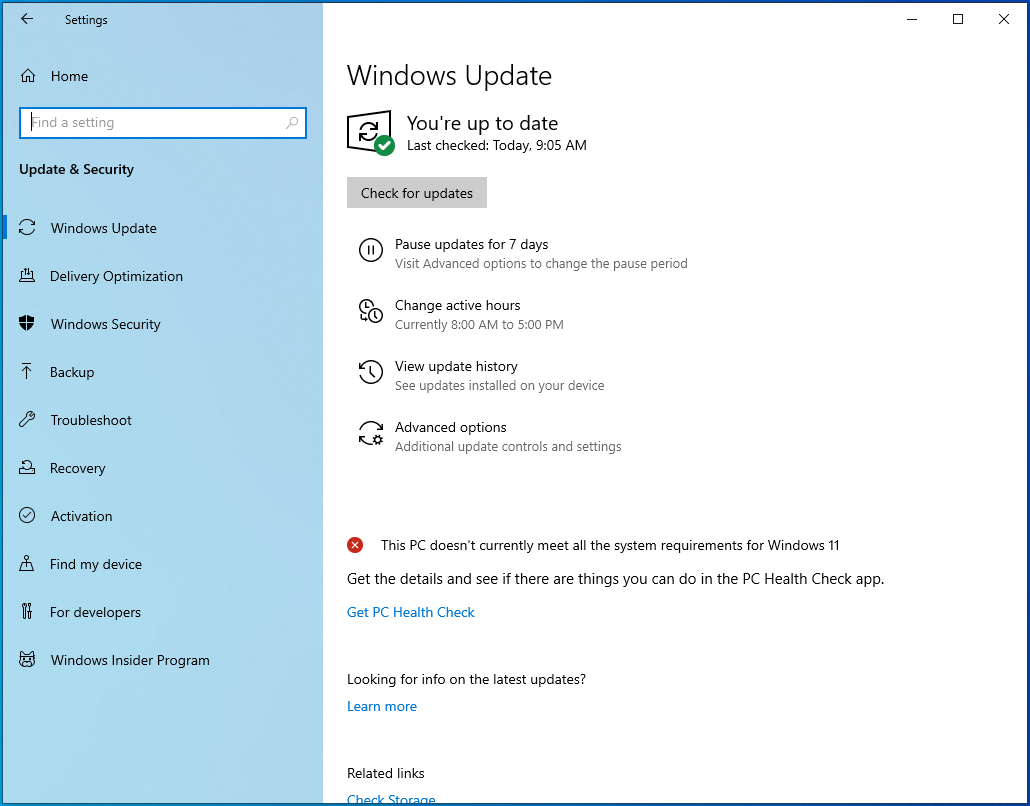
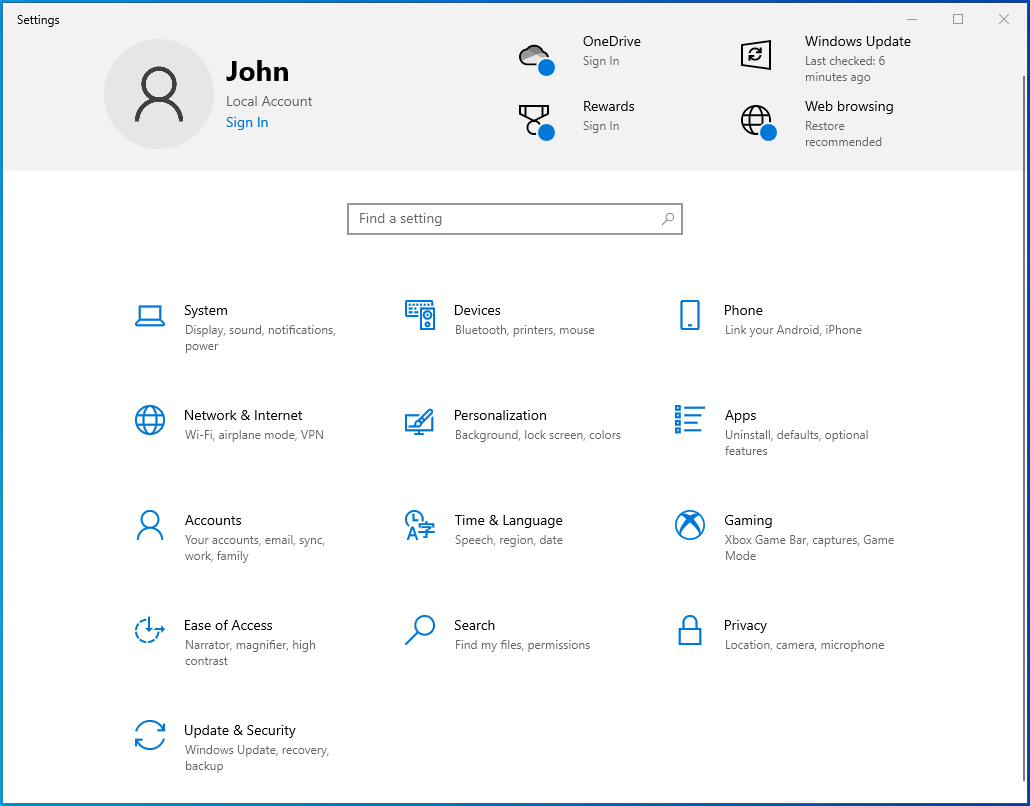
- Press the Win + I shortcut to open the Settings app.

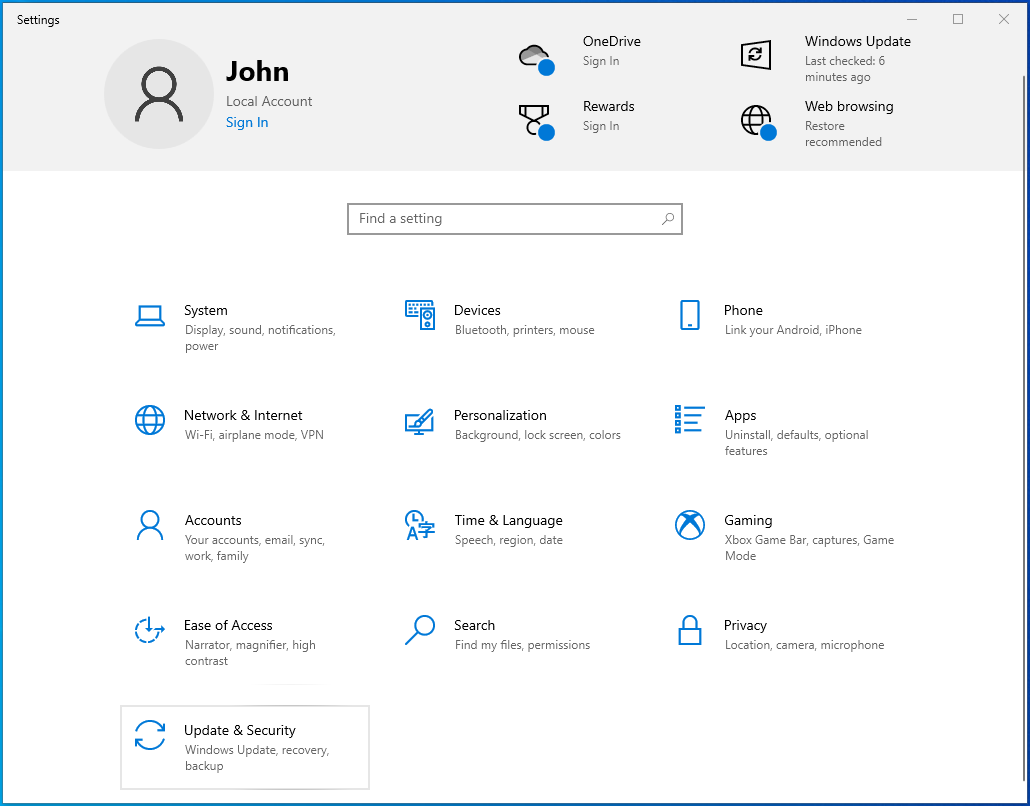
- Select Update & Security.
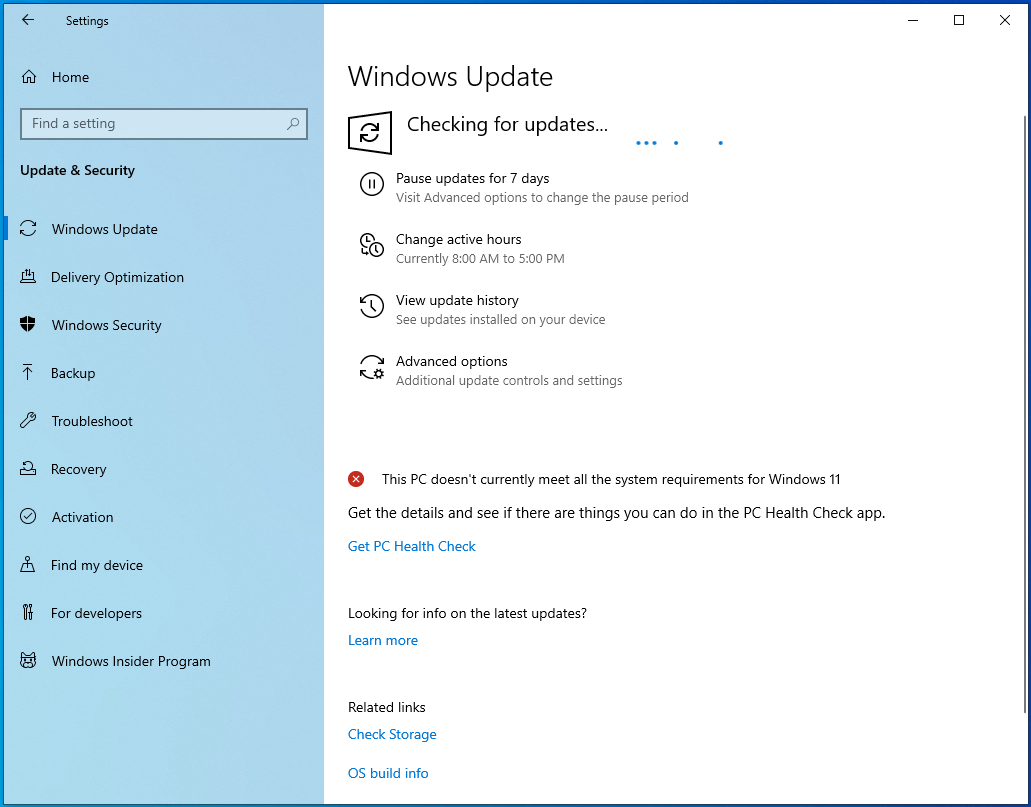
- When a new window opens, click “Check for updates” on the right pane.
- Wait for Windows to download the updates.

- Now restart your device and then check if the issue has been resolved.
Run Valheim in Compatibility Mode for Windows 7
Some players reported that running Valheim in compatibility mode for Windows 7 had enabled them to eliminate the endless crashes.
Here is how to do the same on your device:
- Navigate to the game’s installation folder and right-click on its .exe file.
- Choose Properties and then open the Compatibility tab.
- Go to the Compatibility mode section and click on “Run this program in compatibility mode for”.
- Select Windows 7 from the drop-down list.
- Choose Apply and then click on the OK button.
- Launch Valheim and see if the issue persists.
Verify the Integrity of Your Game Files
Some of your game files might be corrupted or even missing, which can trigger freezing. Luckily, you can use Steam to scan for such files and automatically repair them to eliminate your issue.
These steps will guide you through verifying the integrity of Valheim’s game files:
- Open Steam and head to LIBRARY.
- Right-click on Valheim and choose Properties.
- Select LOCAL FILES on the left pane.
- Click on “Verify integrity of game files” on the right pane.
- Wait for the scan to complete. Then relaunch your game.
Don’t give up just yet if the game is still misbehaving. Proceed to the next solution below.
Update the Game
Most game developers regularly update their games to improve performance. Therefore, updating Valheim might help mitigate the crashing problem on your Windows PC.
Use this procedure to update Valheim:
- Open Steam > LIBRARY.
- Right-click Valheim, choose Properties, and then select UPDATES on the left pane.
- Go to the AUTOMATIC UPDATES section and click on the drop-down arrow.
- Select “Always keep this game updated”.
- Wait for the process to finish.
Update the Graphics Driver
If you love gaming on your computer, you must always keep the graphics driver updated to ensure excellent performance. Updating the driver also eliminates any corruption that might trigger annoying errors and system crashes.
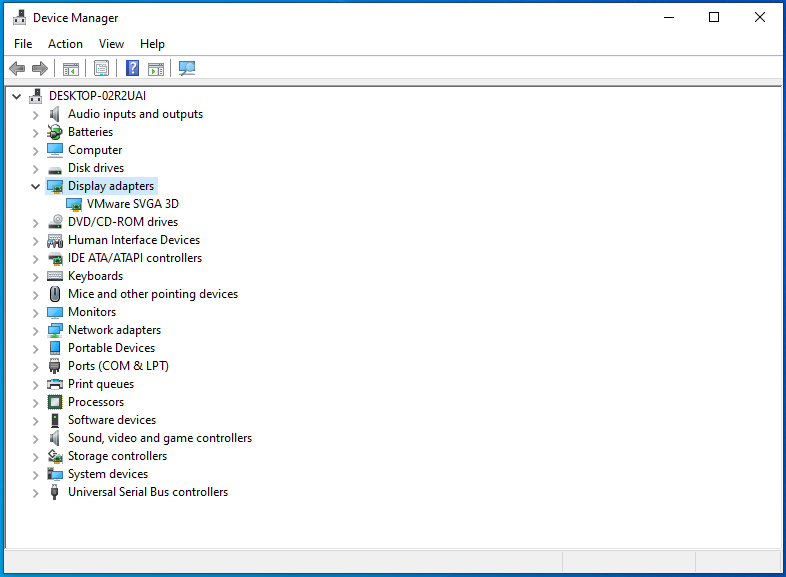
Follow these steps to update the graphics driver via the Device Manager:
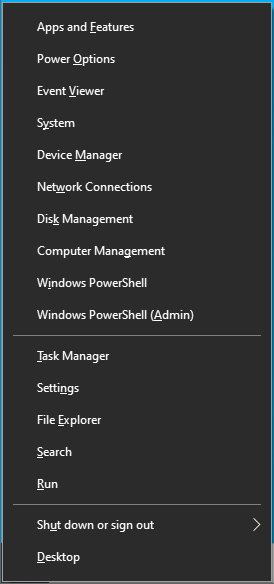
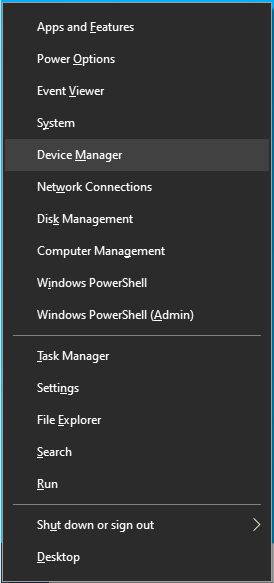
- Use the Windows logo key + X combination to open the Quick Access menu.

- Choose Device Manager.

- On the new screen, double-click on Display adapters.

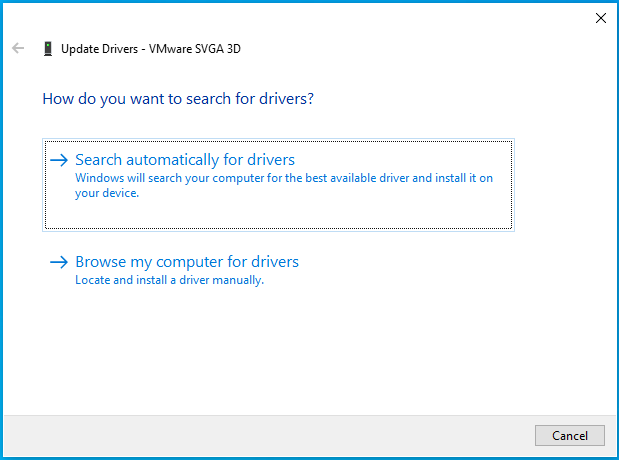
- Right-click on the graphics device and choose “Update driver”.

- Click on the “Search automatically for drivers” option.

- Reboot the PC once the process completes.
- Check if the issue has been solved.

To increase the chances of permanently eliminating the crashing and freezing problems, update all your device drivers. However, doing so can be tricky, especially when using the manual approach for every driver.
Fortunately, you can use an automatic driver updater such as Auslogics Driver Updater to ease the process.
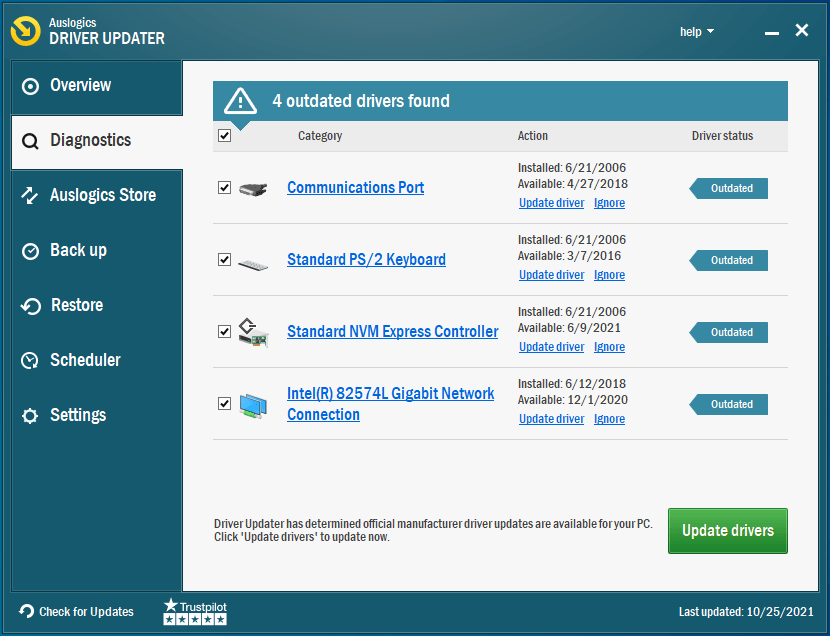
This user-friendly tool scans your machine for outdated and corrupted drivers and lets you update them in one click. Driver Updater also backs up a driver before updating it to enable you to easily restore its previous version if need be. Download this unique tool from the Auslogics website and follow the simple instructions to install it on your Windows 10 computer.
Stop Overclocking
Overclocking refers to the tweaking of your CPU’s or GPU’s clock rate to boost performance. Using this trick might help improve your gaming experience, but it could also damage your CPU due to overheating and cause ceaseless crashes and errors. Therefore, if Valheim is crashing on your PC, stop overclocking and see if the problem disappears.
Temporarily Disable Your Antivirus Application
Your antivirus software might block some of the game’s operations, causing it to crash during launch. This can be fixed by temporarily disabling the app before opening Valheim. So, ensure you temporarily disable protection in Windows Defender, Windows Security, and your third-party antivirus software. Then check for the issues.
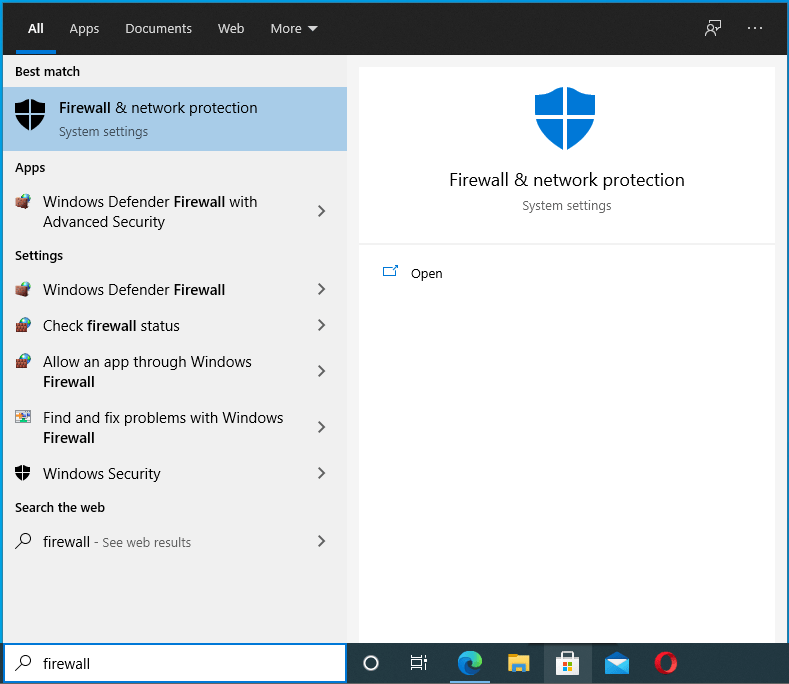
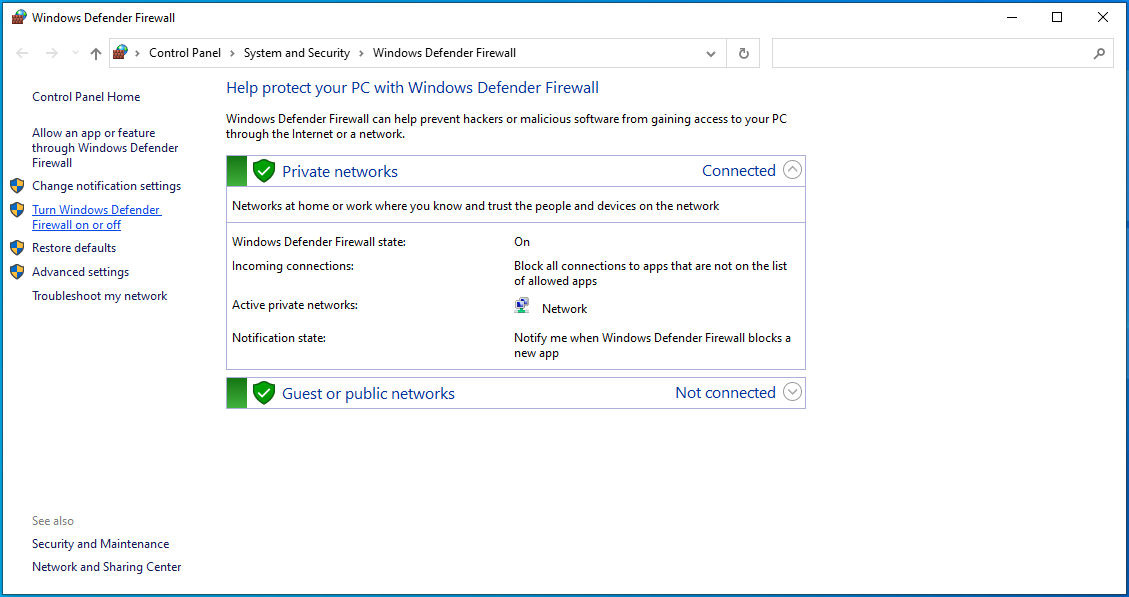
Here is how to do so in Windows Defender:
- Use the Win + S keyboard combo to open the Windows search box and type in “firewall” (without quotes).

- Click on the Windows Defender Firewall search result.

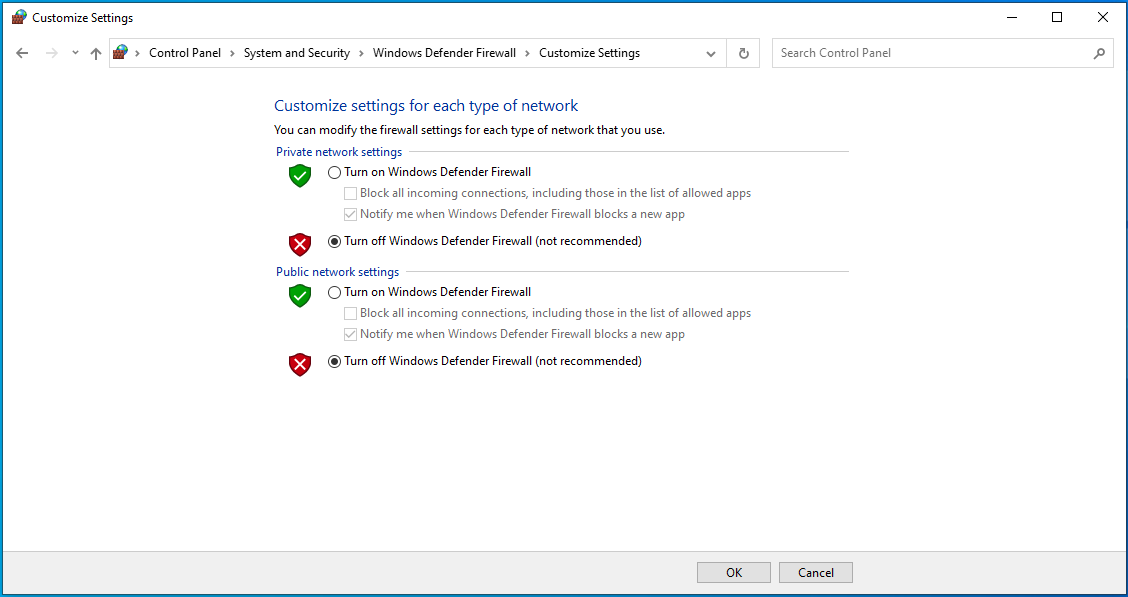
- Select “Turn Windows Defender Firewall on or off” on the left pane.

- Go to the “Private network settings” section and click on “Turn off Windows Defender Firewall (not recommended).”
- Repeat step 4 in the “Public network settings” section.

- Click OK.


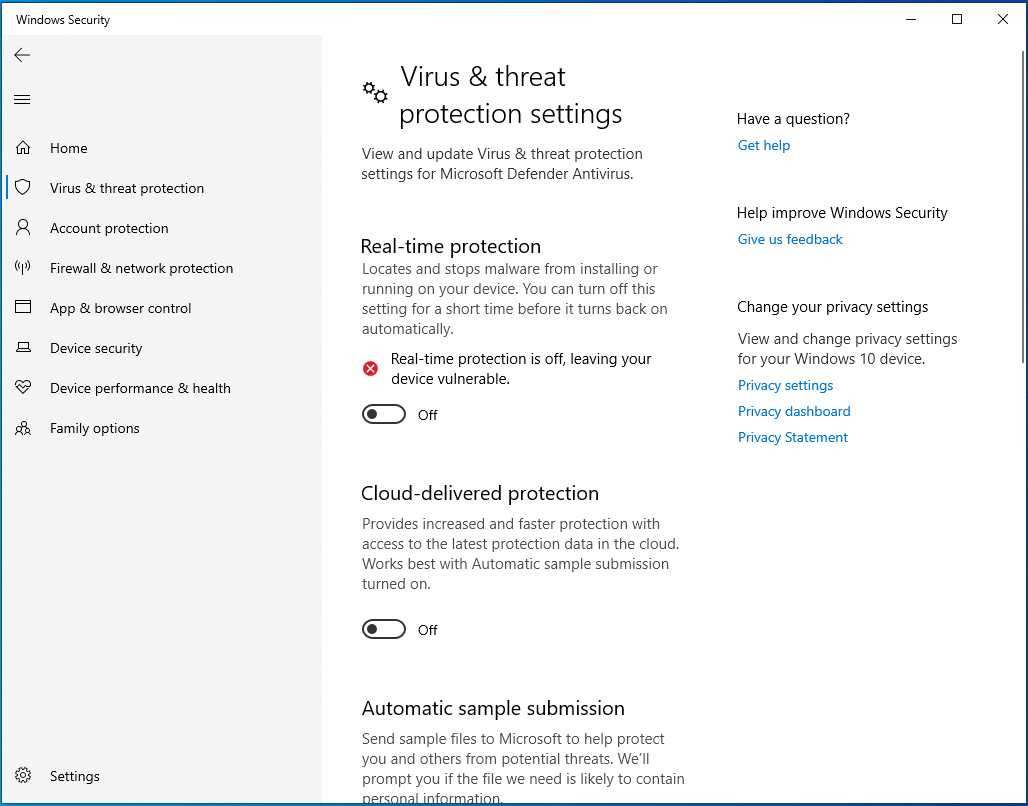
Once done, follow these steps to turn off protection in Windows Security:
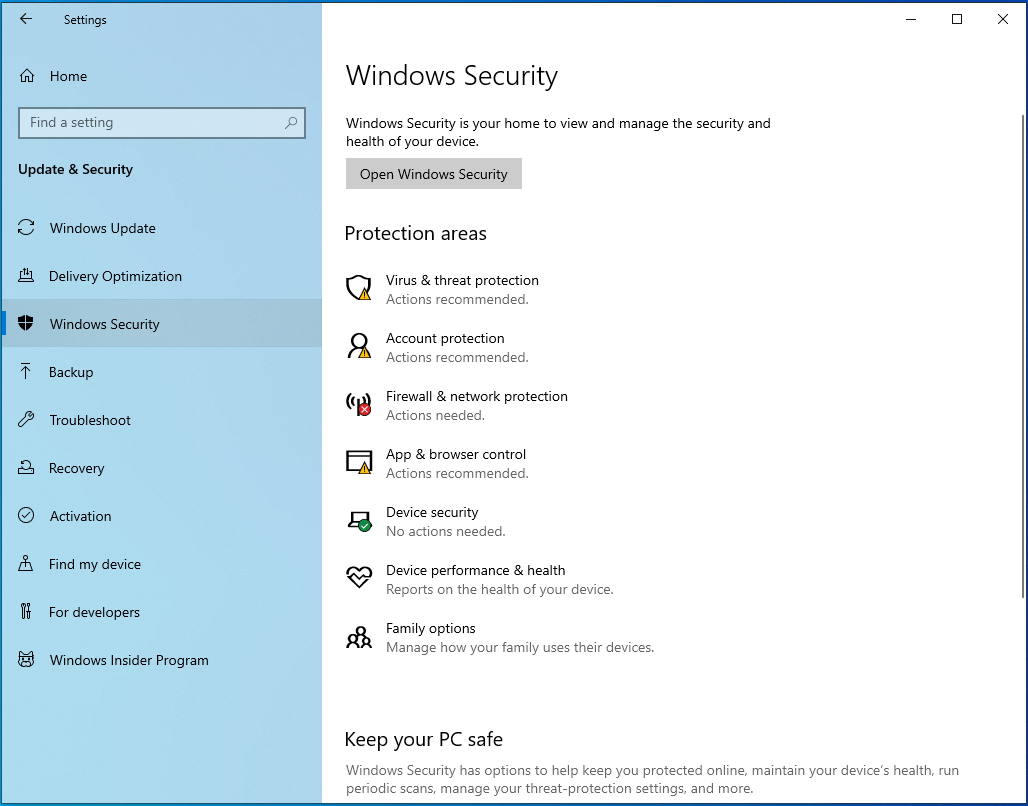
- Press the Win + I shortcut to open the Settings window.
- Select Update & Security.
- Choose Windows Security from the left-side menu.

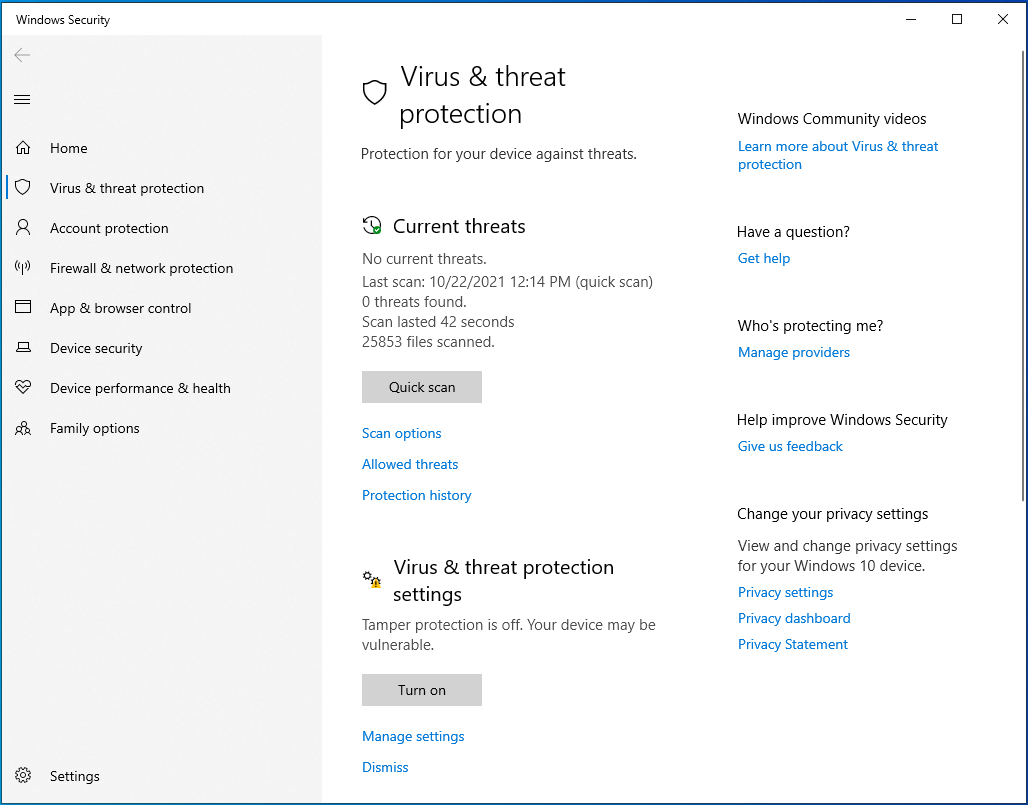
- Select “Virus & threat protection” on the right pane.
- Click on the “Manage settings” link on the right pane.

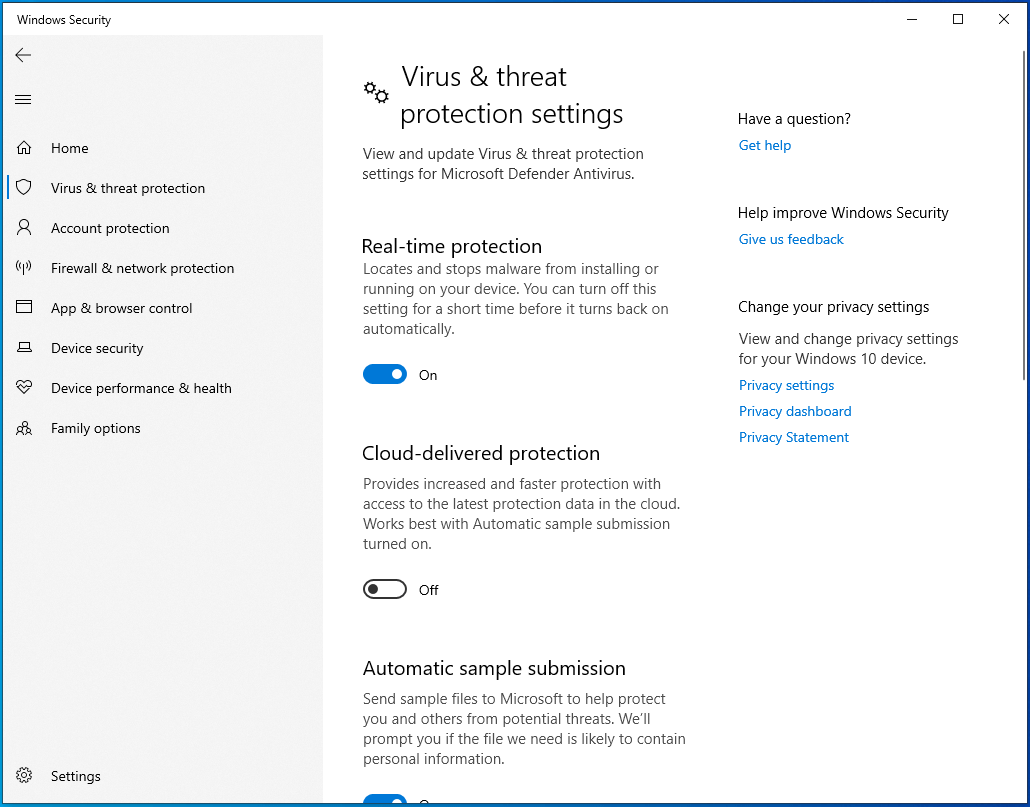
- Click on the “Real-time protection” toggle button to disable protection.

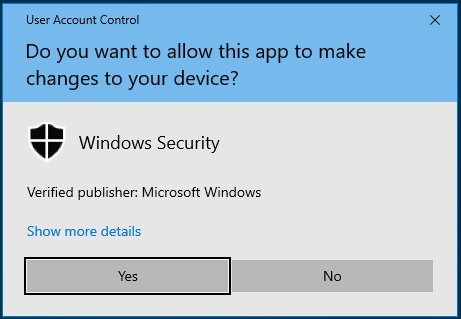
- Choose Yes in the UAC (User Account Control) window.

- Although not necessary, you could also disable “Cloud-delivered protection” and “Automatic sample submission” to help reduce the chances of your game being blocked.
- Close the Settings app.

Lastly, launch your third-party antivirus software and temporarily disable protection. Then, restart your computer. However, remember to re-enable protection once done troubleshooting.
Set Valheim’s Boot Priority to High
Some users say that setting Valheim’s boot priority to High in the Task Manager helped them resolve the crashing issue.
To do the same, use this quick guide:
- Open Valheim.
- Use the Ctrl + Shift + Esc combination to bring up the Task Manager window.
- Locate Valheim and select it. Then right-click on it and choose “Go to details”.
- Right-click Valheim.exe and select “Set priority”.
- Then choose High from the drop-down list.
- Close the Task Manager and check if the issue has been removed from your machine.
If the game is still crashing, then try the following method.
Change Launch Options
Tweaking your launch options on Steam might also enable the game to run without further crashes.
Follow the steps below to try this tip:
- Launch Steam and open the LIBRARY tab.
- Right-click Valheim and select Properties.
- On the next screen, switch to the GENERAL tab.
- Click on the box under the LAUNCH OPTIONS section and type in “–window-mode exclusive” (no quotes).
- Next, close the Properties window. Then open your game and see if it will misbehave.
Wrapping Up
Freezing and crashing in Valheim can be really frustrating, especially if you have no idea how to troubleshoot these issues. Luckily, you now know how to fix Valheim crashing in Windows 10 and can comfortably do so anytime the problem reappears. If you have other effective solutions to this issue, kindly share them with our online community by commenting below. Also, consider visiting our blog for more Windows 10 tips.