If you are a fan of video games, you’re likely familiar with Steam. There are many good reasons why this is among the most popular gaming platforms across the globe. It features a wide range of game genres, and for many people, it is the top solution for downloading new titles.
Online gamers know the importance of taking a screenshot of what’s happening on their screen. They can use it for bragging rights. Meanwhile, these screenshots are also crucial for reporting bugs and acquiring useful information. Now, you may ask, “Where is the screenshot folder in Steam?” If this is your concern, you’ll be delighted you found this article. In this post, we will teach you how to access the screenshot folder for Steam on Windows 10. We will also share some tips on how you can download the screenshots from the gaming platform.
How Do I Find Screenshots from Steam on Windows 10?
When you want to take a screenshot of a game, you need to press the F12 key on your keyboard. Once you’ve done this, the Screenshot Manager will pop out. This is the Steam gaming platform’s feature for taking screenshots. This tool also allows users to manage the screenshots and share them without leaving the program.
After taking your screenshots, you will be able to sort the images into folders for every game. You have the option to save the screenshots on your hard drive or share them with other members of the Steam community. If you wish, you can also keep the images private.
If you want to view the images via the Screenshot Manager, follow the instructions below:
- Go to the upper-left corner of your screen, then click View.
- Select Screenshots from the options.
- You will see the Steam Screenshot Manager. You will be able to access the saved screenshots on the software program. On the other hand, you can also click the Show on Disk button to open the screenshot folder that is locally saved on your computer.
You can also access the screenshot folder manually, especially if you do not want to spend more time launching Steam. Keep in mind that the exact location of the folder varies depending on where you installed Steam. In general, you can find it here:
C:\Program Files\Steam\userdata\AccountID\760\remote\
Once you get to this folder, you will find specific folders designated for every game you have on Steam. They are assigned with a random numeric title. When you open one of the folders and click the Screenshots folder within, you will see the images you took of the game. If you do not know your Steam ID, you can follow the instructions below:
- Launch Steam, then go to the top menu and click View.
- Click Settings, then go to the left-pane menu and select Interface.
- Ensure that the ‘Display Steam URL address when available’ option is selected.
- Go to the bottom of the window, then click OK.
- Click your Steam profile name.
- From the drop-down, choose Profile.
- You will see a URL at the top of the window. The long-form number is your Steam ID.
Modifying the Steam Screenshot Destination Folder
For some reason, you might want your screenshots to be saved in a different destination folder. Perhaps, you find it more time-consuming to open Steam just to access the folder. It can be easier to press Windows Key+E to find the screenshot folder. Of course, you need to ensure that it is not challenging to find the folder. So, if you want to change the Steam screenshot folder, follow the steps below:
- The first thing you need to do is delete the ‘Remote’ folder. You can access that folder by navigating to this path:
C:\Program Files (x86)\Steam\userdata\AccountID\760
- After deleting the default folder, you must open Command Prompt as an administrator. To do that, click the Search icon on your taskbar. Type “Command Prompt” (no quotes) inside the Search box. Finally, right-click Command Prompt from the results, then select Run as Administrator.
- Run the command below:
mklink /D “C:\Program Files (x86)\Steam\userdata\AccountID\760\remote” “XXX”
Note: Remember to replace ‘XXX’ with the path to your preferred screenshot folder.
Playing games on Steam is exhilarating and rewarding, especially when you can keep screenshots of milestones and victories. However, you have to remember that viruses and malware can corrupt your local folders. So, to protect your files from threats and attacks, make sure you have Auslogics Anti-Malware installed on your PC. This powerful tool can detect even the most discreet malware. So, you can rest easy knowing that your Steam screenshots will stay safe and secure.
Do you have other Steam concerns you’d like us to resolve?
Feel free to share them in the comments below, and we’ll feature them in our next post!
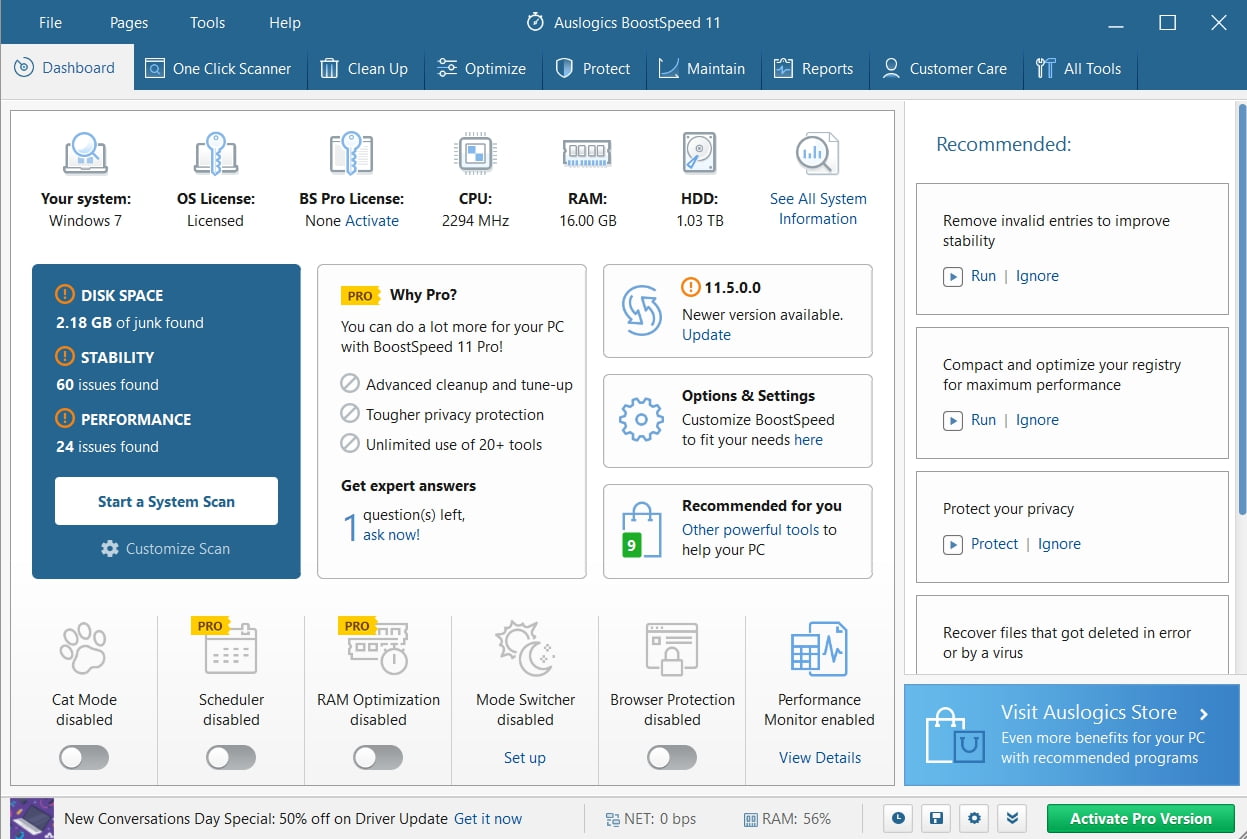
And if you want to delete temp files without losing much time, we recommend you to use Auslogics BoostSpeed’s tab for this


