

Having the power to tweak your computer to your liking is one of the great joys of PC ownership. Windows 10 comes with numerous features that populate different areas of your PC, especially the right-click context menu in File Explorer. Since you might not ever need some of these options, it makes sense to get them out of the way and declutter the context menu.
One of those features that you might not need is the “Cast to device” option. The feature is a holdover from previous Windows versions (formerly Play To). It allows you to stream media content to another device’s screen, which should support Miracast or DLNA.
Once you right-click on a media file, you’ll notice the “Cast to device” option in the context menu. After you select it, a list of wireless displays will show up, and you can choose one to stream the media content. If you never use the feature, then you might see no point in having the option in the context menu.
How to Remove “Cast to Device” from File Explorer on Windows 10
Removing the option from File Explorer’s right-click context menu involves making changes to the system registry.
Tweaking the registry is a sensitive and risky undertaking. Windows relies on the registry to handle apps, services and processes on your PC. If you make any mistake or tamper with a critical registry key, the damage might be irreversible. So, make sure you proceed with caution and do so only if you’re comfortable using the Registry Editor.
You still have to take safety measures by backing up the entire registry and creating a system restore point. This way, you can undo any damage you cause by mistake.
Here’s how to back up the system registry:
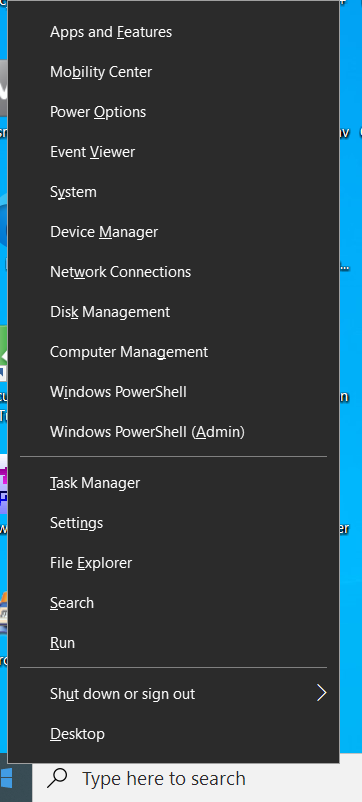
- Right-click the Start button and select Run after the Power User menu opens. The Windows + R keyboard shortcut will also summon the Run dialog box.
![Type Regedit into Run and press Enter.]()
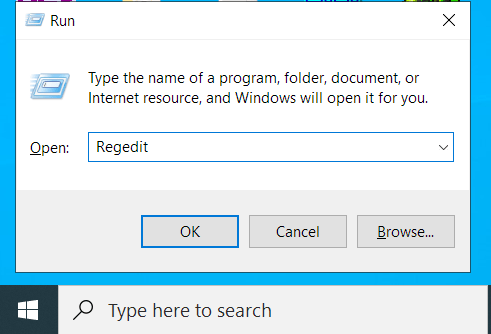
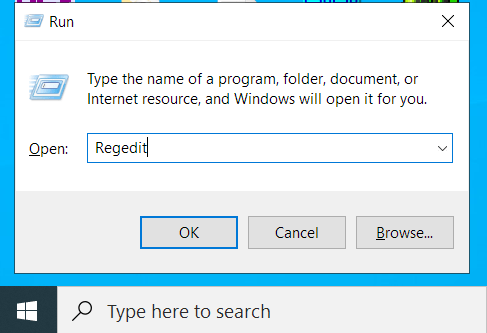
- After Run shows up, head to the text box, type “Regedit,” and press Enter.
![Type Regedit into Run and press Enter.]()
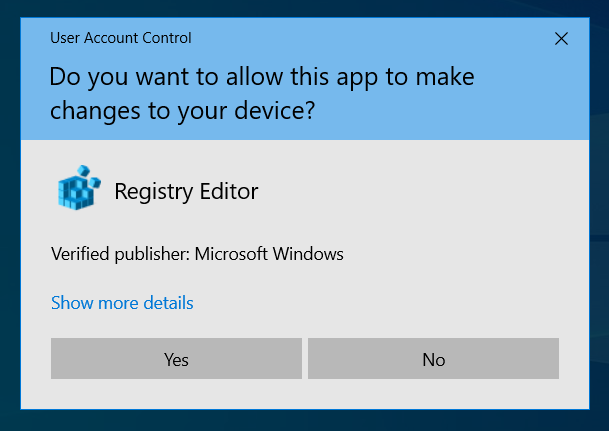
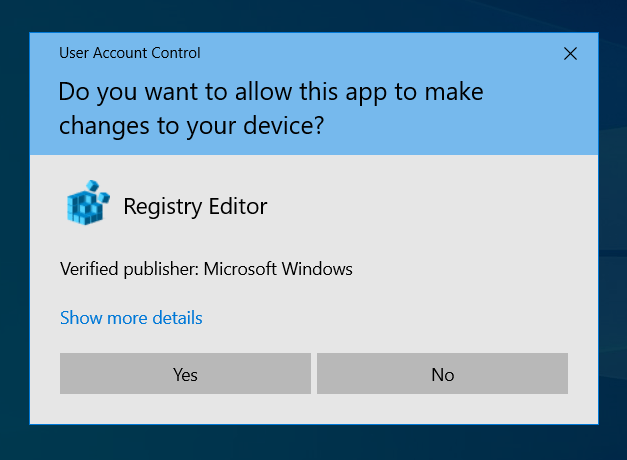
- Click on Yes after the User Account Control dialog requests permission to allow the Registry Editor to make changes to your computer.
![Click Yes on the UAC prompt to run the Registry Editor.]()
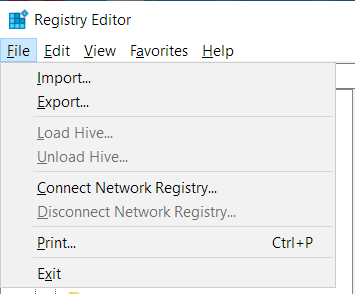
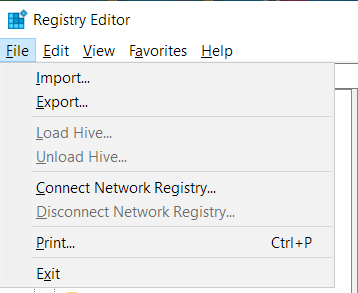
- After the Registry Editor opens, click on File in the top-left corner of the window and select Export from the menu.
![Select Export from the File menu.]()
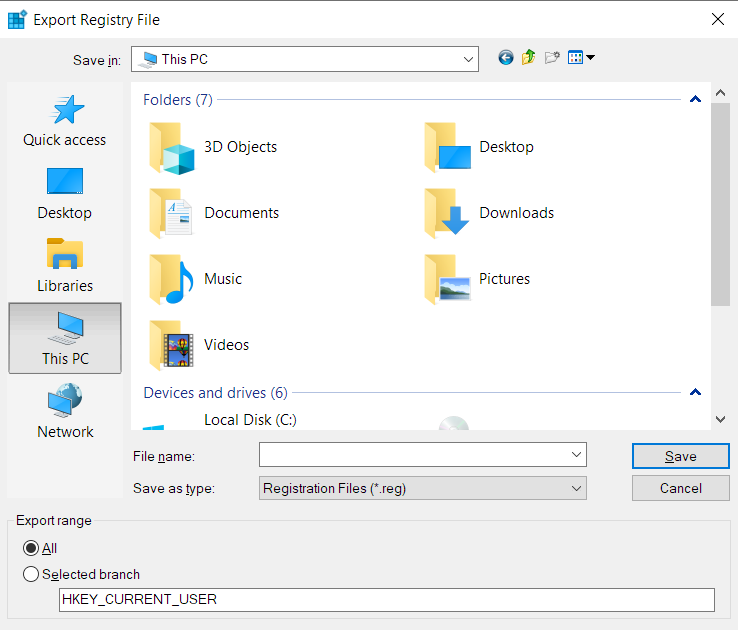
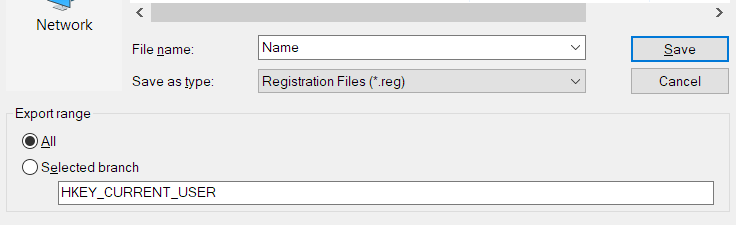
- Once you see the Export Registry File dialog box, go to the Export Range section and select All.
![Navigate to the Export Range section and select All.]()
- Enter a name for the file in the File Name text box.
![Name your backup file.]()
- Browse to the folder where you want to save the backup file. Click on Save.
![Save your backup folder.]()
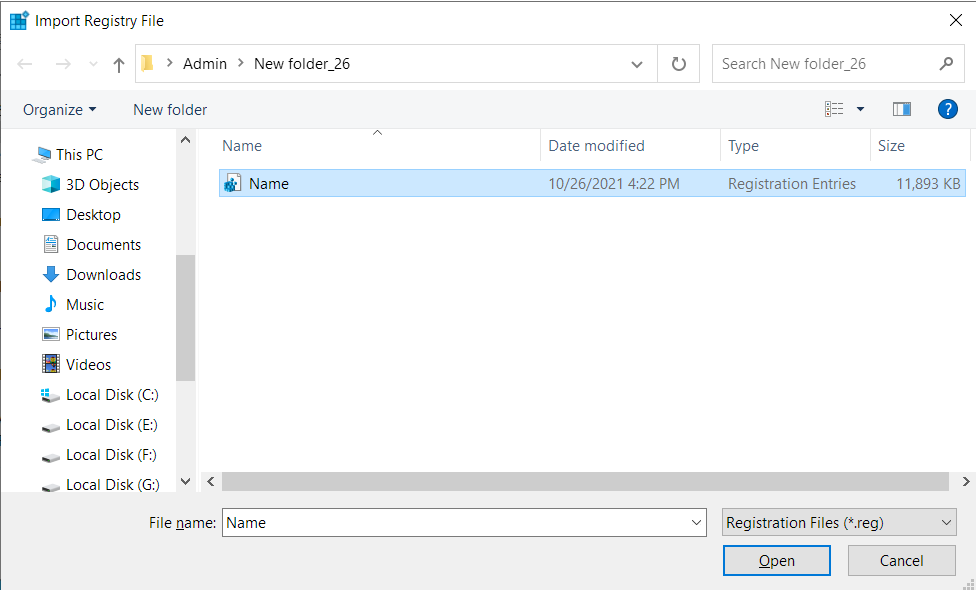
- To restore the system registry, open the Registry Editor, click on File, and select Import. Once the Import Registry File dialog box opens, head to the folder where you saved the backup file and double-click it.
![Go to File and click Import.]()
Here’s how to create a system restore point:
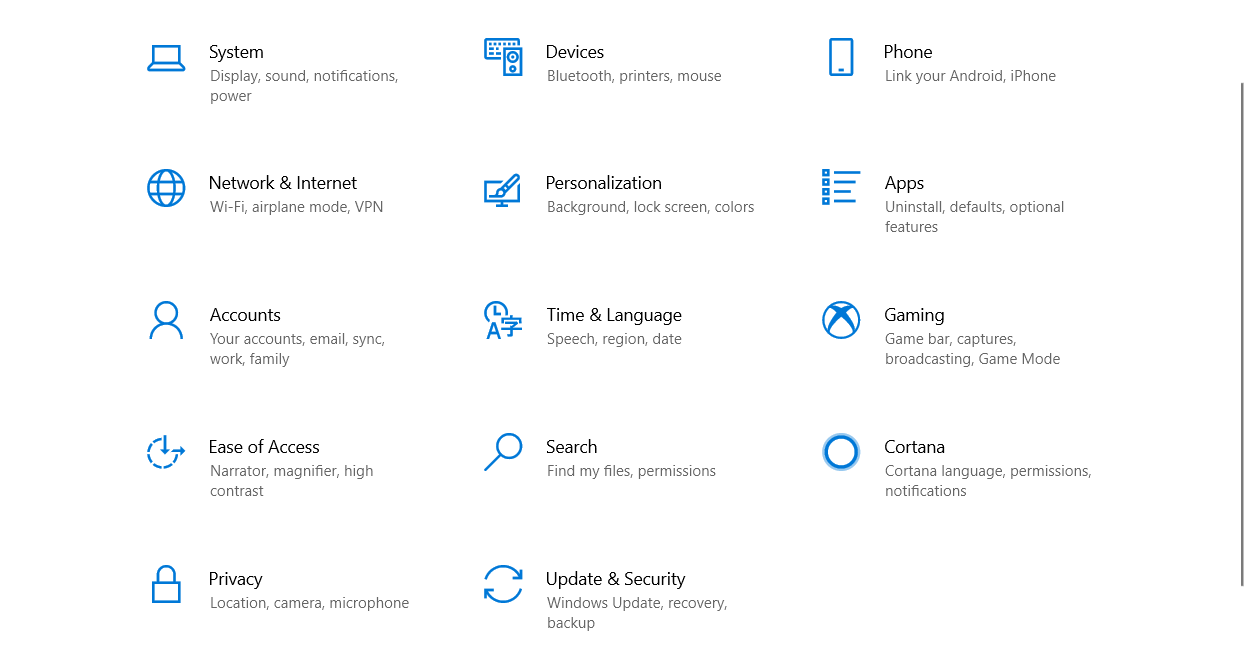
- Launch Windows Settings by pressing the Windows + I keyboard shortcut.
![Launch the Settings app.]()
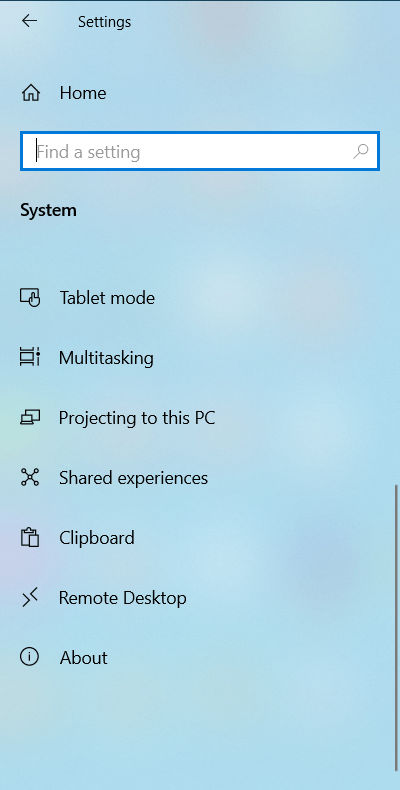
- After the Settings application shows up, click on the System icon.
- Head to the left pane of the System page, scroll down, and click on About.
![Navigate System and click About.]()
- Once you see the About interface, go to the right and click on System Protection under Related Settings.
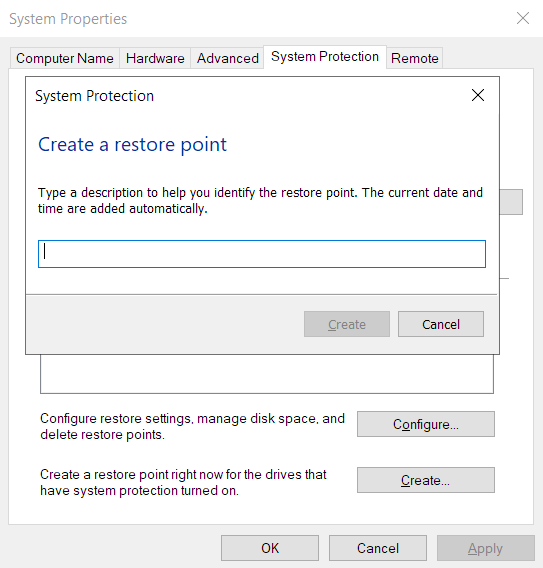
- Once the System Protection tab of the System Properties dialog window appears, go to the Protection Settings section and click on Create.
- If the Create button isn’t active, click on the Configure button.
- Select the radio button for “Turn on system protection” and click on OK in the next dialog window.
- After clicking on the Create button, enter a name for the restore point and click on Create.
![Describe your restore point.]()
Now, follow these steps to remove the “Cast to device” option:
- Right-click the Start button and select Run after the Power User menu opens. The Windows + R keyboard shortcut will also summon the Run dialog box.
![Open Run through the Power User menu.]()
- After Run shows up, head to the text box, type “Regedit,” and press Enter.
![]()
- Click on Yes after the User Account Control dialog requests permission to allow the Registry Editor to make changes to your computer.
![Click Yes on the UAC prompt to allow changes.]()
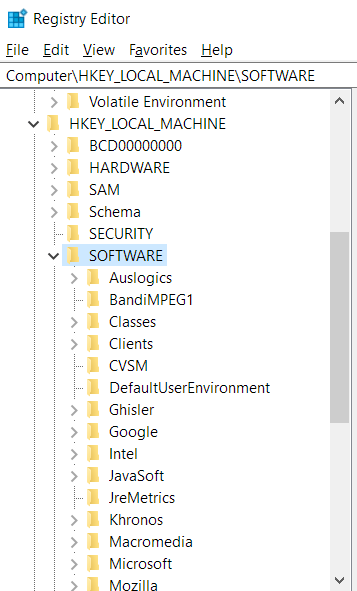
- After the Registry Editor opens, go to the left pane and expand HKEY_LOCAL_MACHINE.
![Expand HKEY_LOCAL_MACHINE.]()
- Next, expand SOFTWARE.
![Expand the SOFTWARE folder.]()
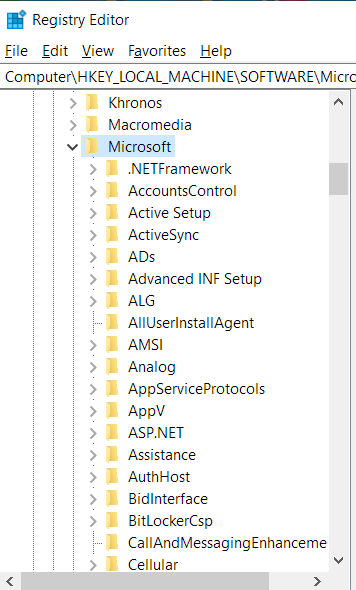
- Under SOFTWARE, locate Microsoft and click on the arrow beside it.
![Expand Microsoft under Software.]()
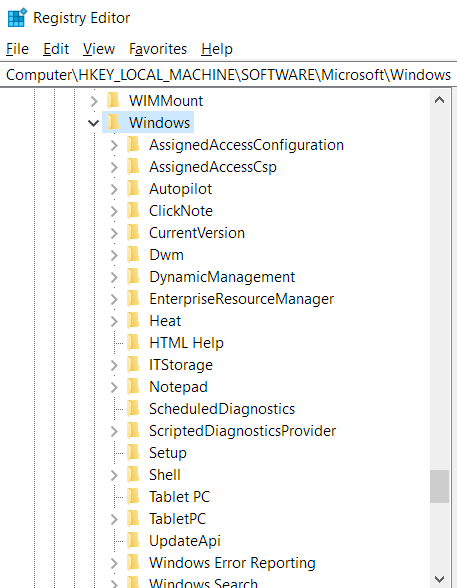
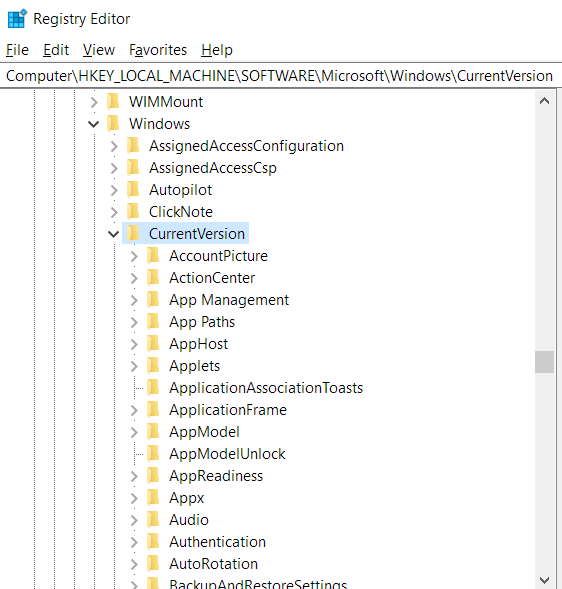
- Next, scroll down and expand Windows.
![Expand the Windows folder.]()
- Go to CurrentVersion under Windows and open it.
![Expand the CurrentVersion folder.]()
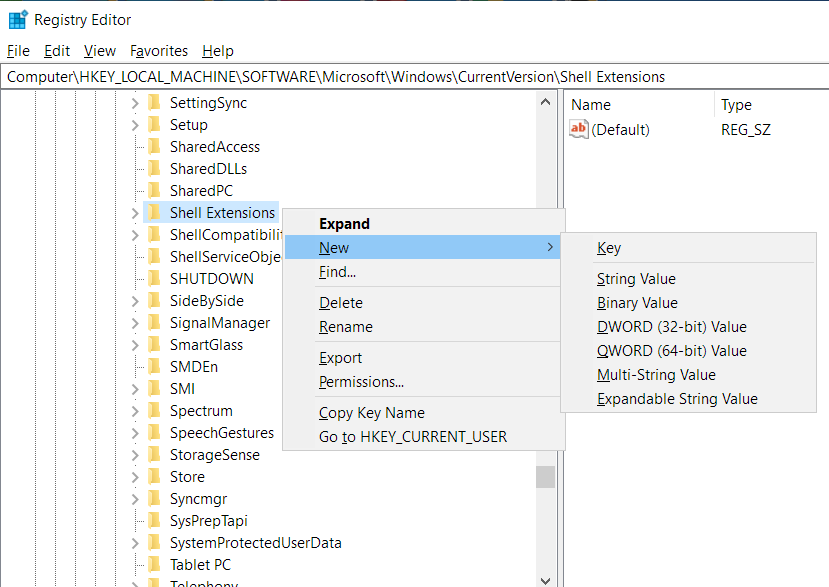
- Now, scroll down to Shell Extensions and right-click it.
![Go to Shell Extensions and right-click it, then select New.]()
- Hover your mouse cursor over New and click on Key in the context menu.
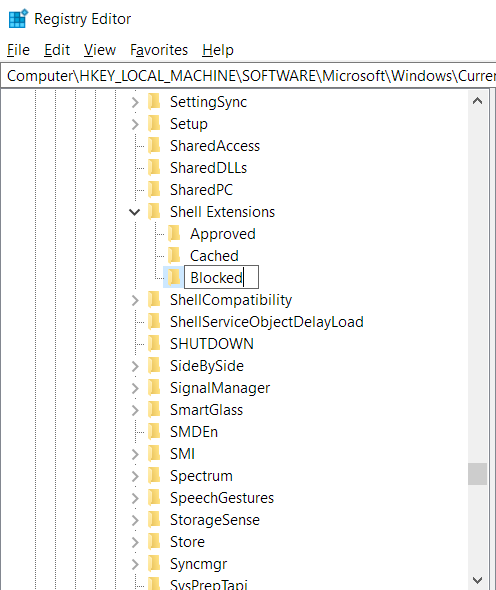
- Once the new key shows up under Shell Extensions, name it Blocked.
![Rename the key Blocked to proceed.]()
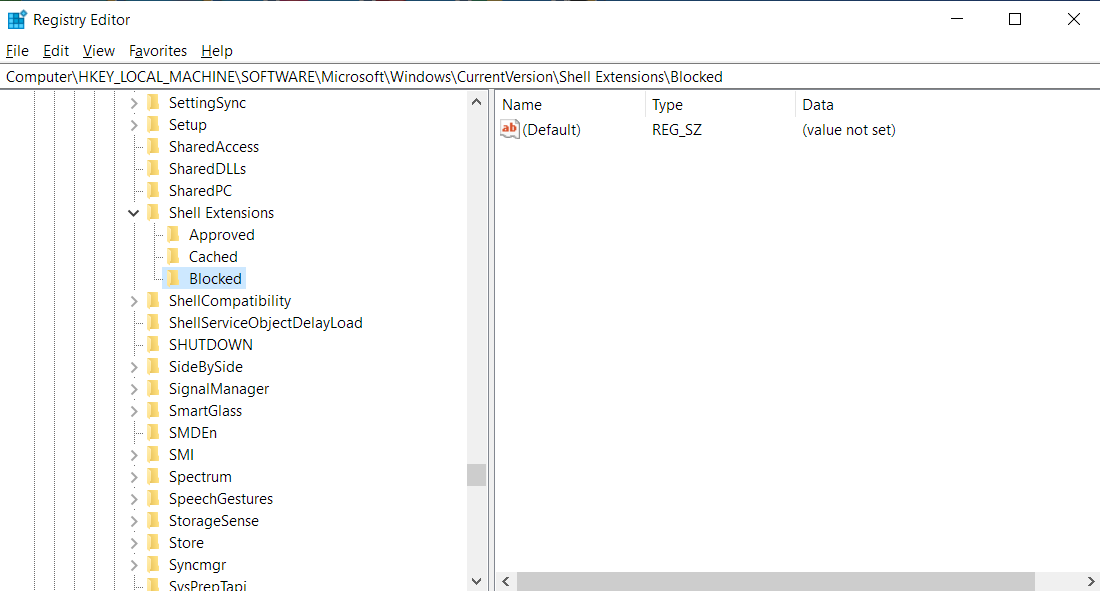
- After that, single-click the Blocked key and switch to the right side of the Registry Editor.
![Expand Blocked and go to the right pane.]()
- Right-click the blank area and select New >> String Value.
![Right-click Blocked and select New.]()
- After the new string value shows up, use the following text to rename it (you can copy and paste the text):

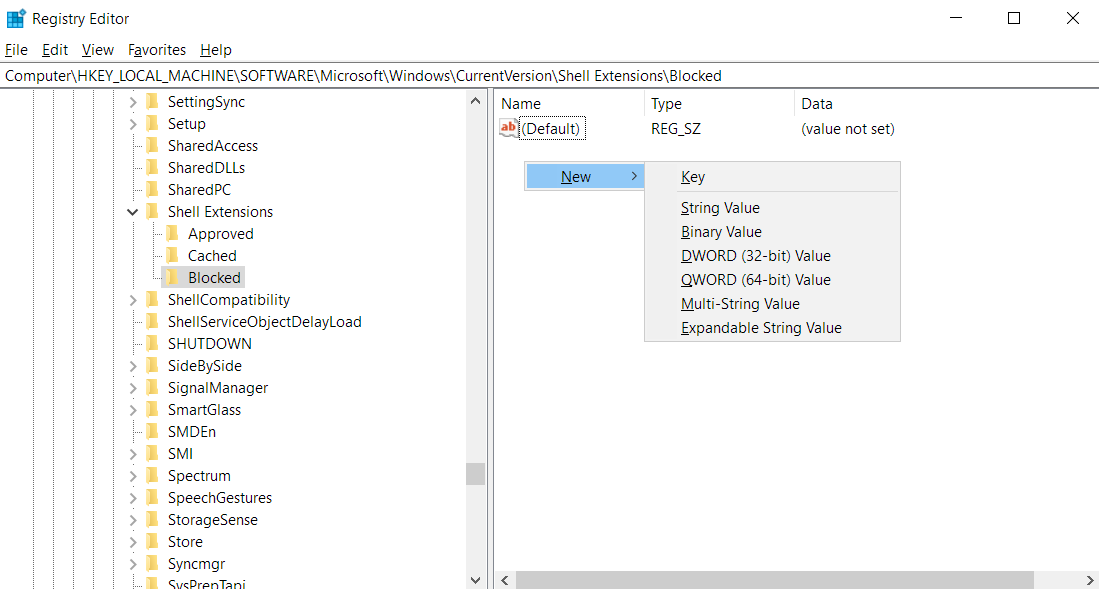
{7AD84985-87B4-4a16-BE58-8B72A5B390F7}
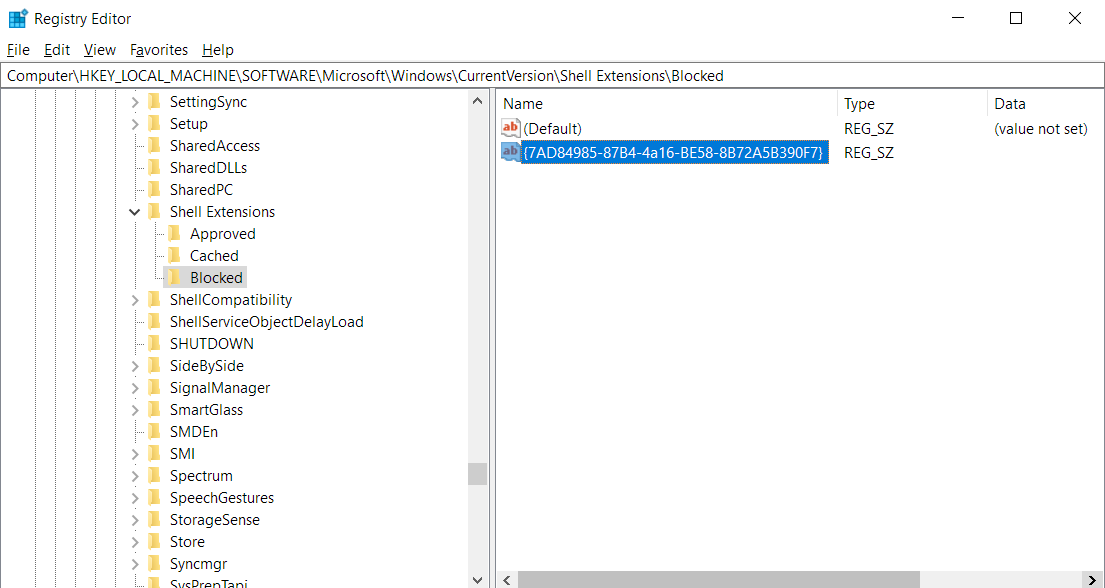
Creating this string in the Blocked key under Shell Extensions adds the “Cast to Device” option to blocked Shell Extensions on your computer. That means Windows will no longer include it in the context menu going forward. You can now exit the Registry Editor and restart your system. After your computer boots up, head to the File Explorer folder where your media file is located and right-click it to check if the option still appears in the context menu.
Suppose you had a change of heart and decided to add the “Cast to device” option back to the right-click context menu. In that case, you’d have to head back to the Registry Editor, drill down to HKEY_LOCAL_MACHINE\SOFTWARE\Microsoft\Windows\CurrentVersion\Shell Extensions, click on the “Blocked” key, and delete the string you added on the right side of the screen.
Use a .REG file
If you want to make things easier, you can create two registry files: one that removes the option and another that adds it back. That way, you won’t have to be diving into the Registry Editor whenever you want to add the option to or remove it from File Explorer.
Follow the steps below.
This file will remove the “Cast to device” option:
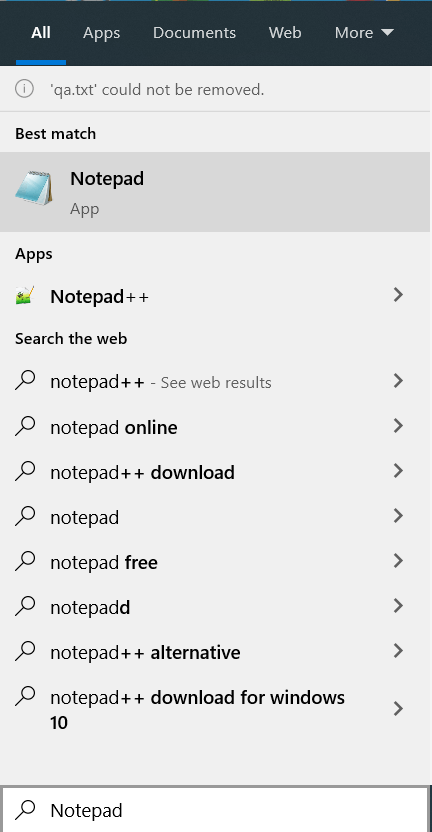
- Go to the Start menu and search for Notepad.
![Open the Start menu and select Notepad.]()
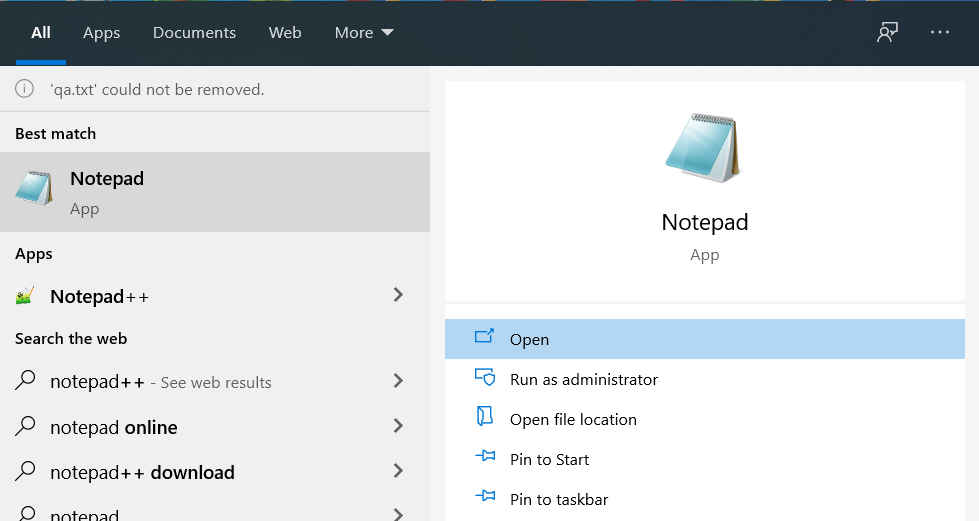
- Launch the application once it shows up in the search results.
![Launch Notepad and proceed.]()
- After the new blank note opens, copy and paste the following text:


Windows Registry Editor Version 5.00
[HKEY_LOCAL_MACHINE\SOFTWARE\Microsoft\Windows\CurrentVersion\Shell Extensions\Blocked]
“{7AD84985-87B4-4a16-BE58-8B72A5B390F7}”=””
![Enter Windows Registry Editor Version 5.00 [HKEY_LOCAL_MACHINE\SOFTWARE\Microsoft\Windows\CurrentVersion\Shell Extensions\Blocked] "{7AD84985-87B4-4a16-BE58-8B72A5B390F7}"="" into Notepad.](https://www.auslogics.com/en/articles/wp-content/uploads/2021/05/cast-to-device-notepad.png)
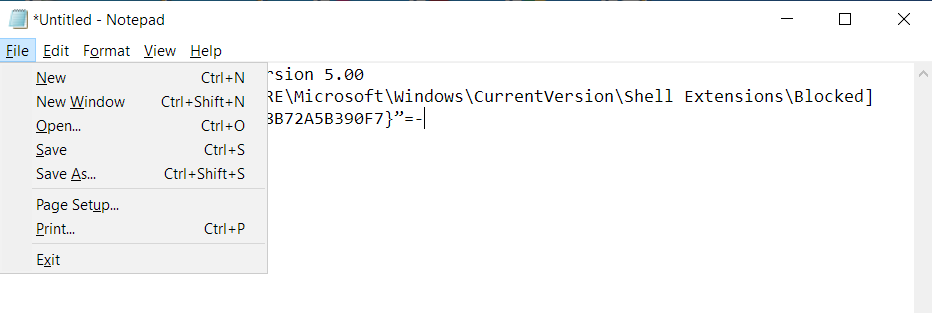
4. After that, go to the top of the window, click on File and select Save As. You can also press Ctrl + Shift + S.
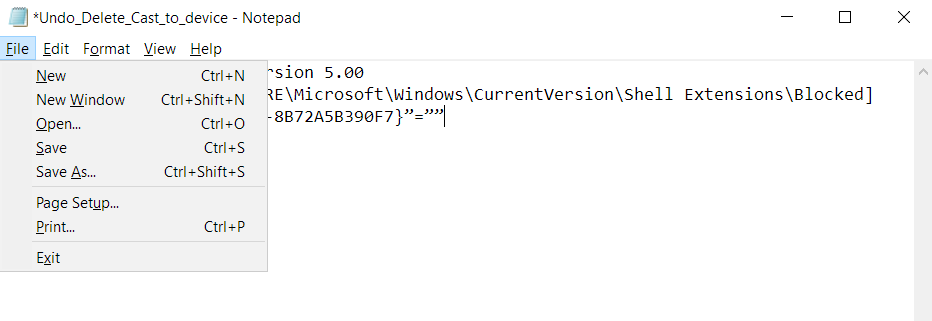
5. After the Save As dialog window opens, go to the “File name” text box and type “Delete_cast_to_device.reg” (don’t add the quotes). You can choose any other name for the file, but make sure you add the .REG extension.
6. Click on Save.

The file essentially adds the Blocked key and the “Cast to device” string just as you’d do in the Registry Editor. After creating it, all you have to do is double-click it to remove the option from File Explorer.
Follow these steps to create another file that will help you remove the string:
- Go to the Start menu and search for Notepad.
![Use Search to locate Notepad and launch it.]()
- Launch the application once it shows up in the search results.
![Select Open to launch Notepad.]()
- After the new blank note opens, copy and paste the following text:
Windows Registry Editor Version 5.00
[HKEY_LOCAL_MACHINE\SOFTWARE\Microsoft\Windows\CurrentVersion\Shell Extensions\Blocked]
“{7AD84985-87B4-4a16-BE58-8B72A5B390F7}”=-
![Enter Windows Registry Editor Version 5.00 [HKEY_LOCAL_MACHINE\SOFTWARE\Microsoft\Windows\CurrentVersion\Shell Extensions\Blocked] "{7AD84985-87B4-4a16-BE58-8B72A5B390F7}"=- into Notepad.](https://www.auslogics.com/en/articles/wp-content/uploads/2021/05/notepad-commands.png)
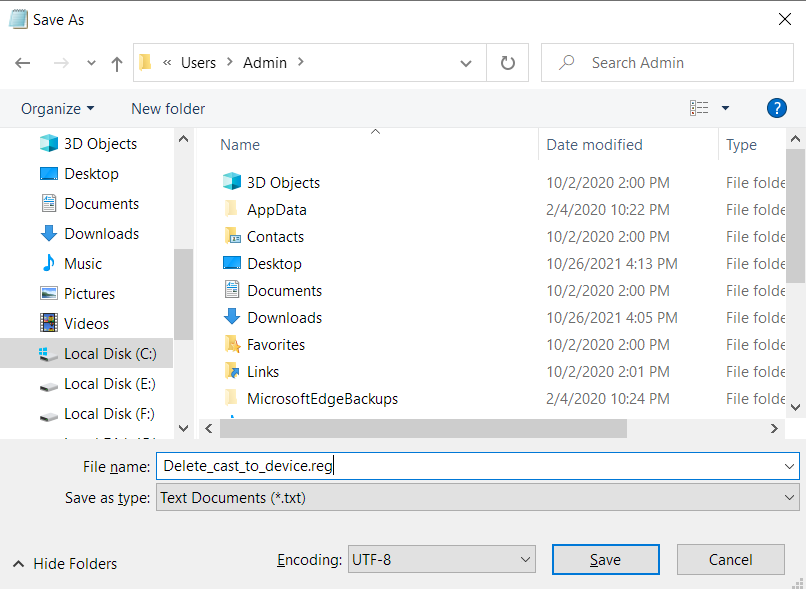
4. After that, go to the top of the window, click on File and select Save As. You can also press Ctrl + Shift + S.
5. After the Save Ask dialog window opens, go to the “File name” text box and type “Undo_Delete_Cast_to_device.reg” (don’t add the quotes). You can choose any other name for the file, but make sure you add the .REG extension.
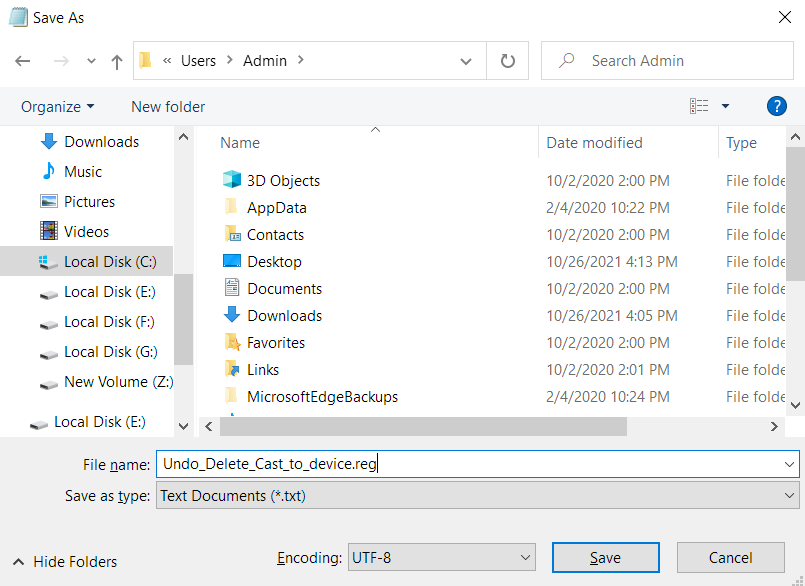
6. Click on Save.

7. Whenever you want to add the option back to File Explorer, double-click on the file.
Conclusion
Remember that you have to be careful about making changes to the system registry. If you’re not comfortable with editing the registry, get someone else with more experience to do it for you. If you have any questions for us, you can use the comments section below.
Parting Tip
The Windows registry can accumulate leftover keys over time, causing the system to lag. Temporary and junk files can also affect your computer’s performance. It’s nearly impossible for a regular Windows user to track these files and registry keys and remove them safely. But if you don’t get rid of them, you’ll suffer the frustration of using a handicapped computer.
Thankfully, you can use Auslogics BoostSpeed to clear these entities without hassle.
The tool is designed to find junk files that harm your system’s performance and get rid of them.
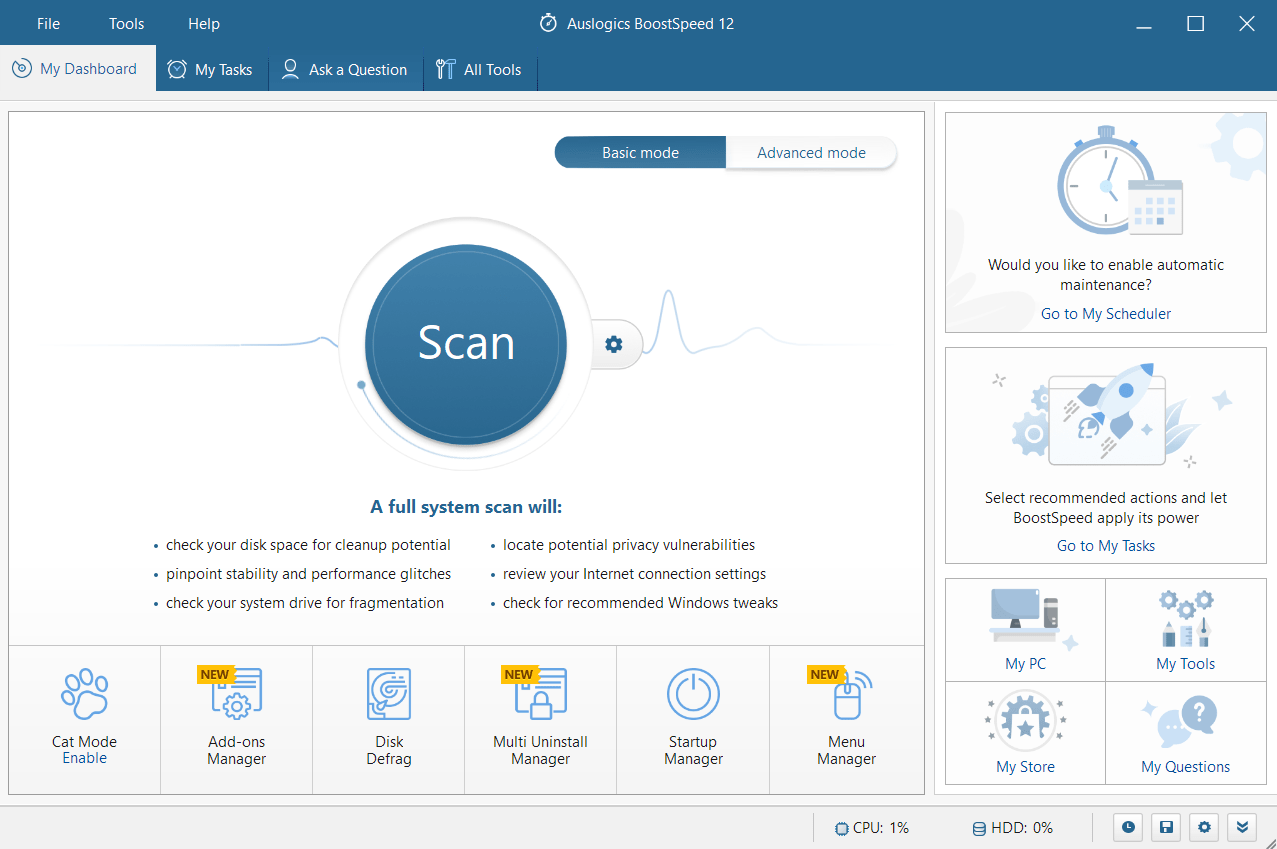
It can also optimize your computer’s efficiency by removing leftover registry files without causing any damage to your system.