

- What Are DLL Files?
- Understanding DLL Errors
- Top 10 Tips to Fix Missing DLL Files in Windows 7
- 1. Restart your computer
- 2. Update your Windows 7 operating system
- 3. Check your Recycle Bin for deleted DLL files
- 4. Use file recovery software to retrieve DLL files
- 5. Reinstall applications to resolve DLL-related issues
- 6. Perform a system restore in Windows 7
- 7. Perform a System File Checker (SFC) scan
- 8. Update your drivers in Windows 7
- 9. Run a malware scan on your Windows 7 PC
- Conclusion
Understanding the intricacies of your system is crucial. DLL errors in Windows 7 exemplify how minor issues can disrupt app functionality. These errors can be frustrating, but addressing them promptly is key. Continue reading for solutions.
What Are DLL Files?
What are DLL files? Dynamic link library (DLL) files are external components of applications, storing critical code. They’re loaded into memory and used by programs as needed.
Understanding DLL Errors
DLL errors occur when a DLL file is missing or corrupt. This leads to code inaccessibility in your operating system or applications, often resulting in the “DLL file is missing” error message.
Top 10 Tips to Fix Missing DLL Files in Windows 7
1. Restart your computer
Initiating a restart is a recommended first step in addressing the “missing DLL file” error. This simple action can resolve transient issues causing the error. If your PC becomes unresponsive due to a DLL error, a forced restart may be necessary. To do this, hold down the power button until the computer shuts off, then turn it back on. Remember, a forced restart should be used only as a last resort, as it can lead to data loss if applications are running.
2. Update your Windows 7 operating system
To address persistent DLL issues, updating your Windows 7 OS can be an effective solution. Operating system updates often include fixes for common bugs and errors.
To update Windows 7, follow these steps:
- Click on the Start menu and open Control Panel.
- Navigate to “System and Security” and select “Windows Update.”
- Click on “Check for updates.” The system will search for available updates.
- Once the search is complete, a window will appear with a list of available updates. Select the updates you want to install.
- Click “OK,” then “Install updates” to start the update process.
- After the updates are installed, restart your computer to complete the process.
By ensuring your system is up-to-date, you can resolve many common errors, including those related to DLL files.
3. Check your Recycle Bin for deleted DLL files
Accidentally deleting DLL files can lead to errors. To check if this is the case:
- Open the Recycle Bin by double-clicking its icon on your desktop.
- Browse through the contents to look for any DLL files. These files will have a “.dll” extension.
- If you find any relevant DLL files, right-click on them and select “Restore” to return them to their original location.
This simple check can help you recover any DLL files you might have deleted unintentionally, potentially resolving your DLL errors.
4. Use file recovery software to retrieve DLL files
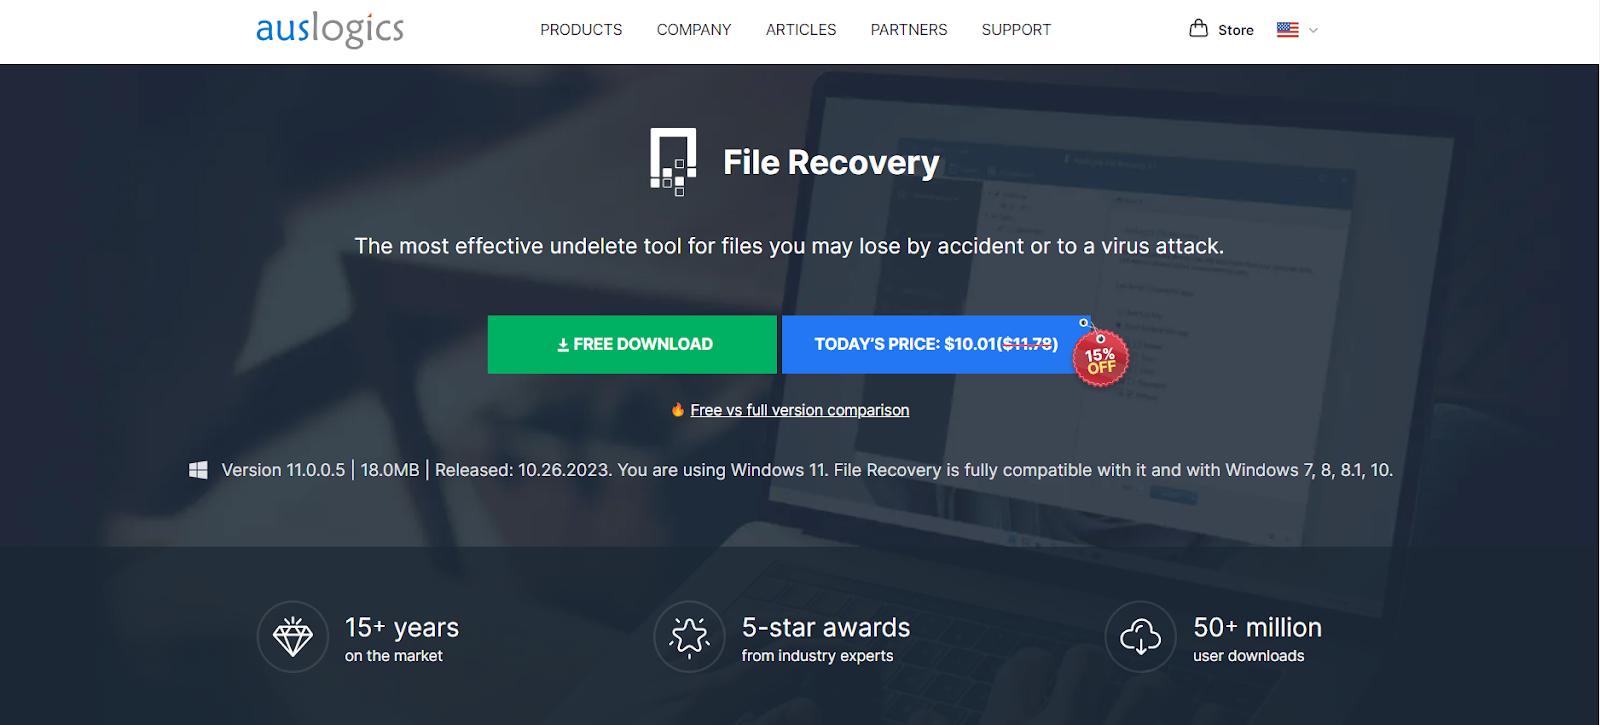
If your DLL files are not in the Recycle Bin, you can still recover them using file recovery software. Programs like Auslogics File Recovery are designed to retrieve deleted files, including DLLs, from your hard drive. Here’s how to proceed:
- Choose a reliable file recovery program (hint: Auslogics File Recovery).
- Install and launch the file recovery software.
- Follow the software’s instructions to scan your system for recoverable files.
- Look for files with the “.dll” extension in the scan results.
- Select the DLL files you need and restore them to a safe location on your computer.
Remember, the success of file recovery depends on how long the file has been deleted and whether new data has overwritten it.
5. Reinstall applications to resolve DLL-related issues
If a specific application is triggering DLL errors, reinstalling it can often fix the problem. Here’s how to do it:
Uninstall the problematic application:
- Click the Start button, then go to Control Panel.
- Select “Programs” and then “Uninstall a program.”
- Find the application in the list, click on it, and then choose “Uninstall.”
- Follow the prompts to complete the uninstallation. If asked for confirmation, click “Yes.”
- Wait for a status message confirming the completion, then click “OK.”
Reinstall the application:
- Download the latest version of the application from the official website or use your installation media.
- Run the installer and follow the on-screen instructions to reinstall the application.
- After installation, check if the DLL error persists.
By reinstalling, you ensure that the application has all the necessary files, including any missing or corrupted DLL files.
6. Perform a system restore in Windows 7
To address missing DLL files, a system restore can revert your system to a previous state where these issues did not exist. Follow these steps:
- Click on the Start button, type “System Restore” into the search box, and select the System Restore program.
- In the System Restore window, click “Next” to proceed.
- Choose a suitable restore point from the list. Select a date before you started experiencing the DLL issues.
- Optionally, click on “Scan for affected programs” to review the changes that will occur to your programs and drivers.
- Confirm your selected restore point and click “Finish.” Your PC will restart.
- The restoration process will begin. It might take some time to complete.
Once done, check if the DLL errors have been resolved.
This method rolls back your system settings and configurations to a previous state without affecting your personal files.
7. Perform a System File Checker (SFC) scan
Corrupt or missing system files can often cause DLL errors. To address this, run a System File Checker scan, which can repair these files. Follow these steps:
Open an elevated Command Prompt:
- Click the Start button, type “cmd” into the search bar.
- Right-click on “Command Prompt” and select “Run as administrator” to open an elevated Command Prompt.
Run the SFC command:
- In the Command Prompt window, type “sfc /scannow” (without quotes) and press Enter.
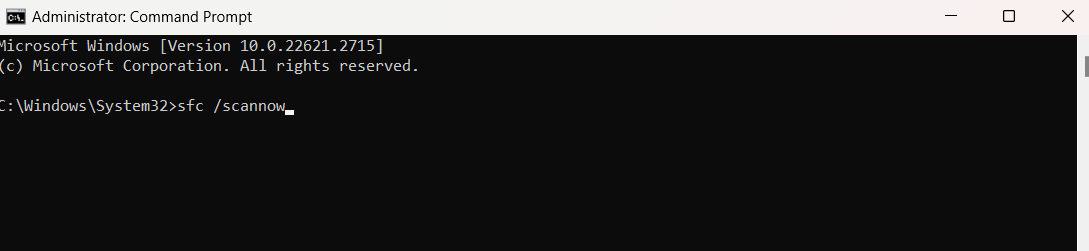
- The SFC scan will begin, checking for corrupted or missing system files and repairing them as needed. This process can take some time, so please be patient.
- After the scan is complete, restart your computer.
Check if the DLL error has been resolved. If the issue persists, consider other troubleshooting methods.
8. Update your drivers in Windows 7
Faulty or outdated drivers can contribute to DLL file issues. Here are three methods to update your drivers in Windows 7:
Using Device Manager:
- Open Device Manager by right-clicking on “Computer,” selecting “Manage,” and then choosing “Device Manager.”
- Find the device whose driver you want to update, right-click on it, and select “Update Driver Software.”
- Follow the prompts to let Device Manager automatically search for and install the driver updates.
Manual update:
- If Device Manager doesn’t find the latest drivers, you can manually search for them.
- Visit the hardware manufacturer’s website and download the latest drivers for your specific hardware model.
- Install the downloaded drivers following the manufacturer’s instructions.
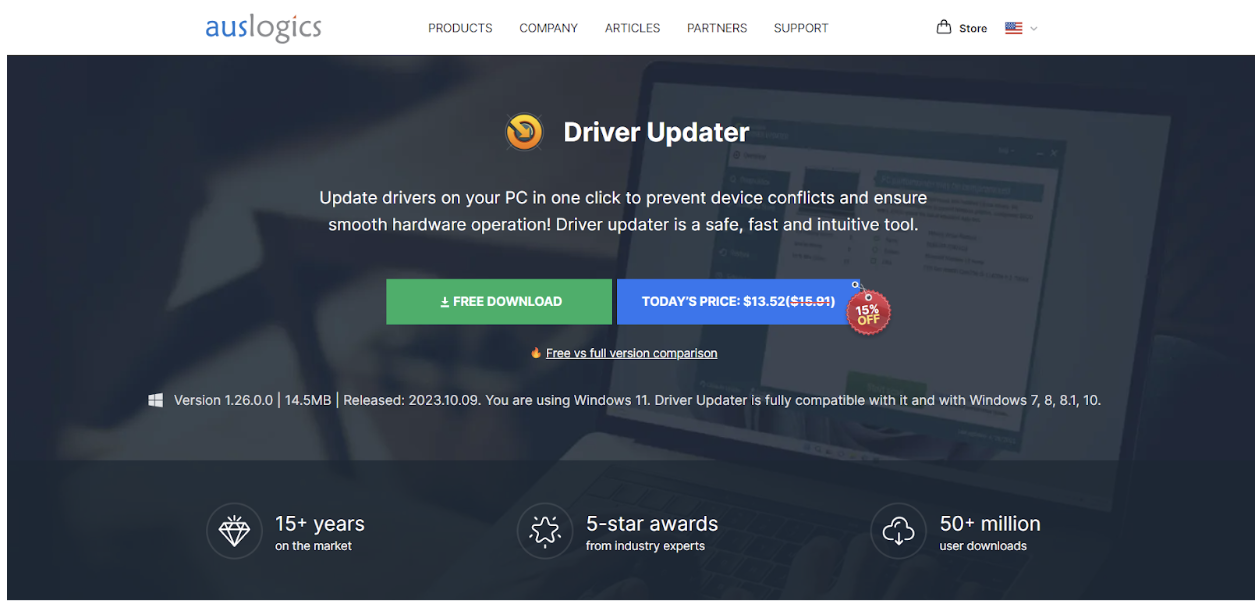
Using Auslogics Driver Updater:
For a more hands-off approach, consider using driver update software like Auslogics Driver Updater. It can automatically identify your system’s hardware and download the correct drivers for you. Updating drivers is a crucial step in maintaining system stability and can often resolve DLL-related issues.
Learn more: [EASY GUIDE] How to Update Device Drivers on a Windows 10 PC?
9. Run a malware scan on your Windows 7 PC
Malware can significantly disrupt your system’s functioning and may be the cause of missing DLL files. To ensure your PC is clean, perform a thorough malware scan:
Using Windows Defender:
- Windows 7 comes with Windows Defender. To use it, click the Start menu, type “Defender” into the search box, and open Windows Defender.
- Navigate to the “Scan” option and select “Full scan” to perform a comprehensive check of your system.
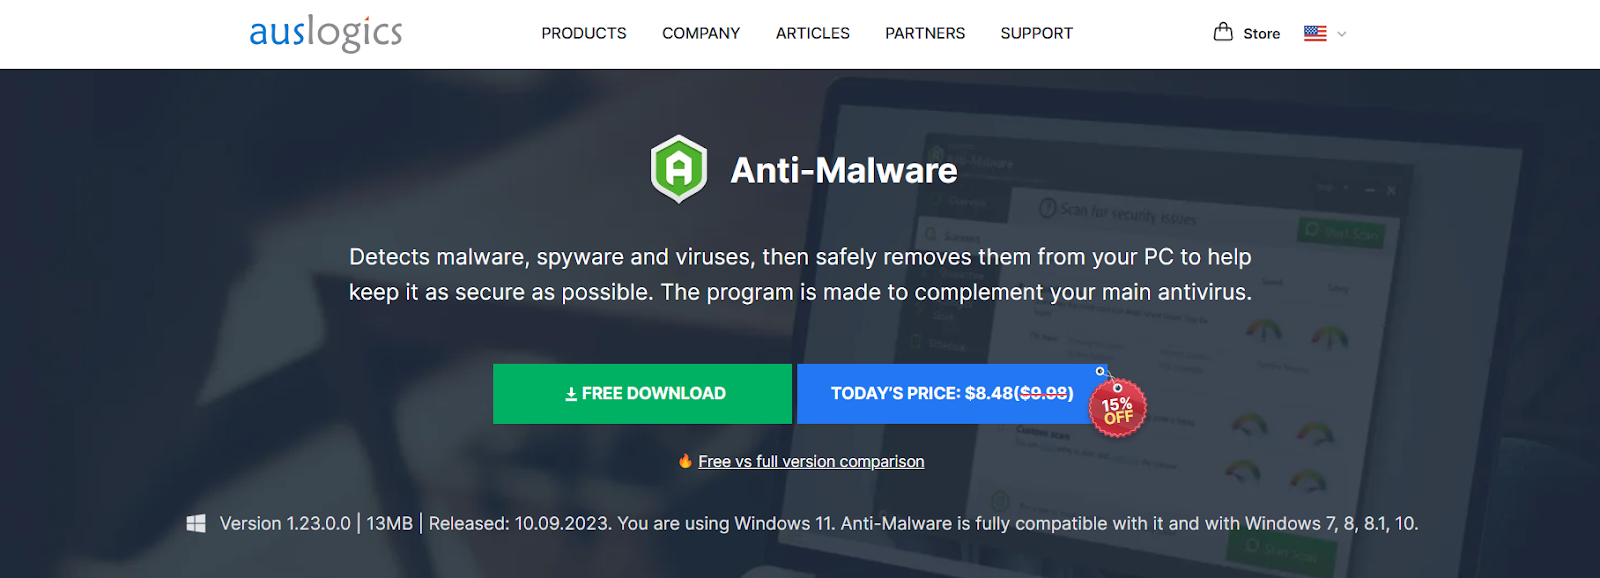
Third-party antivirus programs:
Consider using a specialized anti-malware tool like Auslogics Anti-Malware for an additional layer of protection. Auslogics Anti-Malware can detect and remove malware that standard antivirus programs might miss. Download and run the tool, and follow the easy guidelines for scanning and removal of malicious software.
Regular scans with these tools can help keep your Windows 7 system secure and free from malware that might cause DLL file issues.
Conclusion
Fixing missing DLL errors in Windows 7 involves a series of manageable steps that can restore your system’s functionality. From simple actions like restarting your computer and checking the Recycle Bin to more complex solutions like a system restore and malware scans, each strategy is crucial in tackling these common issues. Regular maintenance such as updating the OS and drivers, coupled with using recovery and anti-malware tools, plays a key role in preventing and resolving DLL errors.