

- What Is the Error Code 7 in Windows 10?
- What Are the Causes of the Code 7 – ERROR_ARENA_TRASHED?
- How to Resolve the System Error Code 7 ERROR_ARENA_TRASHED
- Conclusion
Do you keep seeing the ERROR_ARENA_TRASHED message whenever you try to launch a program or while playing a game? Keep reading to find out how to get rid of the problem.
What Is the Error Code 7 in Windows 10?
The error ERROR_ARENA_TRASHED is related to a storage or file problem. It’s an indication that Windows couldn’t access an important file. It normally comes with the following message:
“The storage control blocks were destroyed.”
It can show up at any time. However, it mostly occurs while you are playing games, when you try to run an application, or when you try to install or uninstall a program.
What Are the Causes of the Code 7 – ERROR_ARENA_TRASHED?
The problem is usually the result of corrupt Windows files, malware infection, application conflicts, outdated Windows components, or problematic drivers. Getting rid of it involves handling its underlying causes.
This article covers instructions on how to deal with these issues.
How to Resolve the System Error Code 7 ERROR_ARENA_TRASHED
As mentioned above, you have to deal with the problems triggering the error to get rid of it. So, start from the first solution that follows and make your way down until the error disappears.
Update Windows
Start by installing available updates for your operating system. The error could be popping up because some Windows components, such as the .NET Framework, Windows Defender, and even device drivers, could be out of date.
Normally, the Windows Update client should automatically download and install updates once they become available. However, there are situations where you need to initiate the update process yourself. For example, Microsoft now allows you to decide when to download and install “optional updates,” which come with some important software components.
Follow these steps to update your computer:
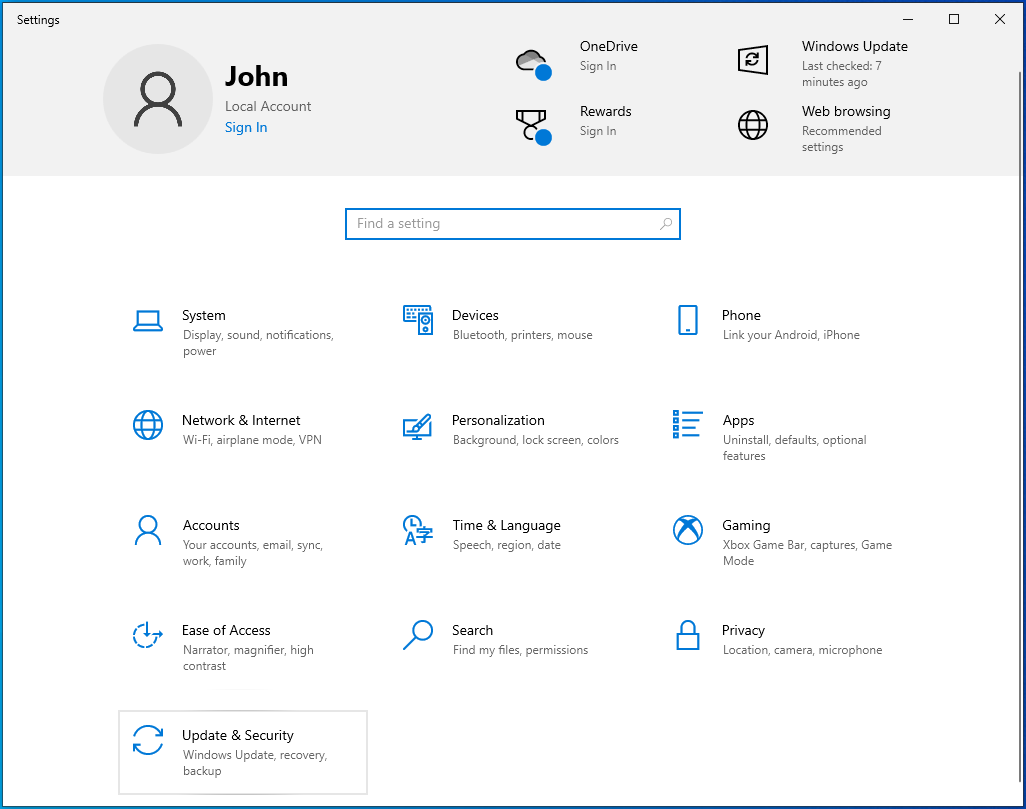
- Press Win + I to summon the Windows Settings app.
![Invoke the Windows Settings app using Win + I.]()
- After the program’s home screen appears, click on the Update & Security icon.
![Navigate to Update & Security and click on it.]()
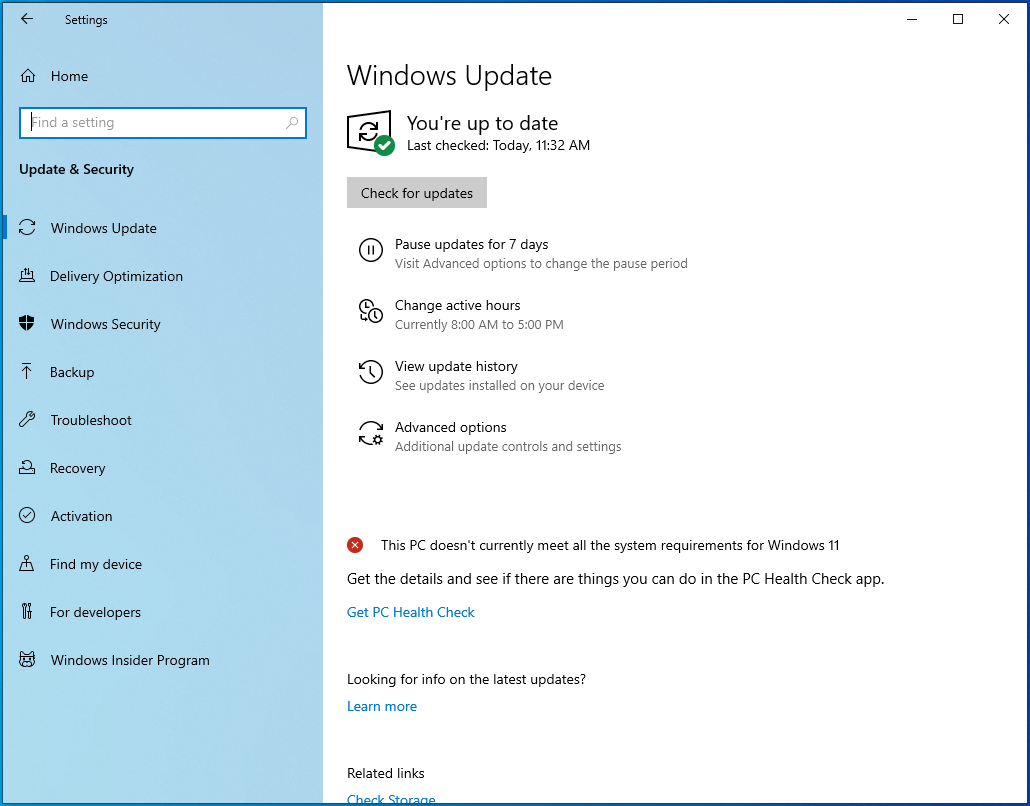
- Once the Windows Update screen opens, click on the Check for Updates button.
![Click on the Check for Updates button.]()
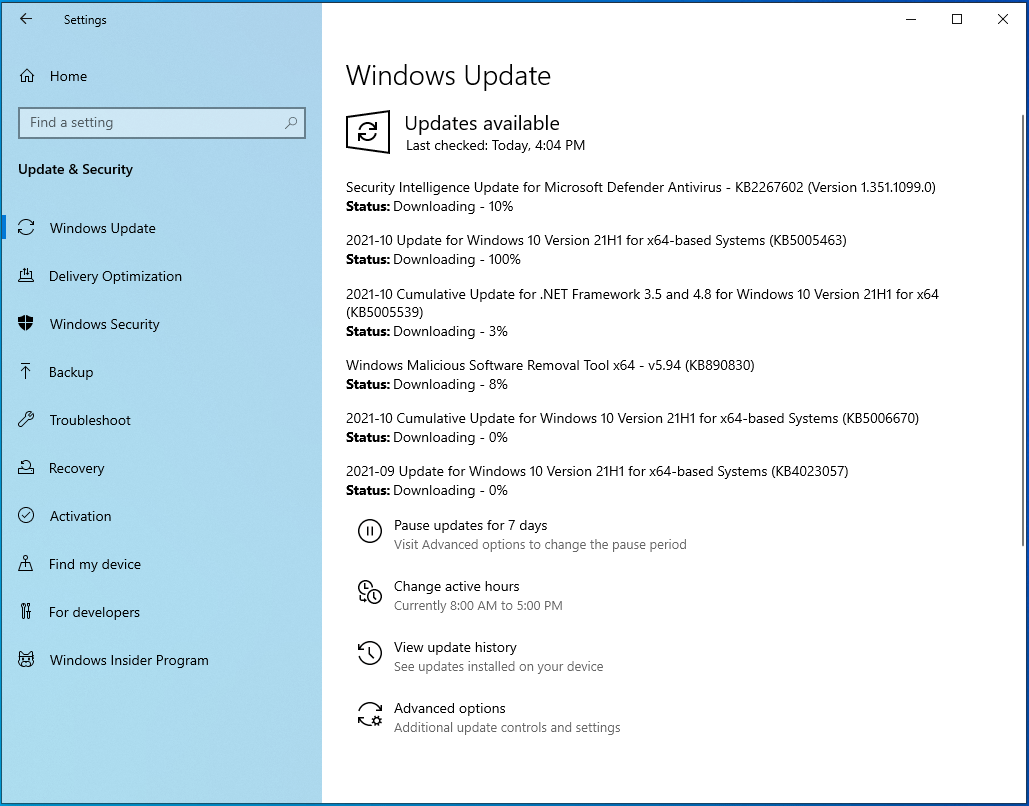
- Next, click on the Download Now option if you have optional updates available for your PC.
- Allow the client to download the updates.
![Wait for the updates to be downloaded.]()
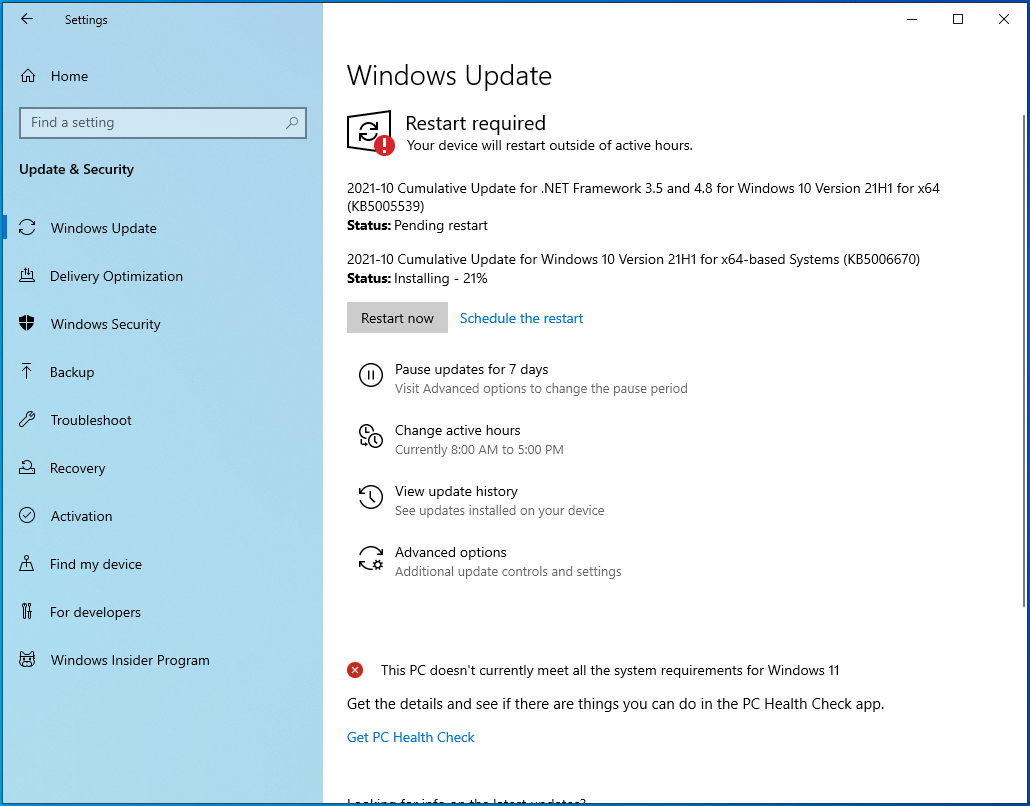
- Click on the Restart Now button to allow the client to reboot your device and install the updates.
![Click "Restart now" for the updates to be installed.]()
- Your system will restart more than once during the installation process and boot up normally after that.
- You can now check for the error message.

Uninstall Windows updates
If your system is up to date and you started seeing the error after your last update, you should uninstall that update to check if it’s the cause of the problem.
Here’s what you have to do:
- Press the Windows logo key + I shortcut to summon the Windows Settings app.
![Run the Windows Settings app using Win + I.]()
- After the program’s home screen appears, click on the Update & Security icon.
![]()
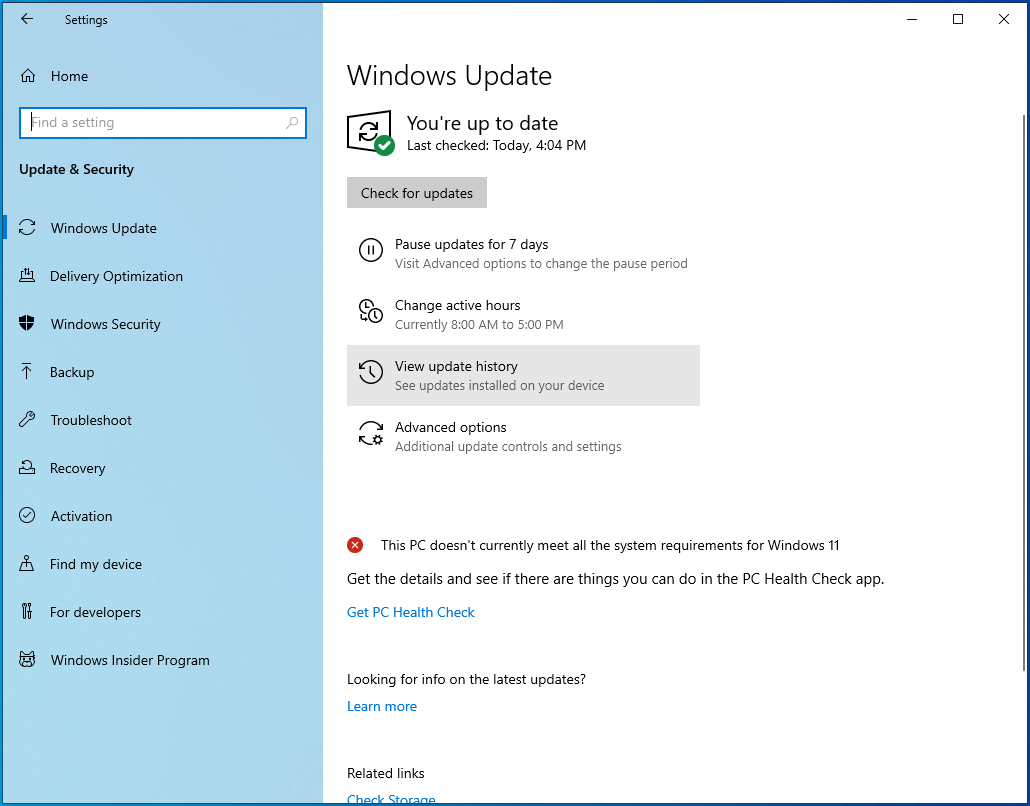
- Once the Windows Update screen opens, click on “View update history.”
![Click on "View update history."]()
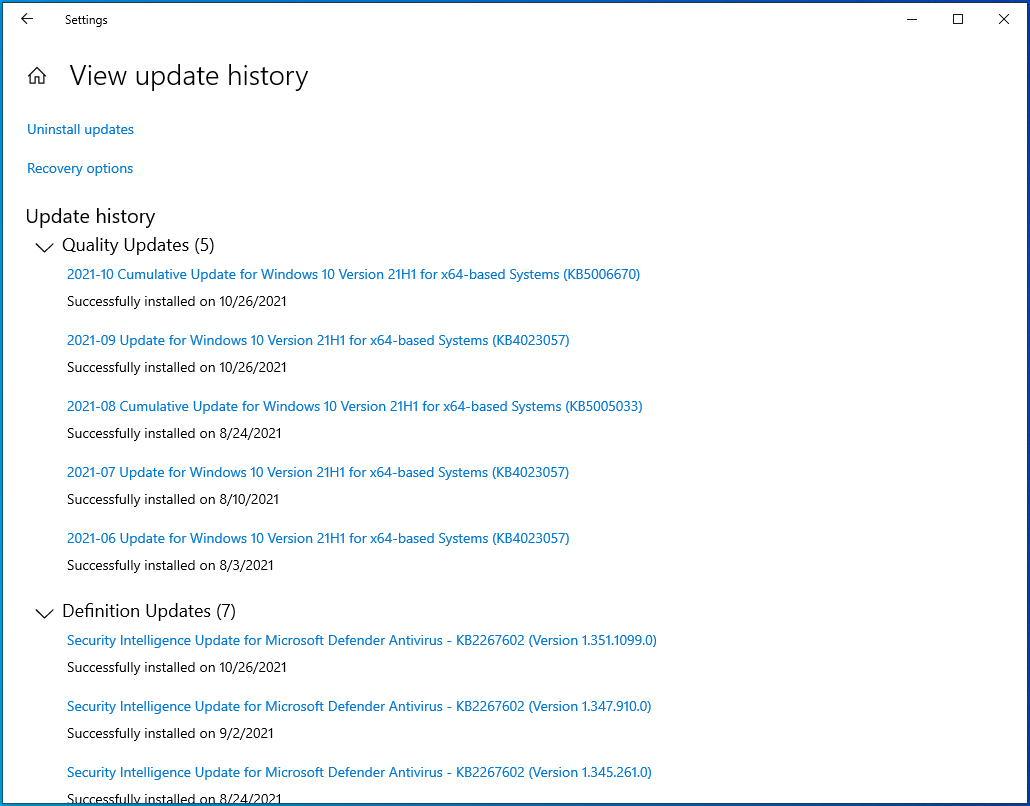
- After the “View update history” page opens, open the different update categories to locate the last update you installed before the error started showing. You’ll see the date and time details of each update.
![View your update history.]()
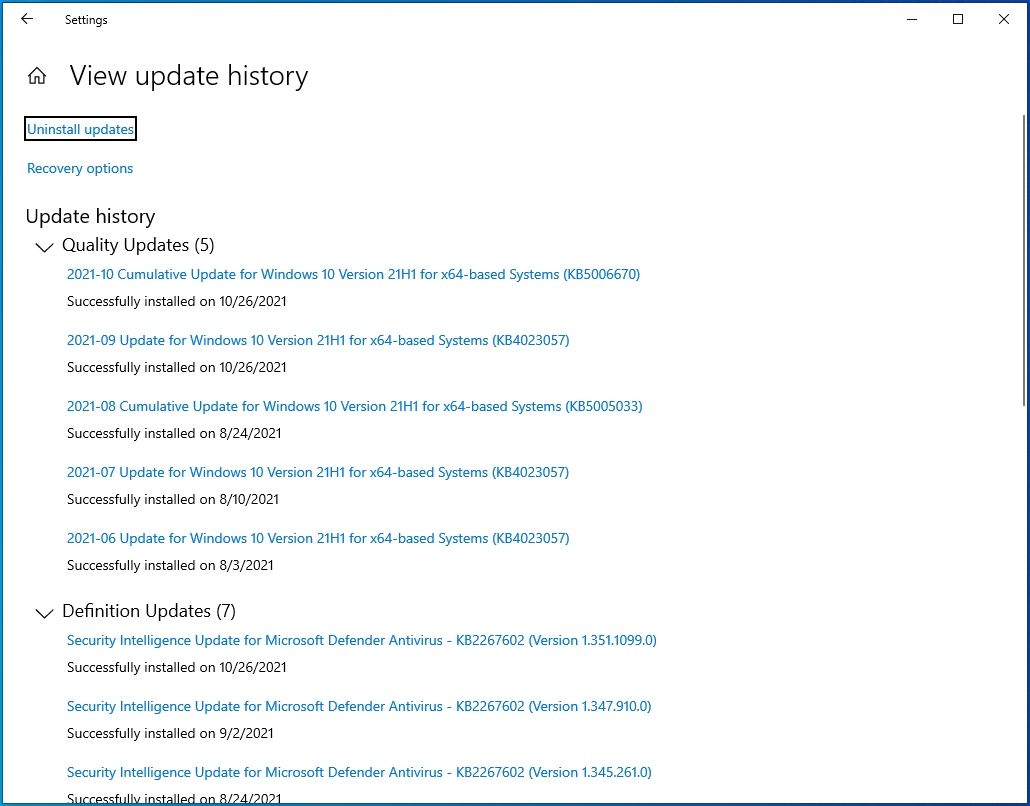
- After locating the update, click on Uninstall Updates at the top of the window.
![Click on Uninstall Updates at the top of the window.]()
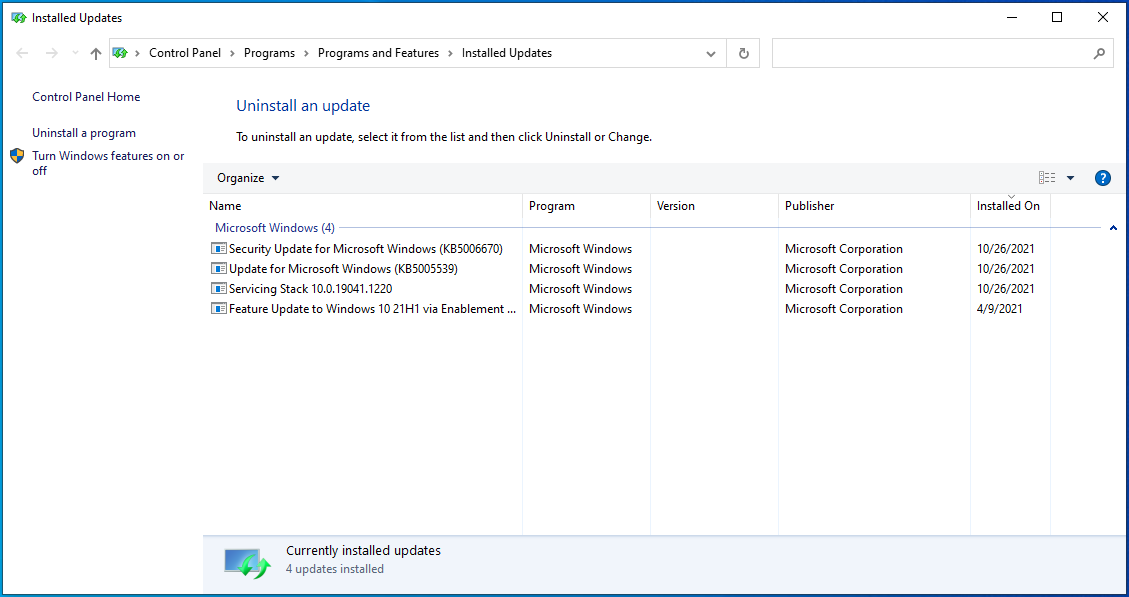
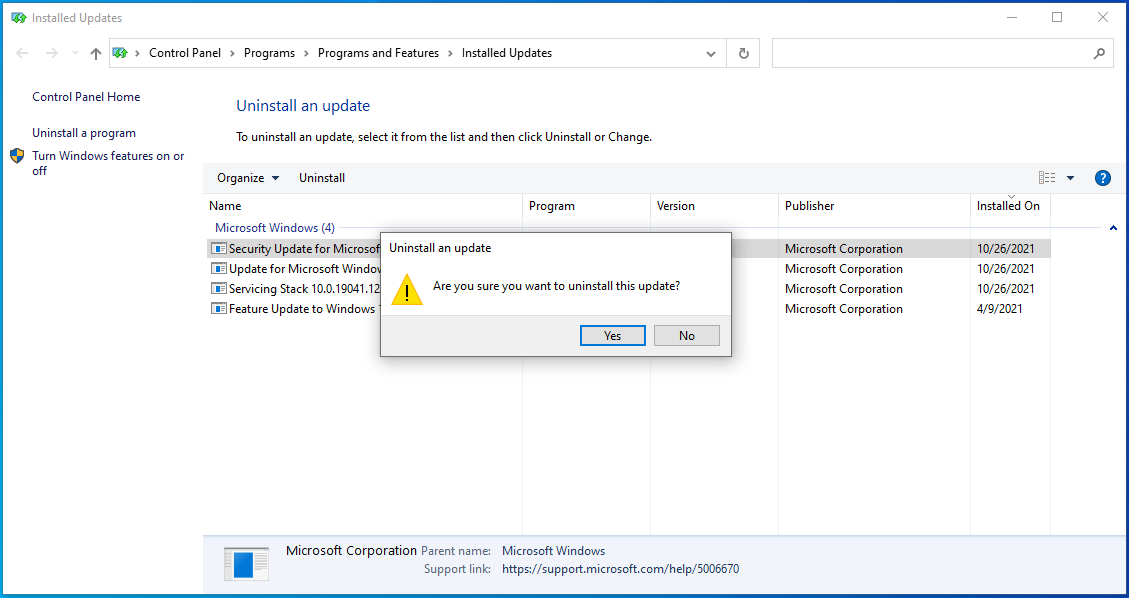
- Once the Installed Updates window shows up, go to the list under Uninstall an Update, locate the update you want to uninstall, and double-click it.
![Locate the update you want to uninstall and remove it.]()
- Click on the Yes button once the confirmation dialog pops up.
![Click on Yes to uninstall the update.]()
- Allow Windows to remove the update, then restart your computer and check for the error.

Run a full malware scan
Malware attacks are another possible cause of the system error in question. It could be showing up because a malicious program has tampered with some of your program or system files.
Use your antivirus program to run a full scan and check if that has resolved the problem. A quick scan might not catch the malicious entity responsible for your problem as it could be in one of your protected system folders.
Here’s how to run a full scan on Windows Security:
- Launch the Windows Settings app using the Windows logo key + I keyboard shortcut.
![Run Windows Update using Win + I.]()
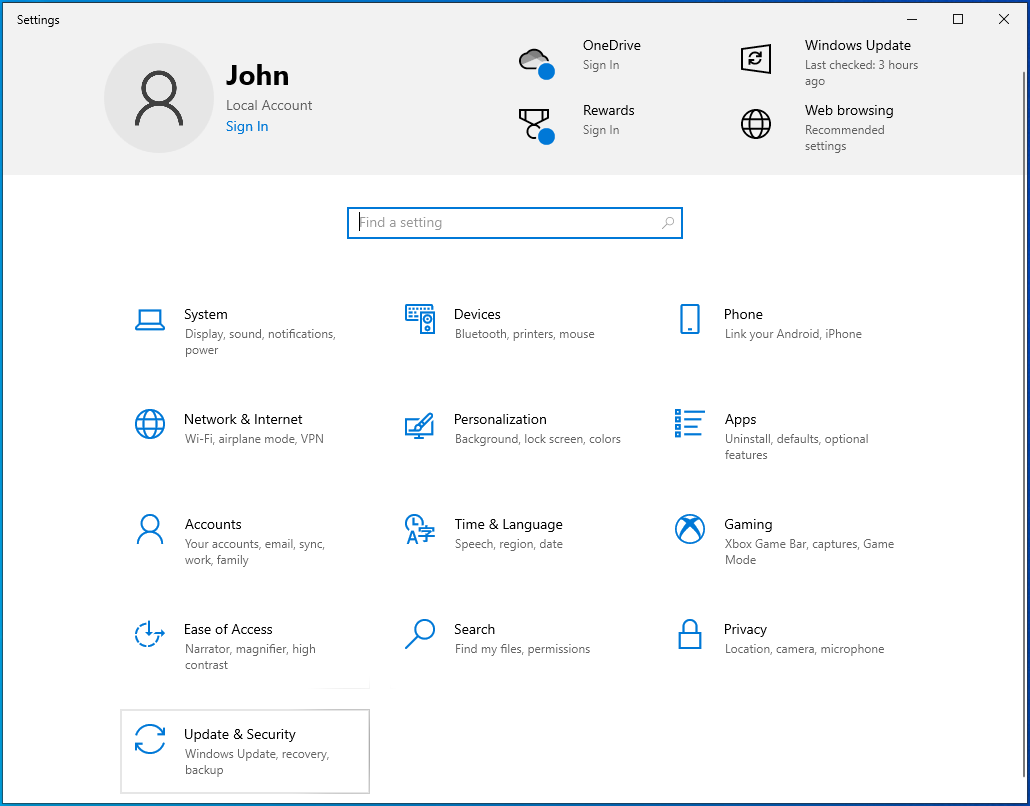
- After Settings shows up, click on Update & Security on the home screen.
![Click Update & Security on the Settings panel.]()
- Next, go to the left pane of the Update & Security window and click on Windows Security.
![Navigate to Windows Security.]()
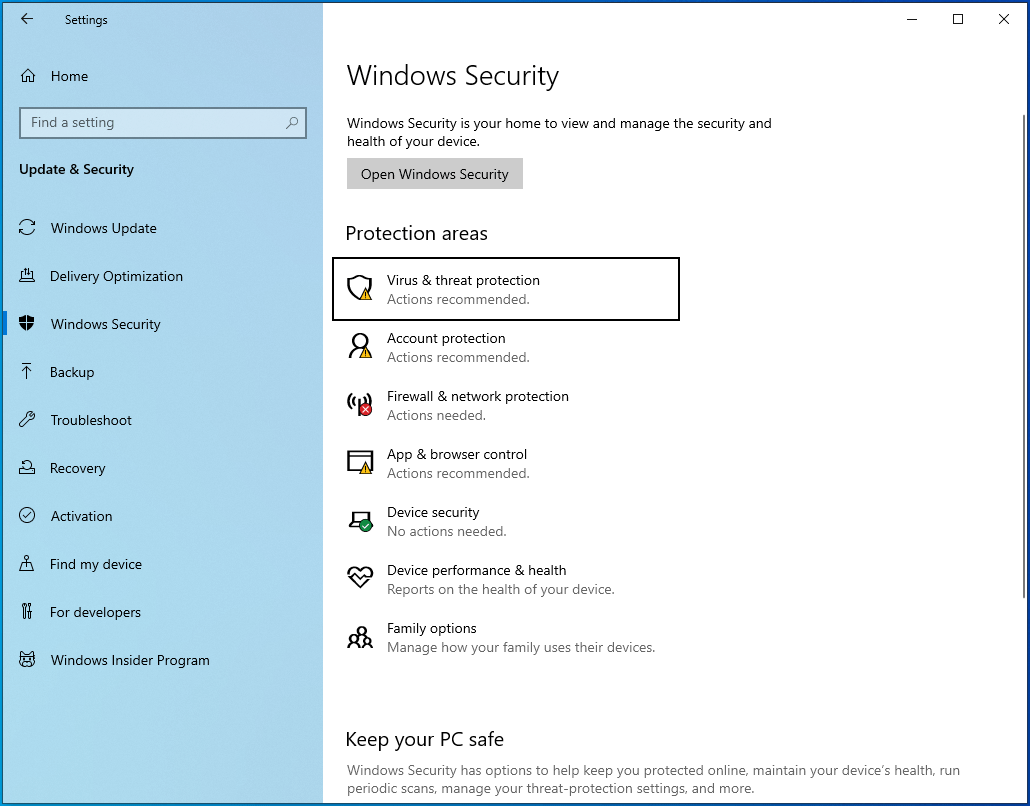
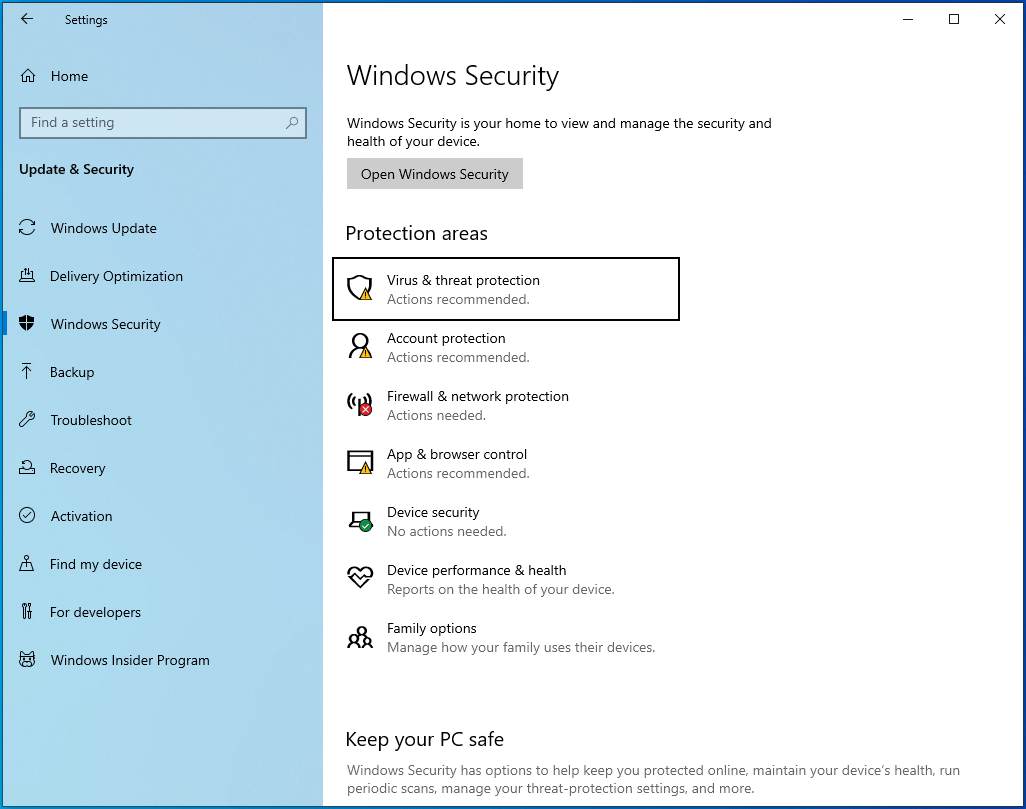
- Go to the middle pane of the window and click on Virus & Threat Protection.
![Select Virus & Threat Protection from the "Protection areas" menu.]()
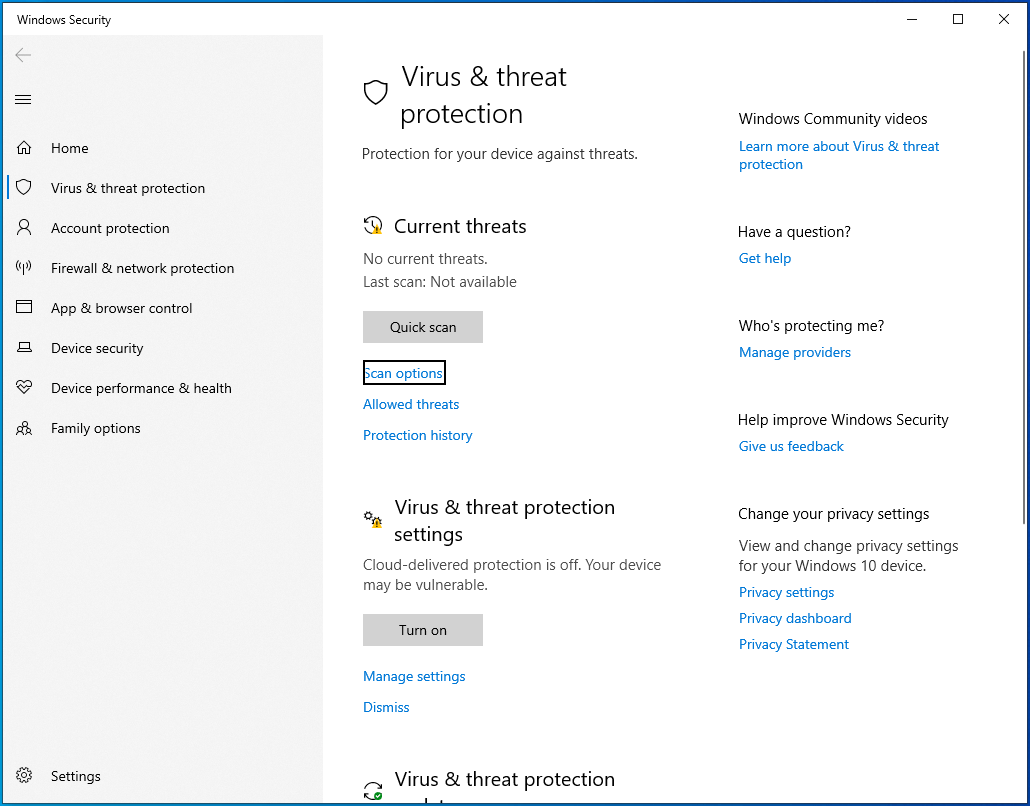
- After the Virus & Threat Protection window shows up, click on Scan Options.
![Click on Scan Options under Quick Scan.]()
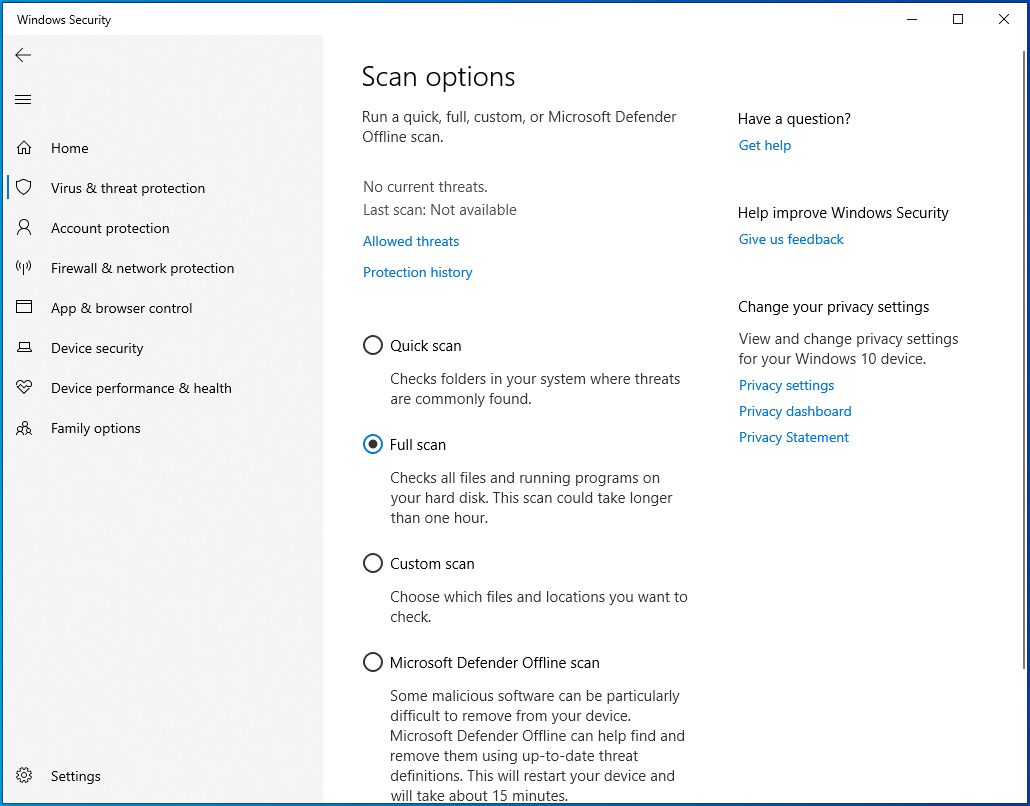
- Select Full Scan after the Scan Options screen appears.
![Check "Full scan" under "Scan options".]()
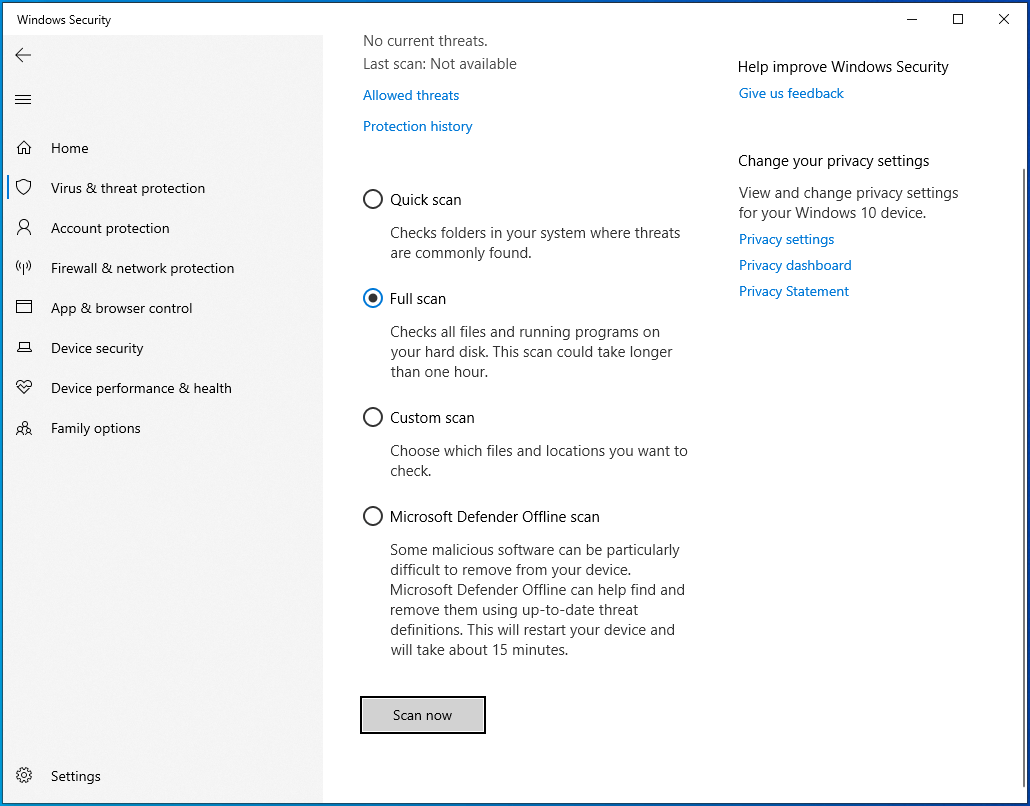
- Click on the Scan Now button.
![Click "Scan now" to proceed.]()
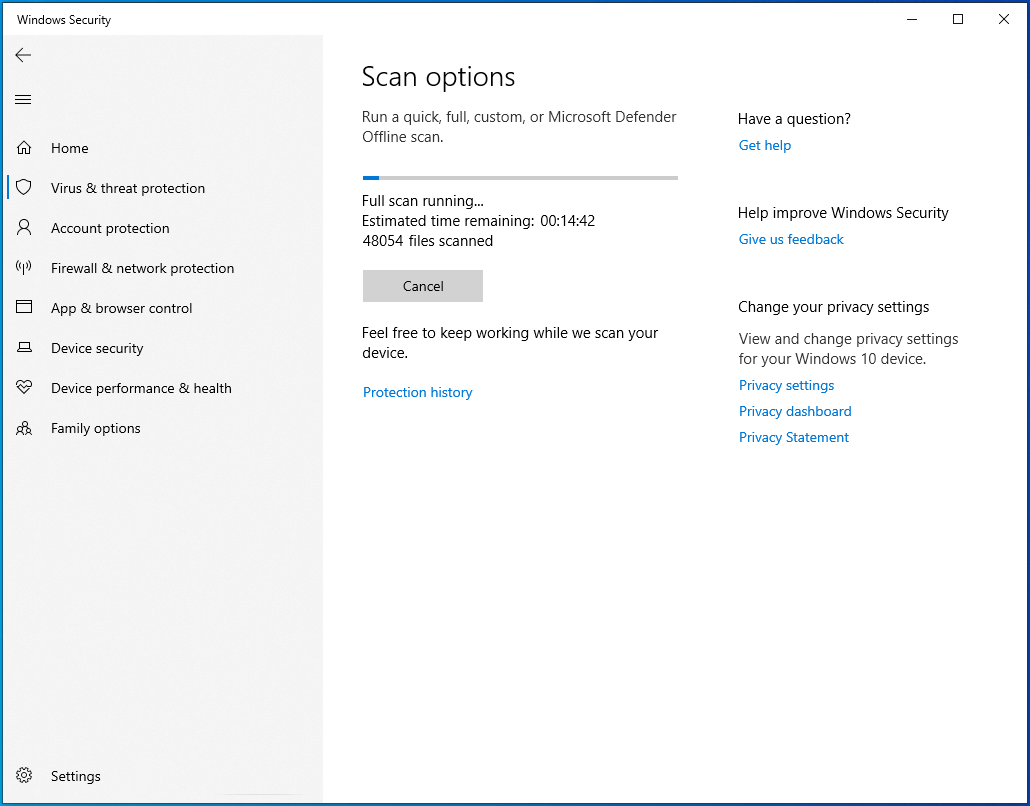
- The process could take hours, so be patient and allow the tool to do its job.
![]()
- After the process completes, allow the tool to remove the malware it detected and restart your system.

Update your device drivers
Outdated or faulty device drivers could also trigger the error. You can open the Device Manager to check for faulty device drivers. Follow these steps:
- Press Win + R on your keyboard to open Run.
![Invoke the Run console.]()
- Once Run shows up, type “devmgmt.msc” and click on OK.
![Enter "devmgmt.msc" and click on OK.]()
- After the Device Manager window appears, look for devices with a yellow exclamation mark.
- If you find one, right-click it and select Update Driver.
- Now, click on “Search automatically for drivers” after the Update Drivers window appears.
- Windows will search your system for the correct driver and automatically install it.
- If the driver isn’t on your computer, you can go to the device manufacturer’s website to download it. Be careful when downloading drivers online. Make sure you go to the official source and download the right piece of software for your operating system.

If the error started showing up after updating a device driver, that update could be the problem. Go back to the old driver and check for the error. Follow these steps:
- Press Win + R on your keyboard to open Run.
![Press the Win + R shortcut to open Run.]()
- Once Run shows up, type “devmgmt.msc” and click on OK.
![Enter "devmgmt.msc" and click on OK.]()
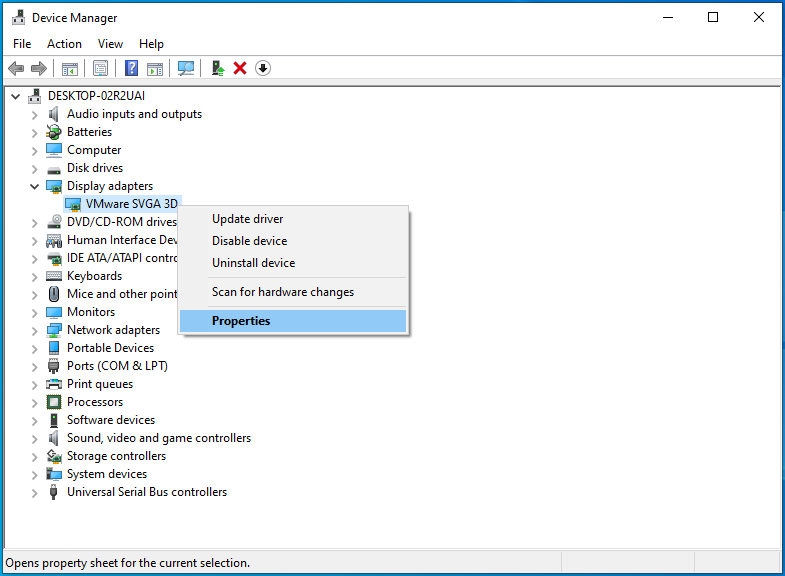
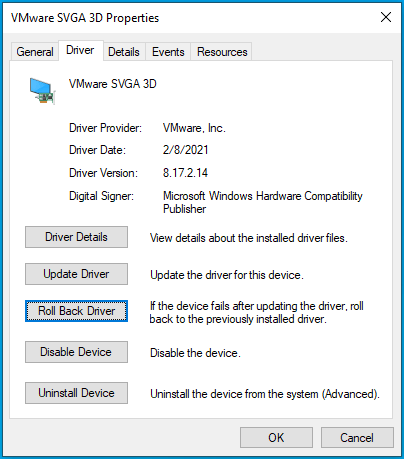
- After the Device Manager window appears, right-click on the device whose driver you updated and click on Properties.
![Click Properties from the menu.]()
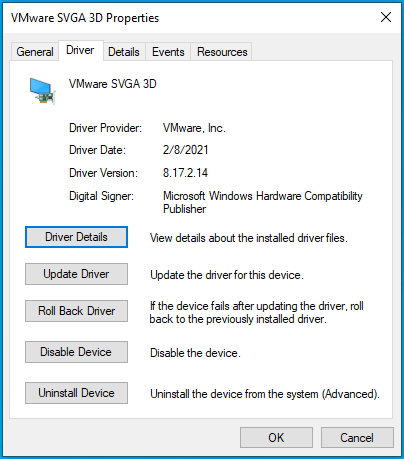
- Once you see the Properties dialog window, head to the Driver tab.
![Head to the Driver tab.]()
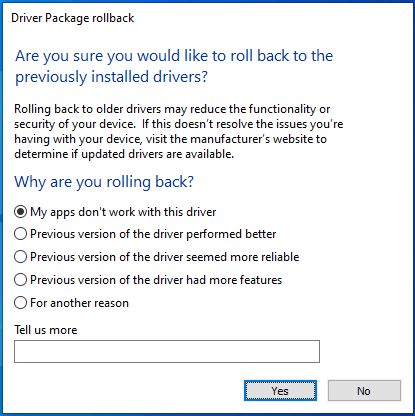
- Click on the Roll Back Driver button under the Driver tab.
![Click the Roll Back Driver button.]()
- Allow Windows to roll back the driver, then restart your computer.
![Proceed to roll back your driver.]()
- Check for the error after your system boots up.

Update your device drivers automatically
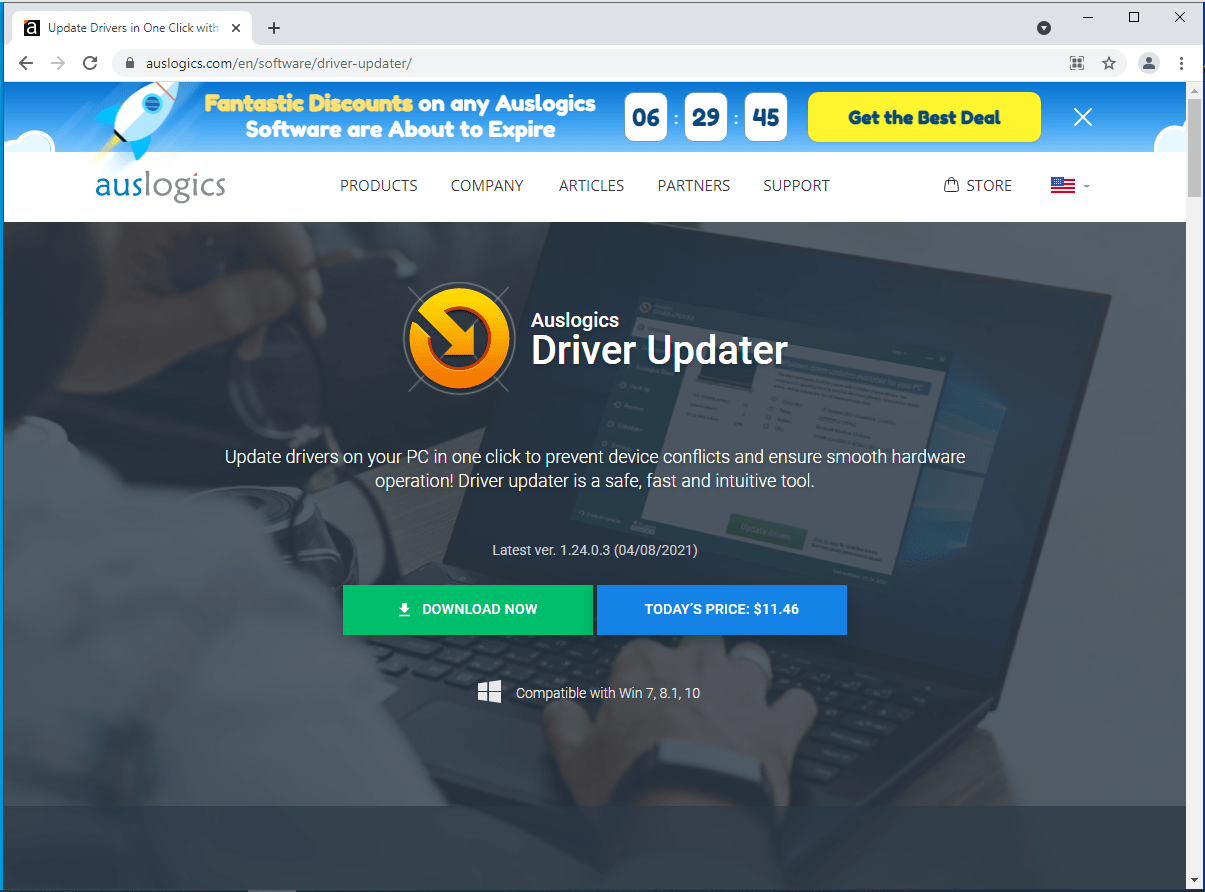
Sometimes, it’s difficult to find the problematic driver as the Device Manager doesn’t always flag outdated and corrupt drivers. Also, the problem could be related to more than one outdated device driver. The best way to find and repair the driver is by using an automated program that can detect outdated and corrupt drivers.
Auslogics Driver Updater is designed to search for missing, outdated, and damaged drivers. After finding these drivers, the program will automatically download and install their updates. When you go for the full version, the tool will download the updates simultaneously.
Follow these steps to use Auslogics Driver Updater:
- Go to the app’s product page and click on the Download Now button.
![Go to Driver Updater's product page.]()
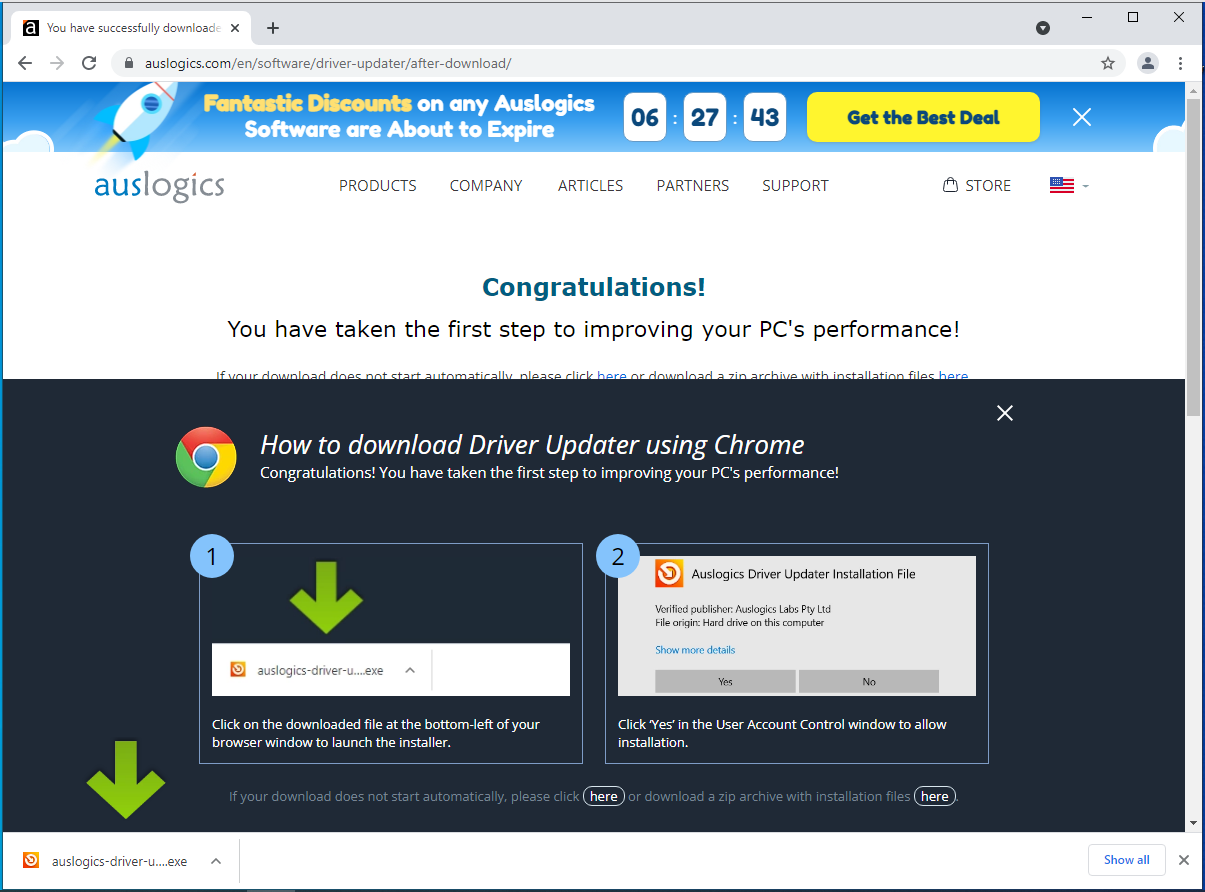
- Once your browser downloads the installation package, run it.
![Wait until the installation package is downloaded.]()
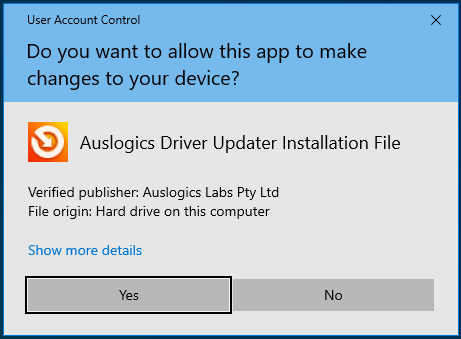
- Click on the Yes button after the User Account Control dialog window shows up.
![Click on Yes on the UAC prompt.]()
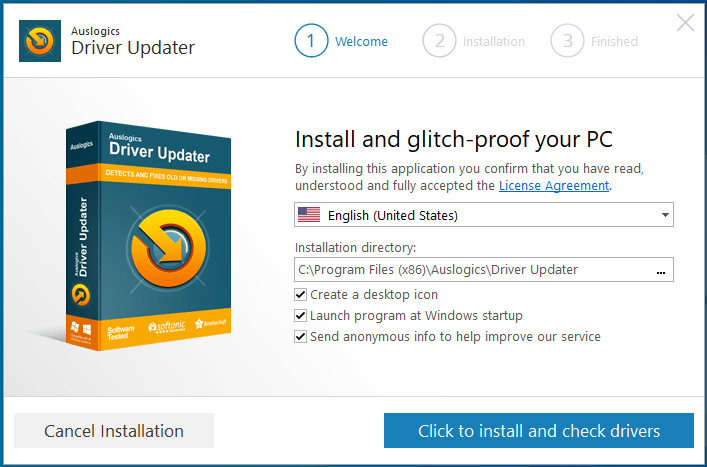
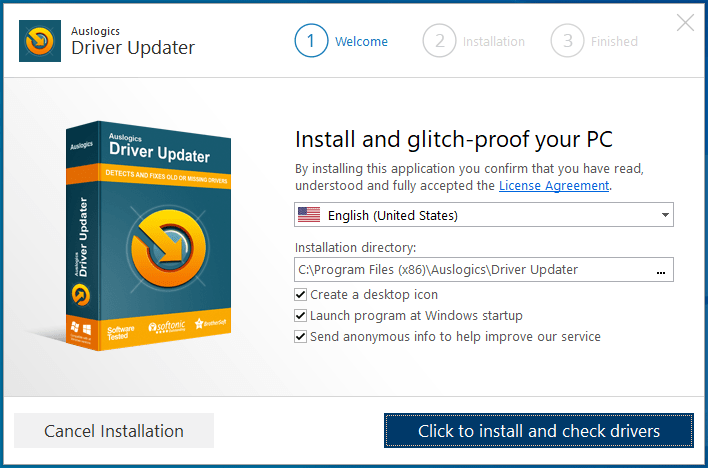
- The installation dialog window will now appear.
![Follow the on-screen installation prompts.]()
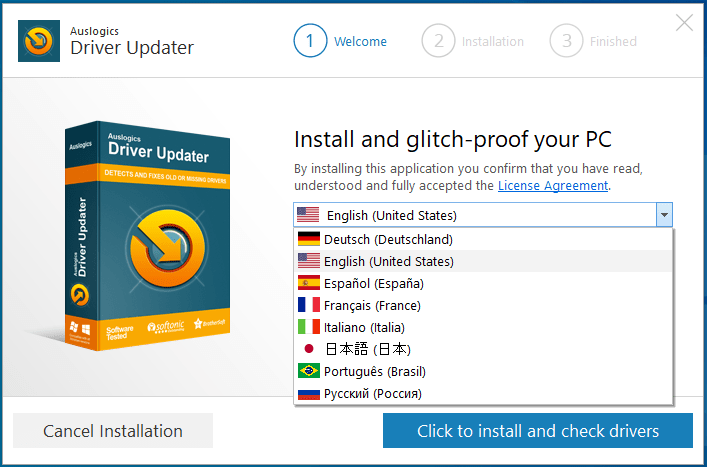
- Choose a language.
![]()
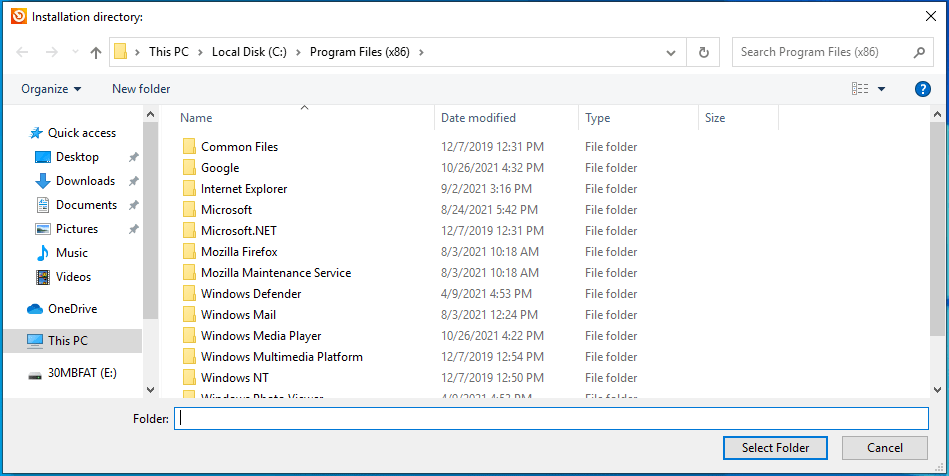
- Select an installation folder.
![Choose an installation folder for the app.]()
- After choosing your installation folder, go to the checkboxes that follow to allow the application to launch after your computer starts and send anonymous reports to its developers.
![You can check the suggested options.]()
- Click on the “Click to install and check drivers” button in the bottom-right corner.
![Click "Click to install and check drivers".]()
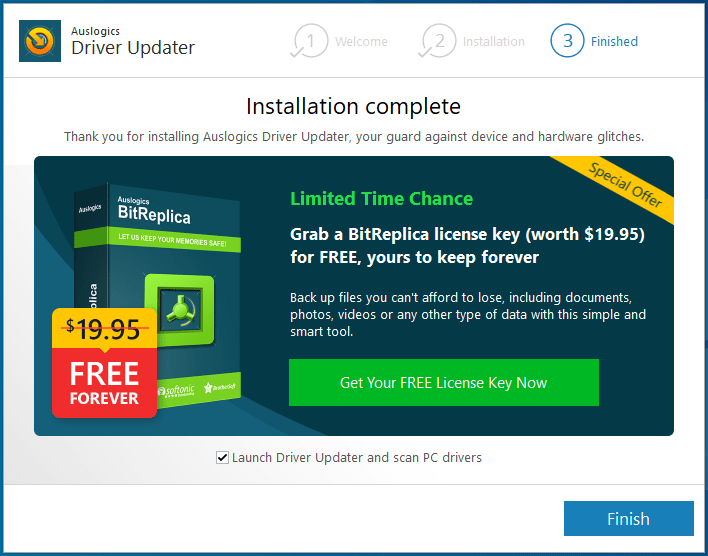
- Once the installation process is complete, the program will check your computer for problematic device drivers and show you a list of the drivers it finds.
![Click Finish to complete the installation.]()
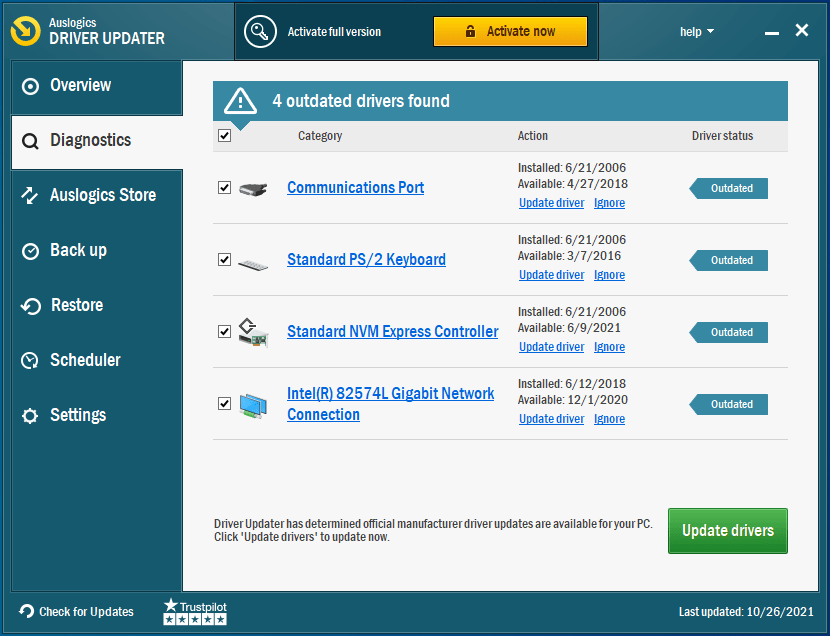
- Click on Update drivers to download their latest versions. If you’re running the full version of Auslogics Driver Updater, the tool will download the updates simultaneously.
![Click on Update drivers to proceed with the installation of drivers.]()
- After the process is complete, restart your computer and check for the ERROR_ARENA_TRASHED error.

Reinstall the application triggering the error
If the system error keeps showing up when you try to run a particular application, reinstall that program and check for the problem. Follow these steps:
- Launch the Windows Settings app using the Win + I keyboard shortcut.
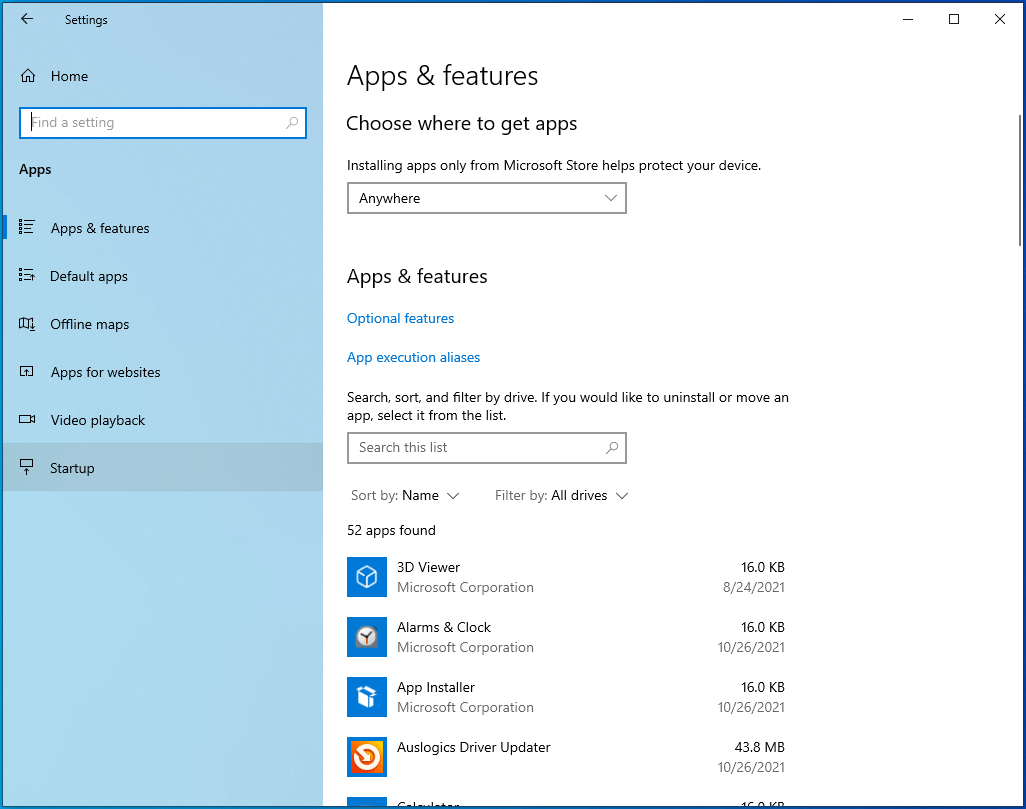
- After Settings shows up, click on Apps.
- Once you see the Apps interface, use the search box under Apps and Features to find the program.
- Click on the application once it shows up.
- Select the Uninstall button.
- Click on Uninstall again.
- After that, click Yes in the User Account Control dialog box.
- Follow the prompts in the setup window to complete the process.
- Restart your system.
- Open other applications to check for the error.
- Now try reinstalling the program you just uninstalled and check for the issue.
Prevent your antivirus program from blocking the application
It’s possible that the application or game could be spitting out the error because your antivirus program is preventing it from running properly. Sometimes, antivirus programs block files and applications they shouldn’t block.
Add the app as an exception or exclusion in the antivirus program and check if that has resolved the issue. The process is different for every antivirus program, but you should be able to identify the Exclusion, Exception, or Whitelist option in the Settings environment.
You can go to the app’s website to find a guide. But if you use Windows Security as your main antivirus program, follow these steps:
- Launch the Windows Settings app using the Win + I keyboard shortcut.
![Use the Win + I keyboard shortcut to run Settings.]()
- After Settings shows up, click on Update & Security on the home screen.
![Click on Update & Security in the Settings app.]()
- Next, go to the left pane of the Update & Security window and click on Windows Security.
![Click on Windows Security on the left pane.]()
- Click on Virus & Threat Protection.
![Select Virus & Threat Protection.]()
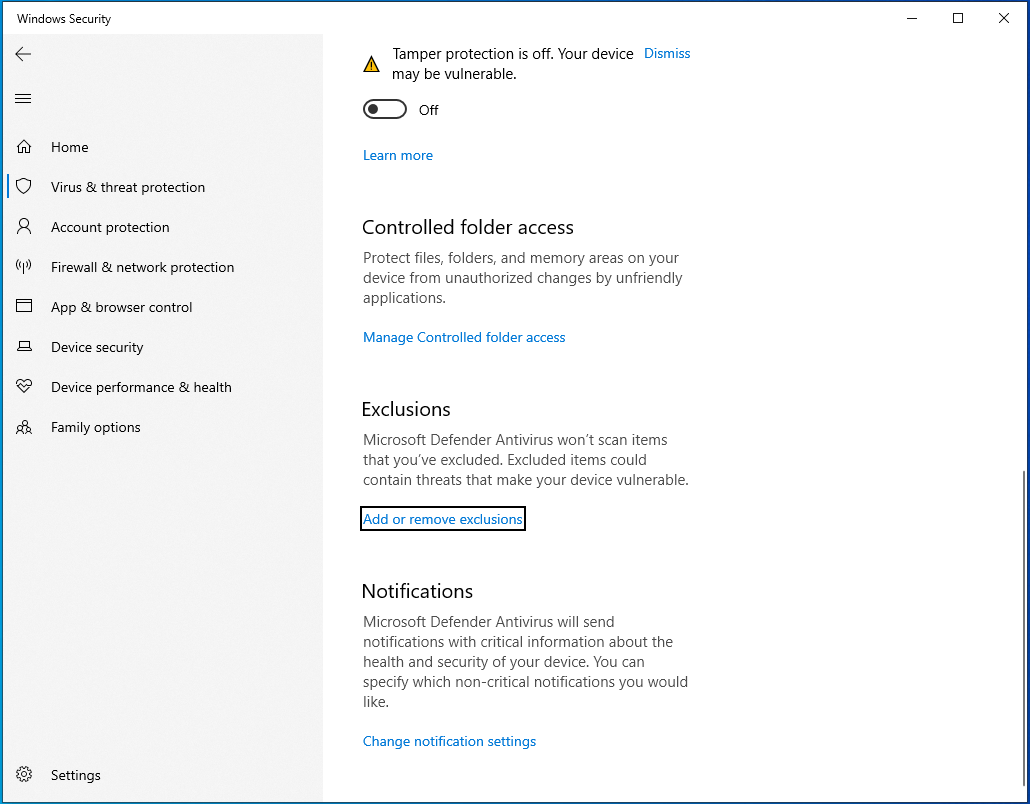
- After the Virus & Threat Protection window shows up, click on Manage Settings under Virus & Threat Protection Settings.
![Click on Manage Settings under Virus & Threat Protection Settings.]()
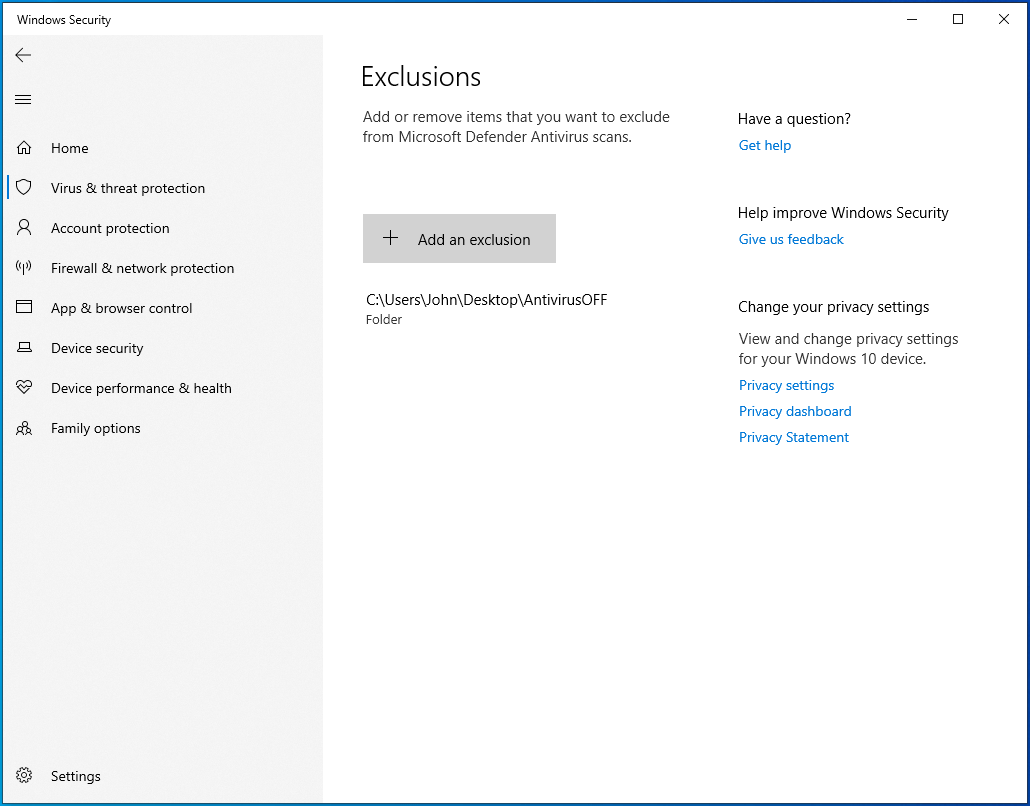
- Once you see the Virus & Threat Protection Settings window, click on “Add or remove exclusions.”
![Click on "Add or remove exclusions."]()
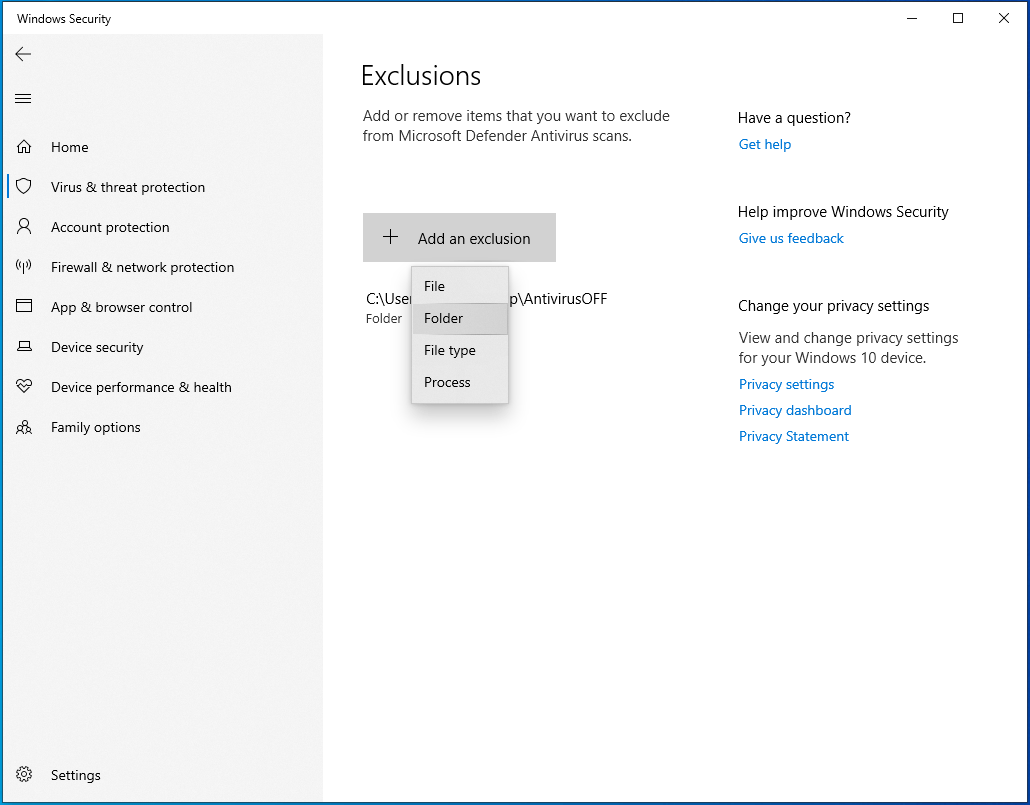
- Once the Exclusions page appears, click on the “Add an exclusion” button and choose Folder from the drop-down.
![Click on the "Add an exclusion" button.]()
- After the Select Folder dialog window opens, browse to the app’s folder and select it.
![Click Folder from the menu.]()
- Restart your system and check for the problem.


Run the System File Checker
Most of the processes that run on your computer depend on one system file or the other. You’ll see error messages like “The storage control blocks were destroyed” if any of these system files becomes faulty or goes missing.
Use the System File Checker to find corrupt or missing system files and replace them. If the problem is the result of a problematic operating system file, it should be resolved after running the SFC command-line tool.
Before you run SFC, you’ll have to run the inbox Deployment Image Servicing and Management (DISM) tool to provide the files required for the repair process.
Follow these steps:
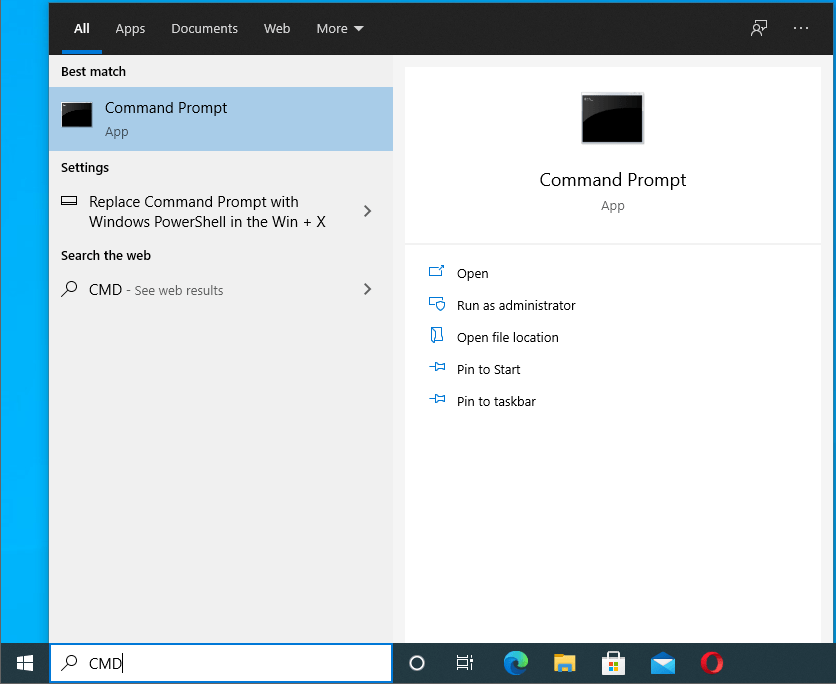
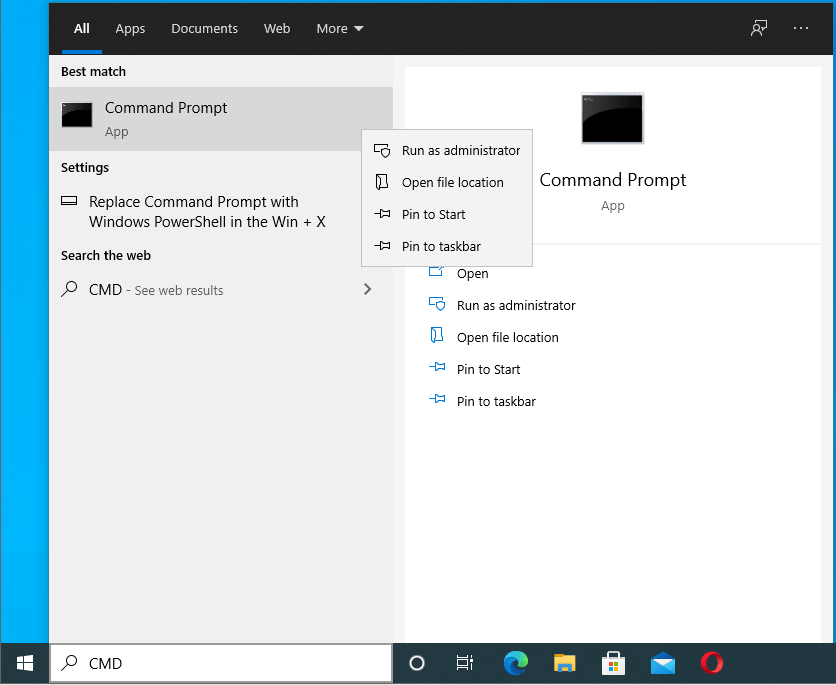
- Go to the taskbar and click on the magnifying glass icon or press the Windows logo key + S keyboard combination to open the Search function.
![Press Win + S to open Search.]()
- After the Search window opens, type “CMD.”
![Type CMD into Search.]()
- Right-click on Command Prompt in the search results and click on Run as Administrator in the context menu.
![Select Run as Administrator in the context menu.]()
- Click on Yes after the User Account Control dialog box shows up.
![Click Yes in the User Account Control window.]()
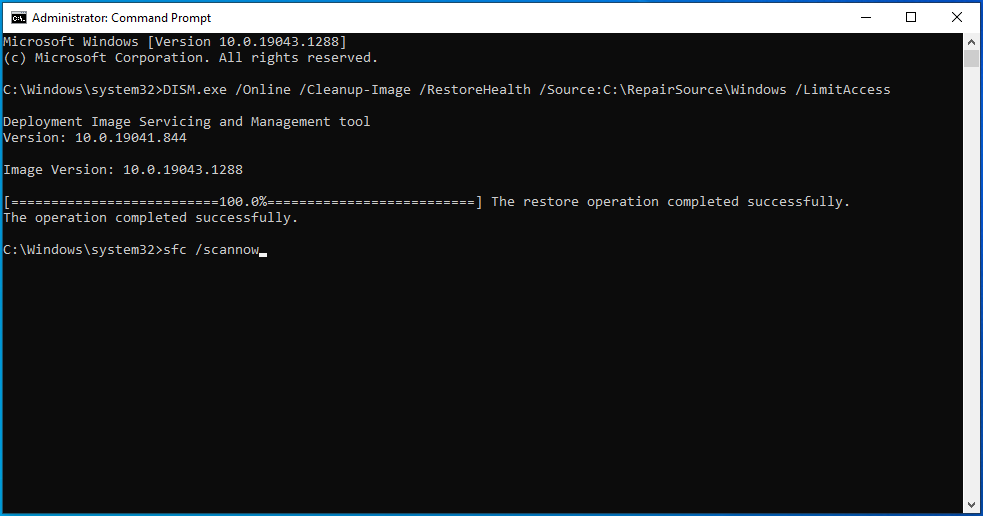
- After the Administrator: Command Prompt window opens, type “DISM.exe /Online /Cleanup-image /Restorehealth” (don’t add the quotes) and tap the Enter keyboard button.
![Type "DISM.exe /Online /Cleanup-image /Restorehealth" into CMD.]()

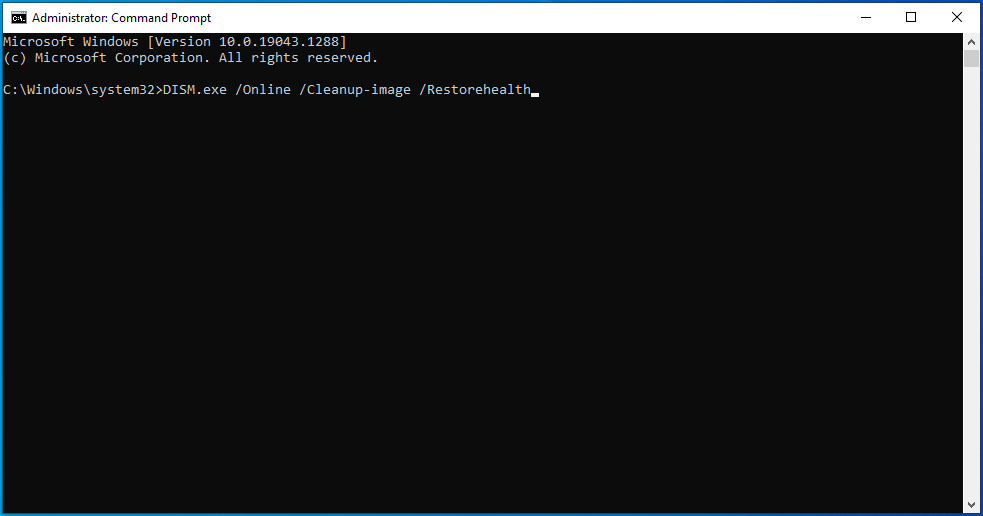
The DISM tool will now instruct the Windows Update client to fetch the repair files. If the client doesn’t work for any reason, your alternative would be using a Windows 10 DVD or bootable USB drive.

If you’re going for bootable media, you’ll be using the following command line:
DISM.exe /Online /Cleanup-Image /RestoreHealth /Source:C:\RepairSource\Windows /LimitAccess
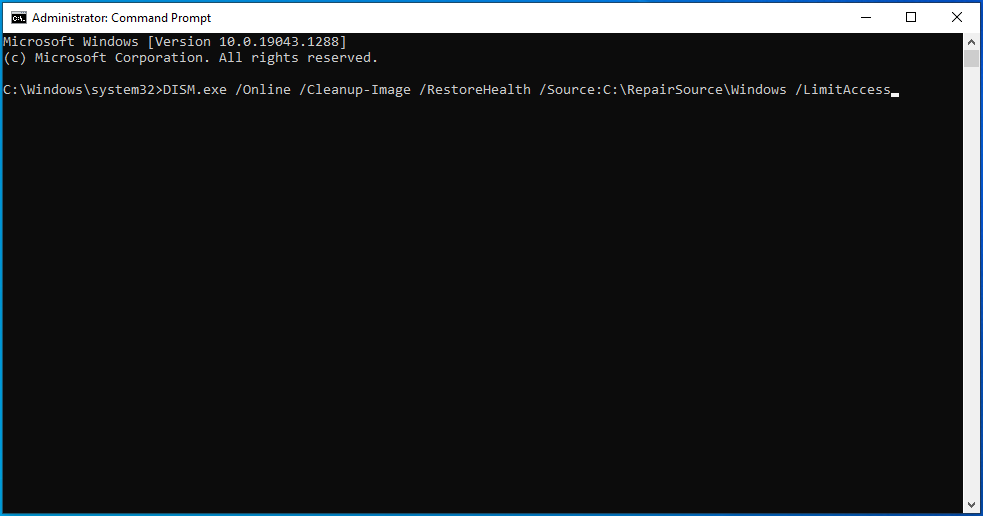
Replace “C:\RepairSource\Windows” with the path to the Windows folder on the Windows 10 DVD or bootable USB drive.
- After the command completes, type “sfc /scannow” (without the quotes) and press the Enter keyboard button.
![Enter "sfc /scannow" (without the quotes) into cmd.]()
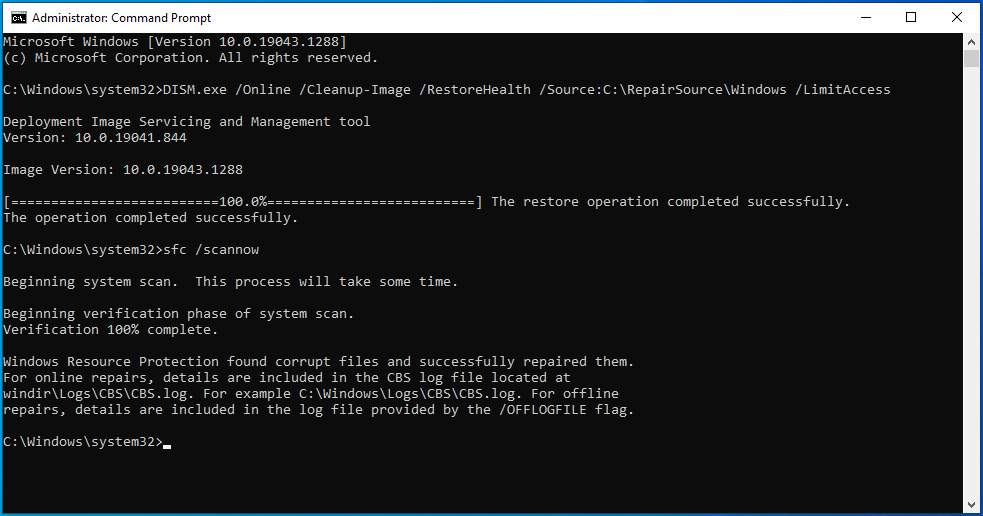
- The System File Checker will now search for missing and corrupt files and replace each with the corresponding cached copy from C:\Windows\System32\dllcache.
- If the scan is successful, you’ll see a result that reads something like, “Windows Resource Protection found corrupt files and successfully repaired them. Details are included in the CBS.Log C:\Windows\Logs\CBS\CBS.log.” You can now restart your system and check for the error.
![Wait while the scan is over.]()
You’ll have to run the System File Checker in Safe Mode if you see the following scan result:
“Windows Resource Protection could not perform the requested operation.”
Follow these steps to boot into Safe Mode and run the SFC tool:
- Launch the Windows Settings app using the Win + I keyboard shortcut.
![Press the Win + I keyboard shortcut.]()
- After Settings shows up, click on Update & Security on the home screen.
![Select Update & Security in Settings.]()
- Next, go to the left pane of the Update & Security window and click on Recovery.
![Click on Recovery.]()
- After the Recovery page shows up, click on “Restart Now” under Advanced Startup.
![Click Restart now under Advanced startup.]()
- Your system will now reboot to the Advanced Startup interface.
![Enter the Advanced Startup interface.]()
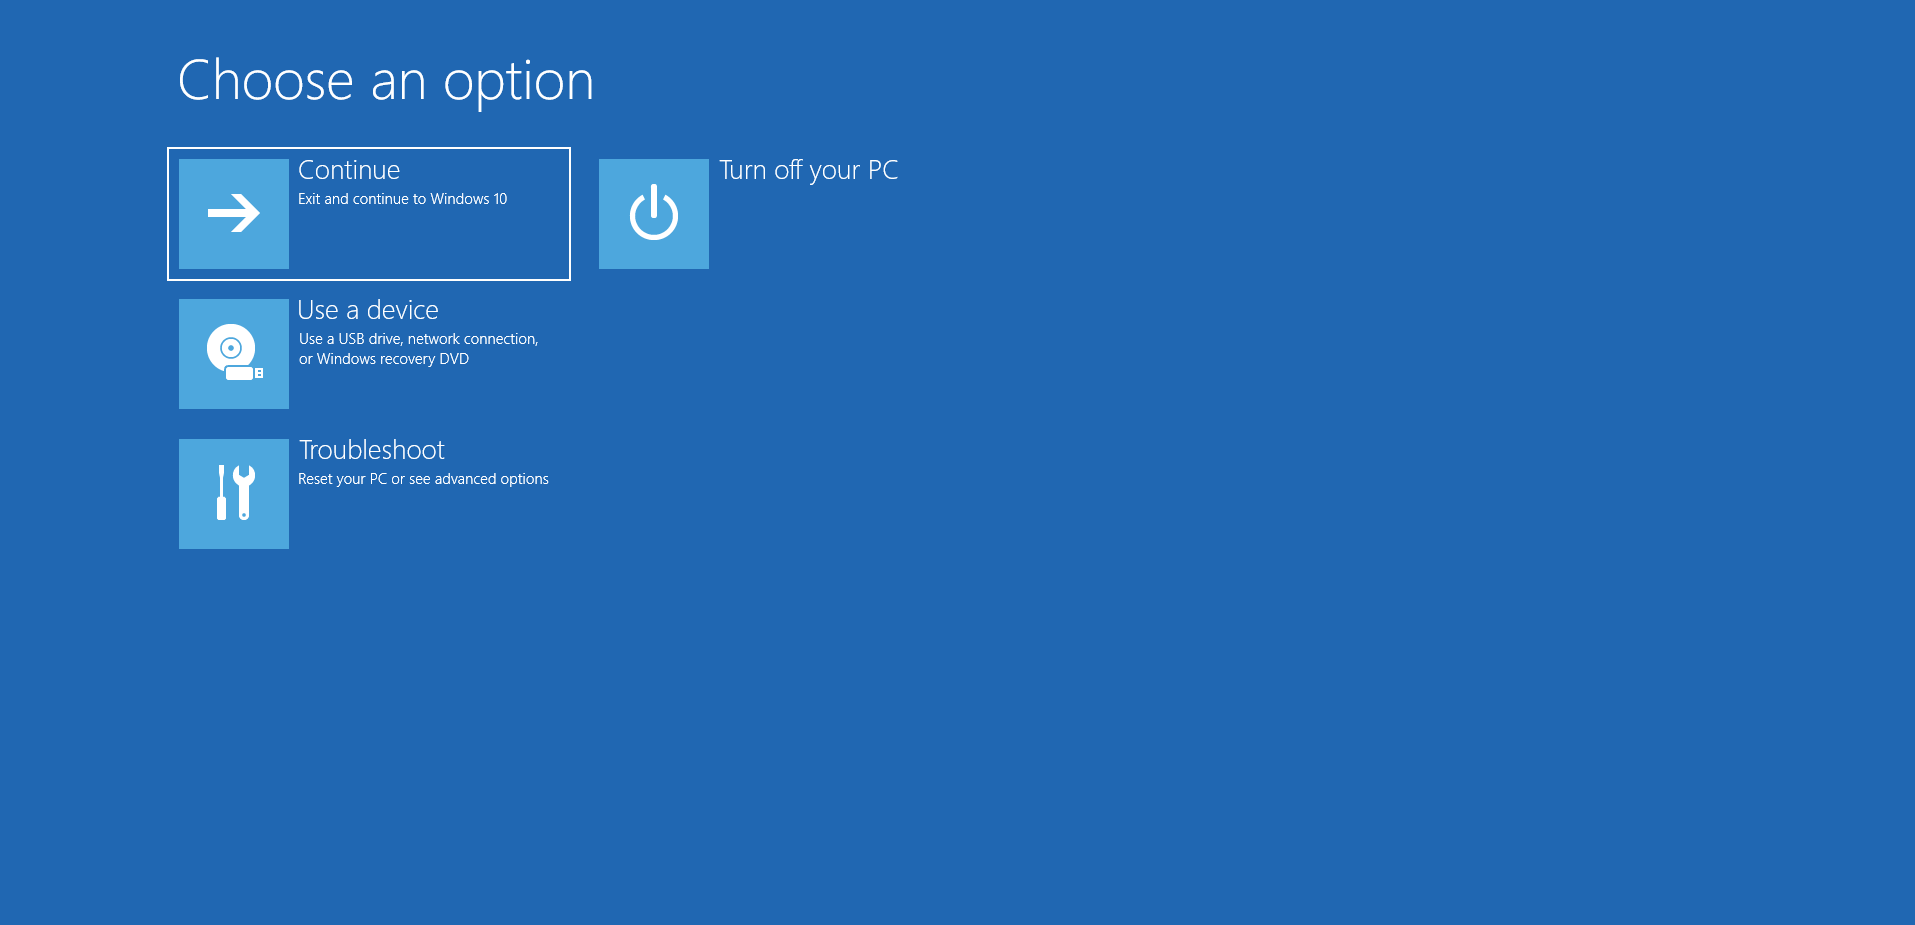
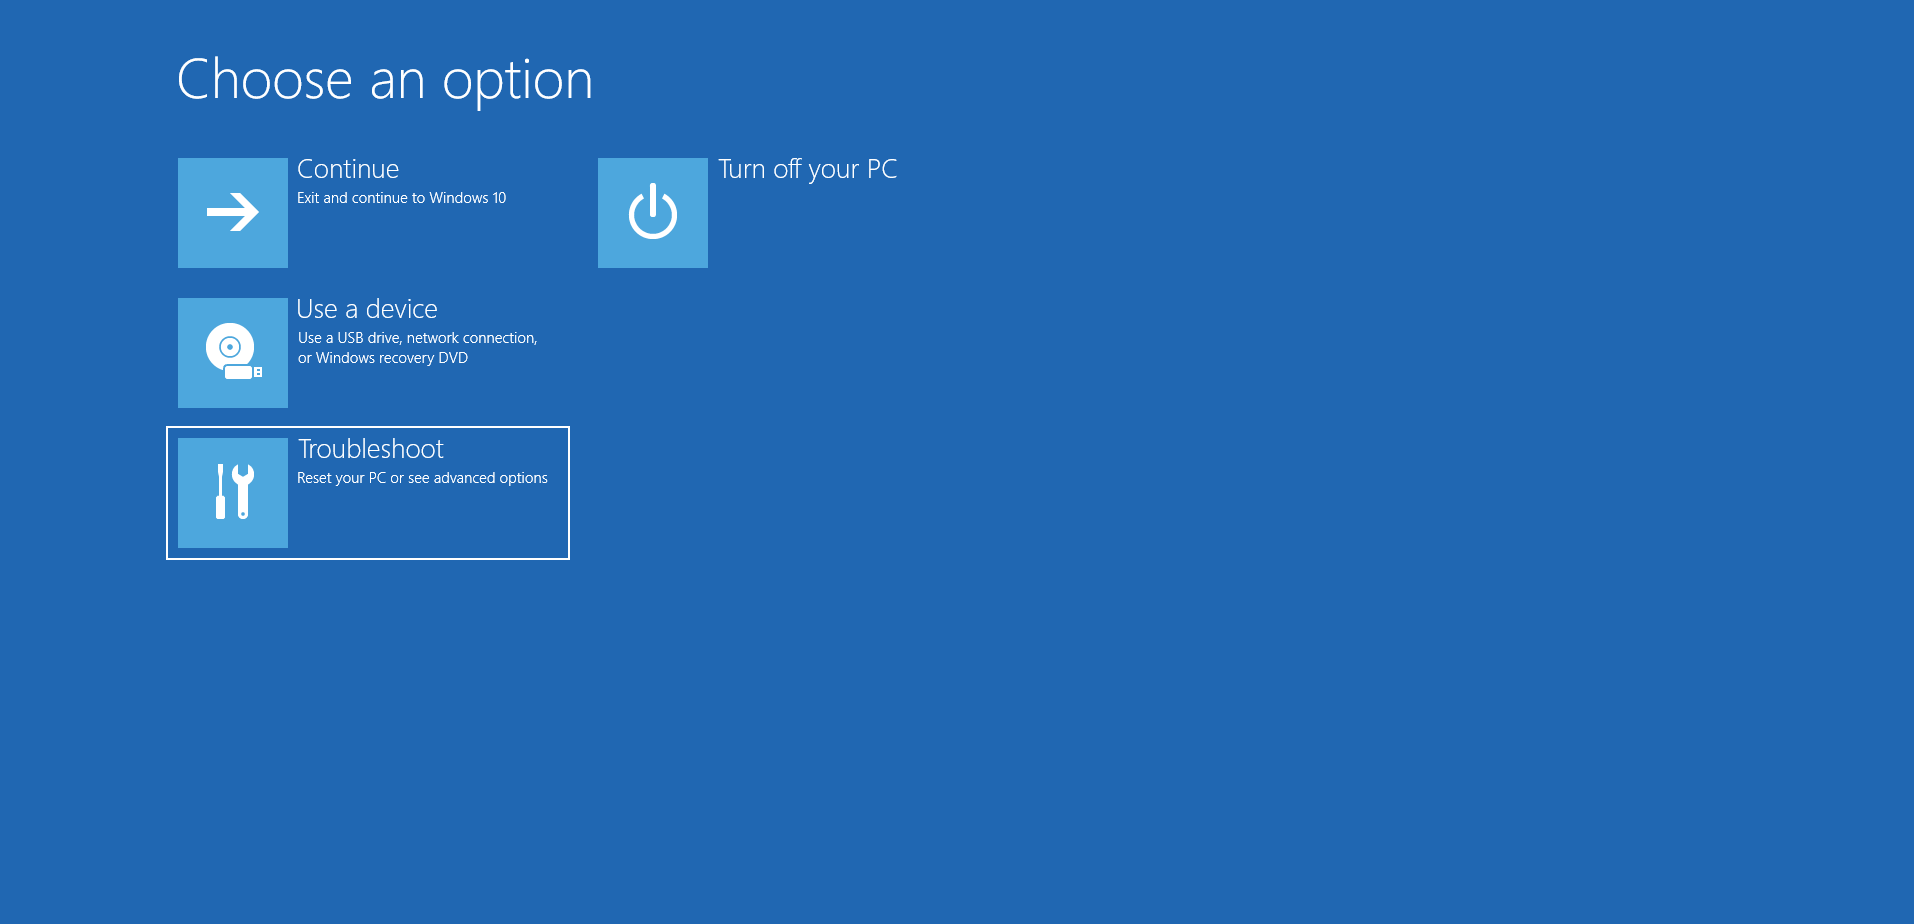
- Click on Troubleshoot on the Choose an Option screen.
![Click Troubleshoot on the "Choose an option" screen.]()
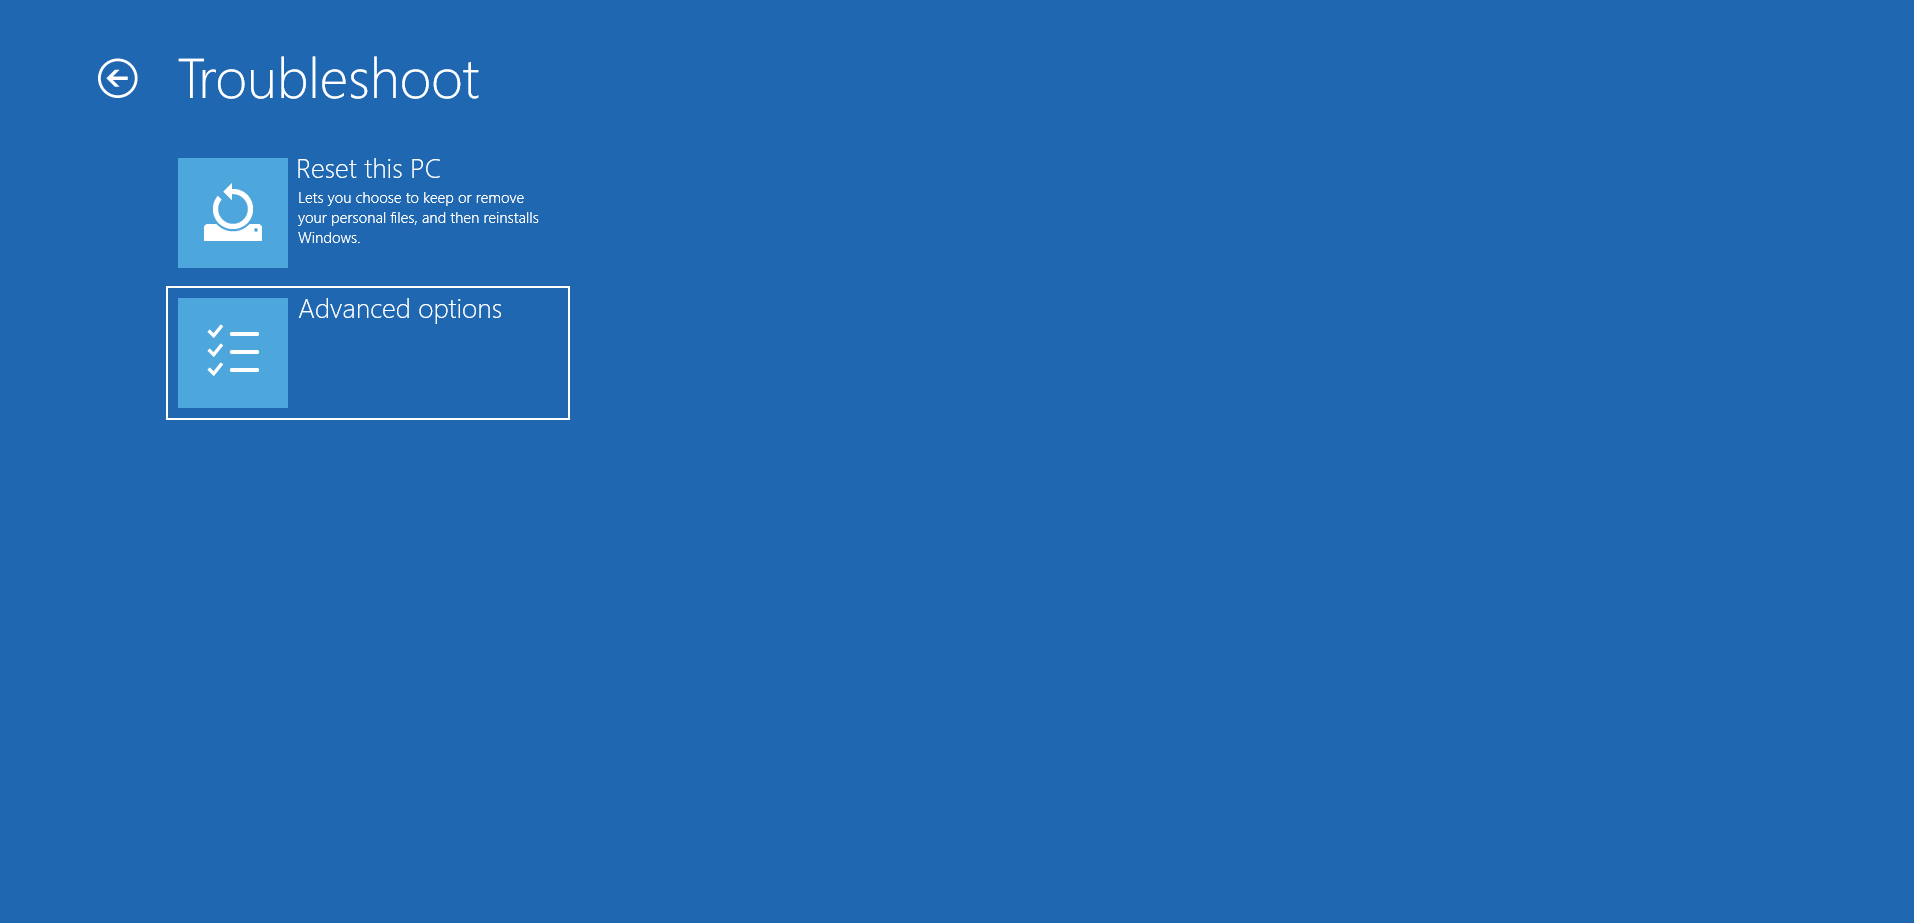
- After that, click on Advanced Options once the Troubleshoot interface appears.
![Click on Advanced Options on the Troubleshoot screen.]()
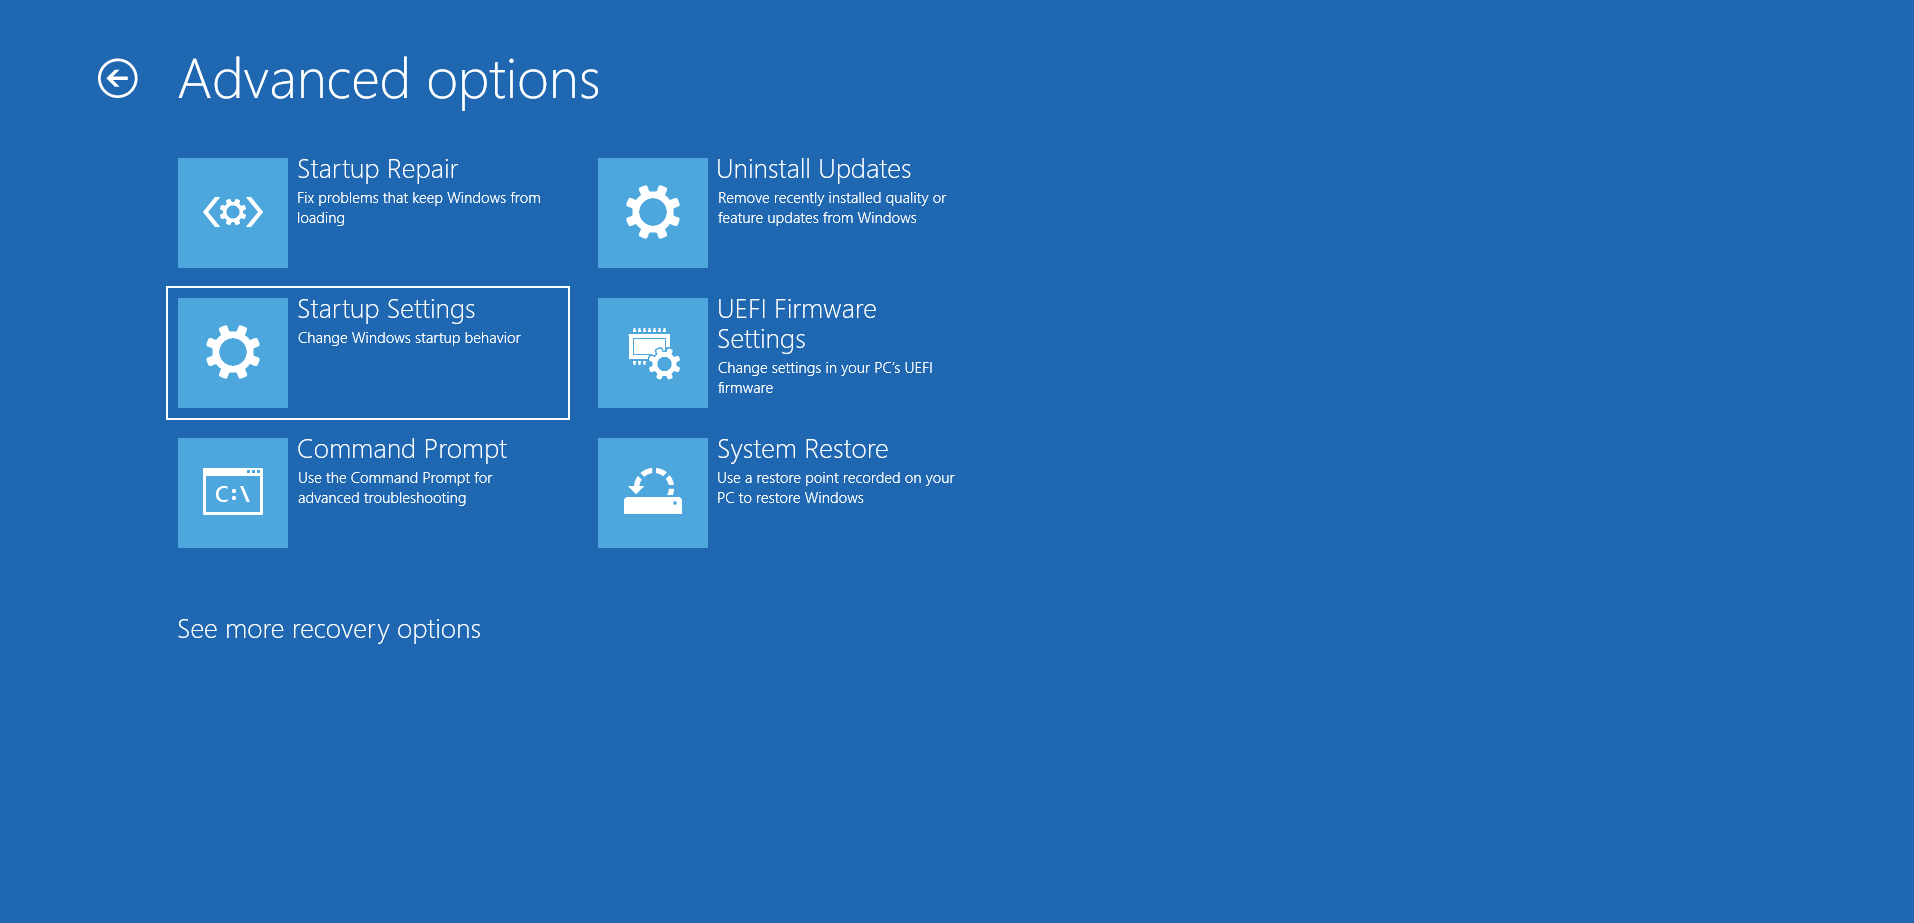
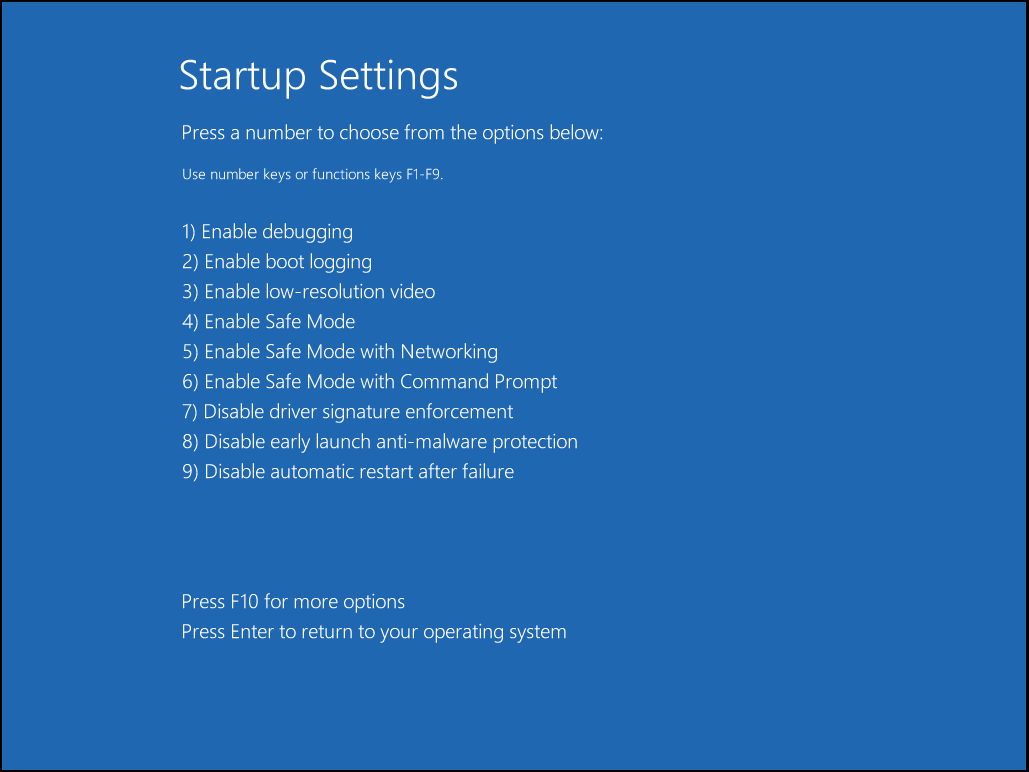
- Next, select Startup Settings under Advanced Options.
![Click Startup Settings under Advanced Options.]()
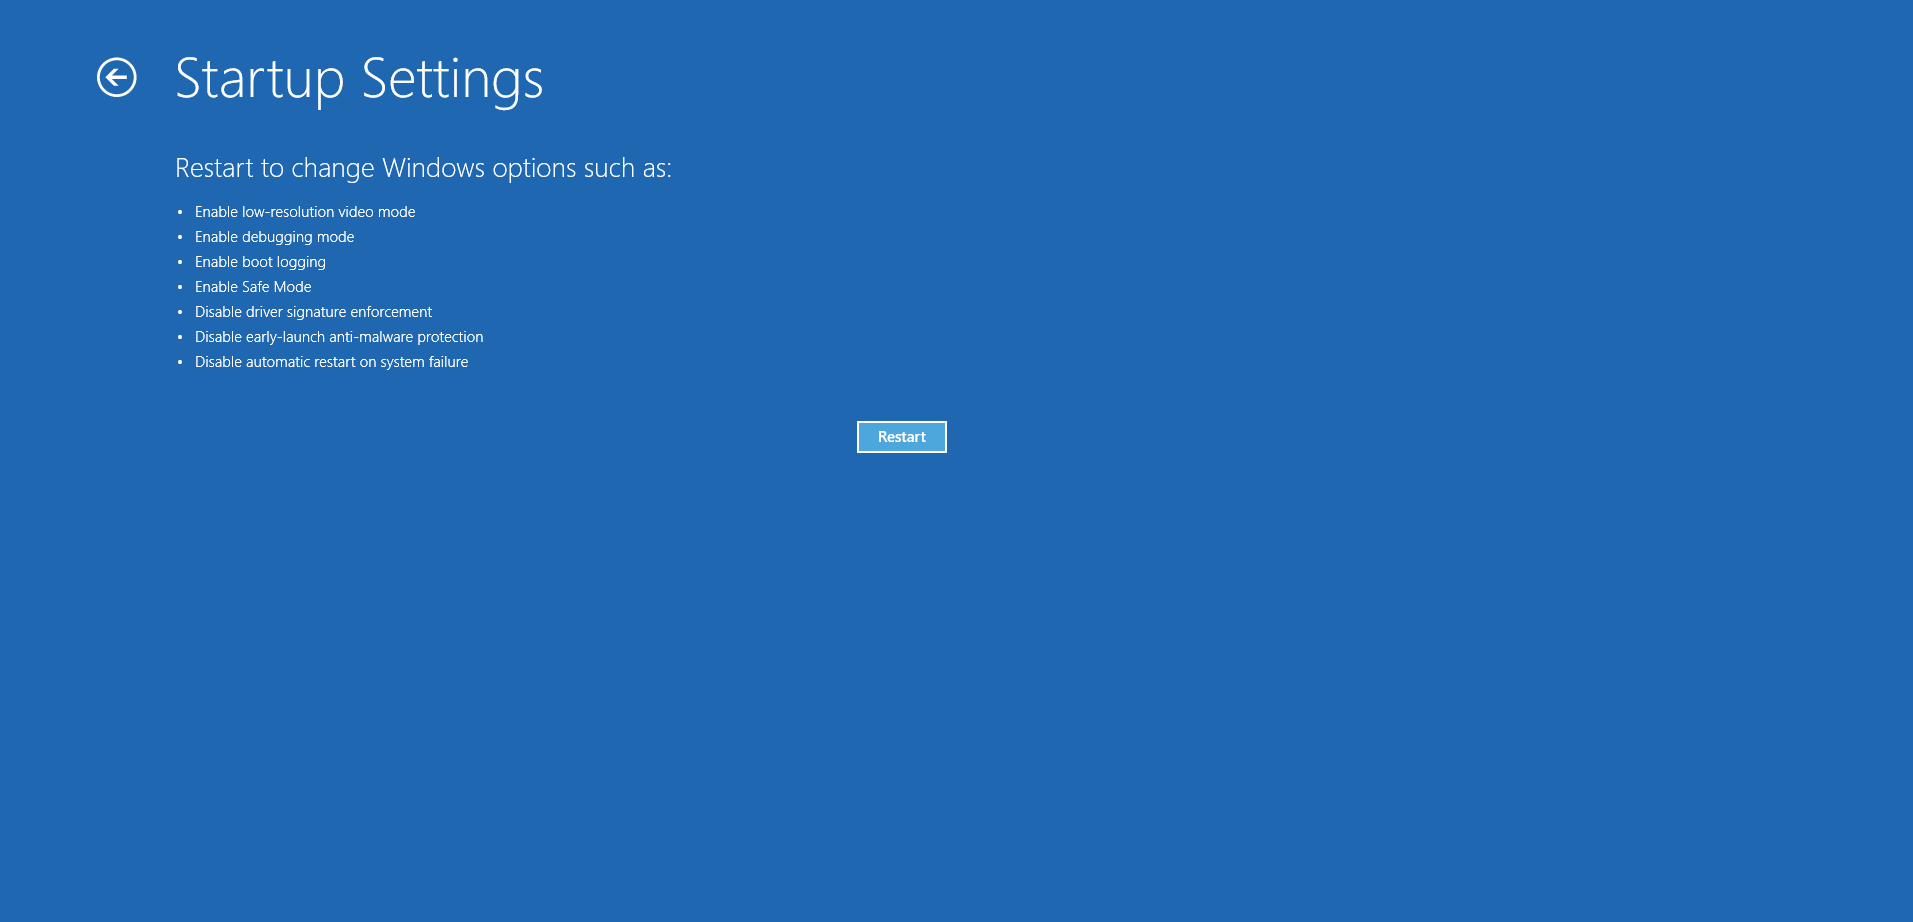
- Click on the Restart button in the bottom-right corner of the Startup Settings window.
![Click on the Startup Settings screen.]()
- After your device reboots and shows you the Startup Options screen, select the number beside Safe Mode or Safe Mode with Networking.
![Select Safe Mode or Safe Mode with Networking.]()
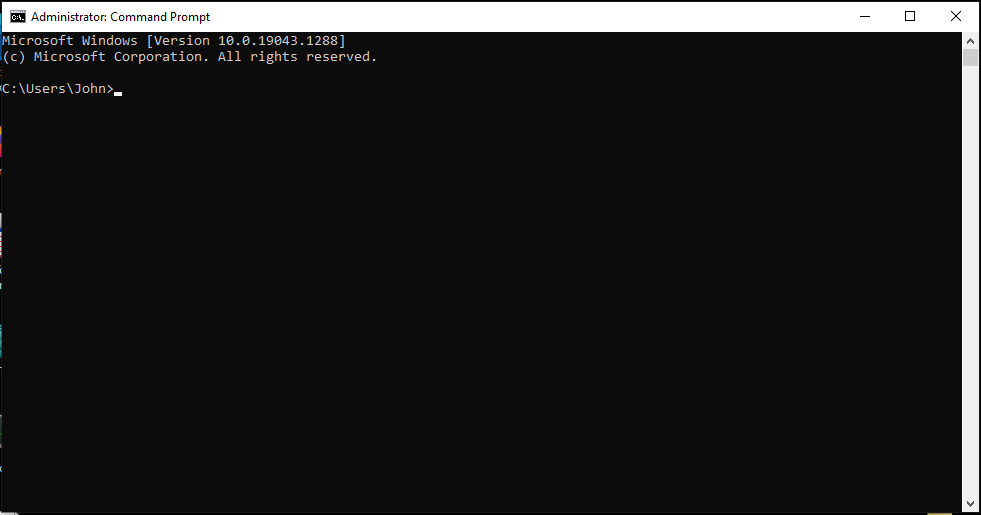
- Once your PC boots up in Safe Mode, open the Command Prompt.
![Open the Command Prompt in Safe Mode.]() Run the System File Checker.
Run the System File Checker.![Type sfc/ scannow to run System File Checker.]()
 Run the System File Checker.
Check your hard drive
Since the error points to problematic storage blocks, you should check your hard drive for damaged sectors. The files that Windows is trying to access might be residing in bad hard disk sectors, rendering them inaccessible.
The CHKDSK utility can identify these sectors and prevent the operating system from using them in the future. The tool can also salvage some readable files in these bad sectors.
You can run CHKDSK through the hard disk’s Properties dialog or through the Command Prompt.
Here is how to run CHKDSK through the hard drive’s Properties dialog:
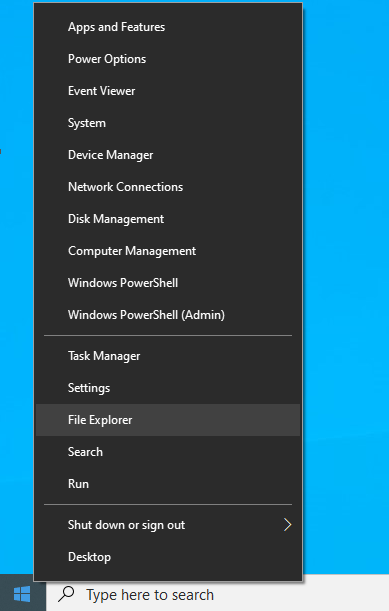
- Right-click on the Start button and click on File Explorer or press Win + E.
![Select File Explorer from the Windows Start menu.]()
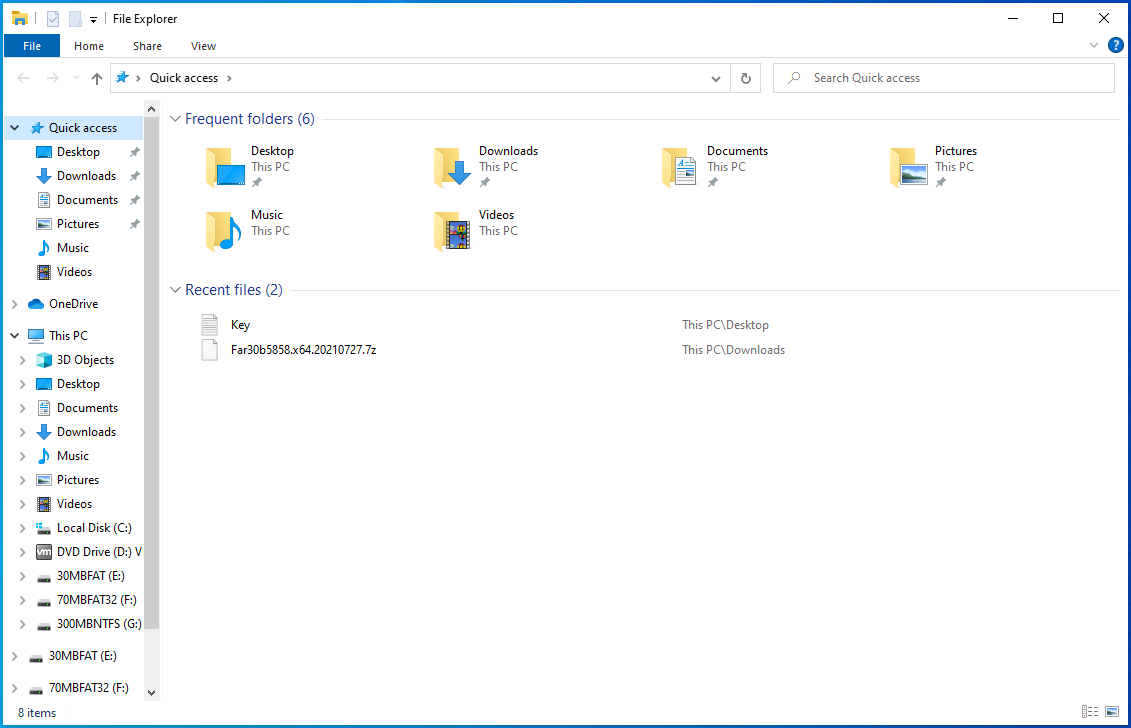
- Once the File Explorer window appears, head to the left side and expand This PC.
![Navigate to This PC.]()
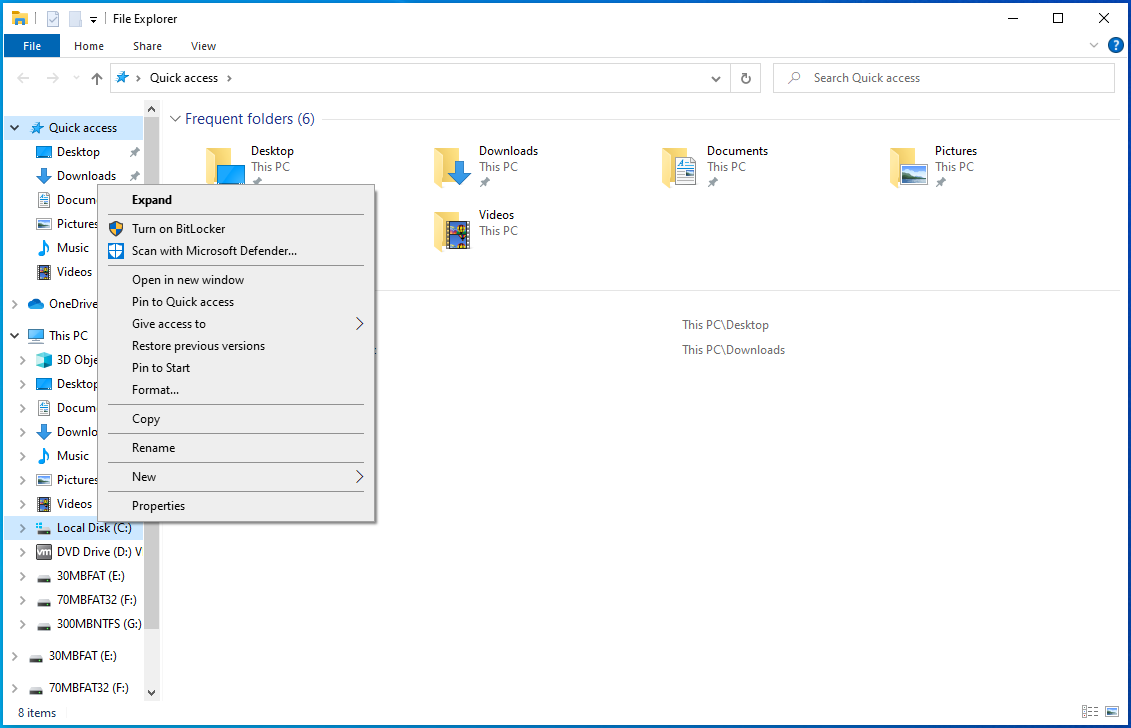
- Right-click on your hard drive and select Properties once the context menu appears.
![Right-click your hard drive and select Properties.]()
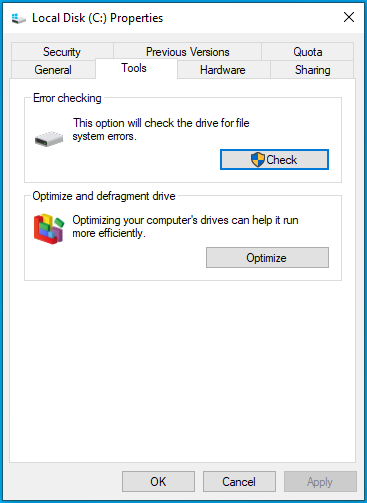
- After the Properties dialog shows up, go to the Tools tab and click on Check under Error Checking.
![Click Check under Error checking.]()
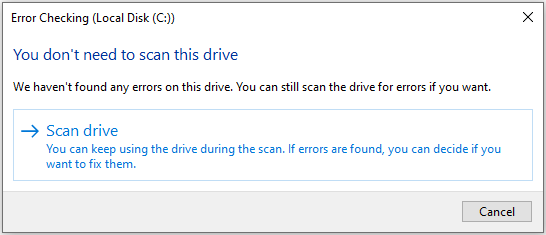
- At this point, Windows may bring up a dialog message, telling you there’s no need to scan the drive. Click on the “Scan drive” option.
![Click on “Scan drive”.]()
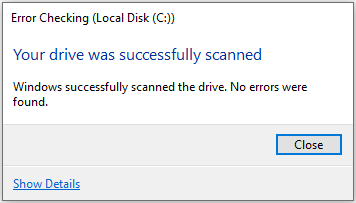
- Clicking on the “Scan drive” option will prompt the utility to check for problems. If it finds any issue with the hard disk, it will ask you to fix it and restart the system.
![Wait for the driver scan to finish.]()
If you want to go through a more advanced method, the following steps will show you what to do using the Command Prompt:
- Go to the taskbar and click on the magnifying glass icon or press the Windows logo + S keyboard combination to open the Search function.
- After the Search window opens, type “CMD.”
![Type CMD into Search.]()
- Right-click on Command Prompt in the search results and click on Run as Administrator in the context menu. You can also click on Run as Administrator under Command Prompt on the right side of the Search window.
![Click on Run as Administrator under Command Prompt.]()
- Click on Yes after the User Account Control dialog box shows up.
![Click Yes to proceed and run cmd.]()
- After the Administrator: Command Prompt window opens, type the following command and hit the Enter key:

chkdsk /r c:

6. The /r switch tells the utility to repair logical errors on the hard disk and bad sectors. Normally, the drive will tell you to schedule the scan for the next reboot if certain files are in use.
7. After the process completes and the tool resolves issues with the hard drive, check for the error.
Clean up the system registry
The registry is one of the most important areas in your operating system. It’s the main repository of low-level settings, options, and information for software and hardware on your computer. Apps and device drivers make their marks on the registry when you install and uninstall them.
Most times, third-party applications leave their footprint in the registry after you uninstall them from your system. These leftover registry entries could end up causing problems in the future.
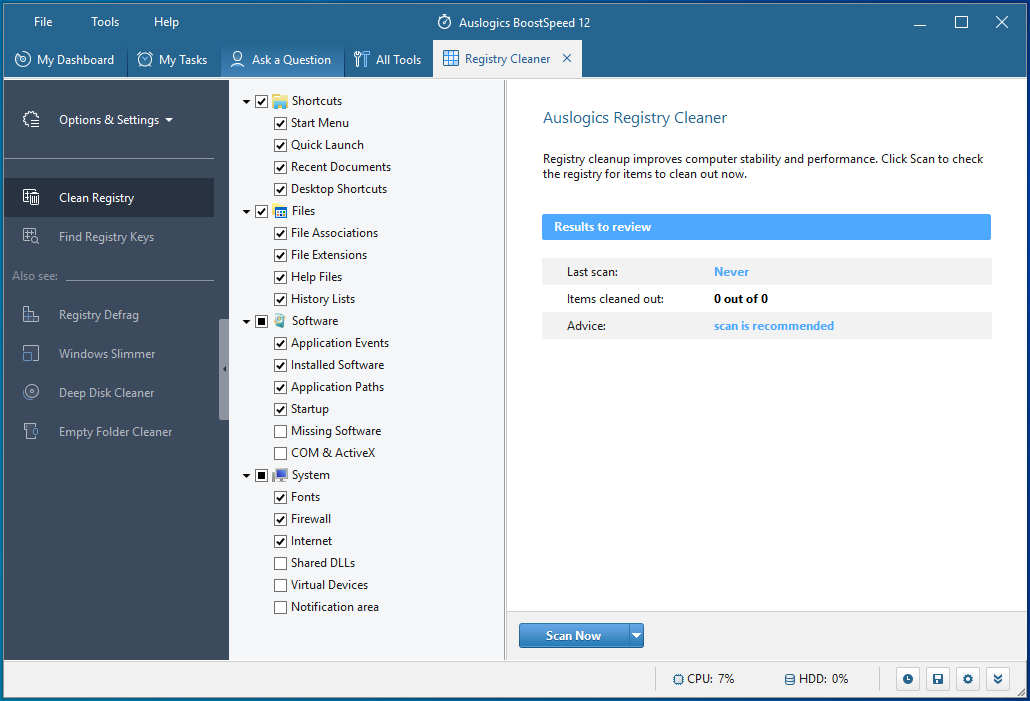
Finding and removing these entries could end up being the solution you’ve been looking for. Since it would be difficult to find these registry keys manually, we recommend that you go for Auslogics BoostSpeed.
The tool comes with a dedicated registry cleaner that will help you get rid of leftover and junk registry keys.
Perform a clean boot
You can do a clean boot to determine if the error is the result of application conflicts. If you keep seeing the ERROR_ARENA_TRASHED message whenever you try to launch a program or while using it, another background application could be causing the problem.
To perform a clean boot, you have to prevent certain background applications from running the next time Windows starts.
First, go to the Settings app and disable startup apps:
- Launch the Windows Settings app using the Windows logo + I keyboard shortcut.
![Use the Windows logo + I keyboard shortcut to run the Settings app.]()
- After Settings shows up, click on Apps.
![Click Apps in the Settings menu.]()
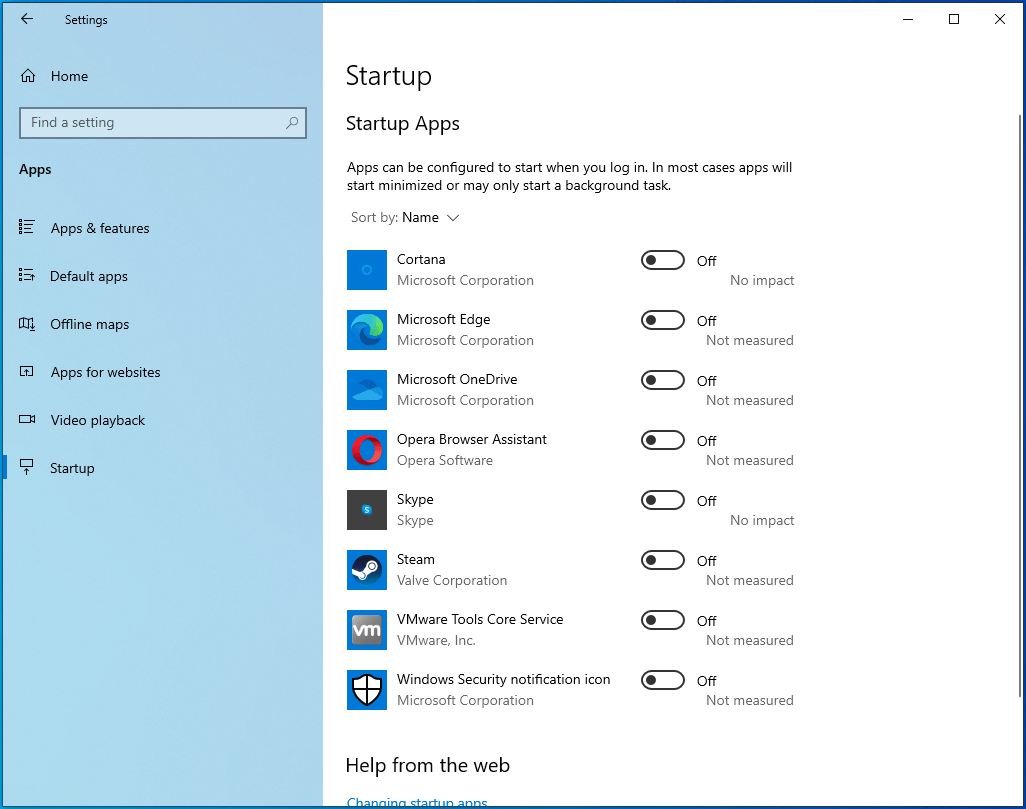
- Go to the left side of the next interface and click on Startup.
![Select Startup on the left pane.]()
- Under the Startup tab, toggle off the switches for the programs under Startup Apps.
![]()


Next, go to the System Configuration window to disable third-party startup services:
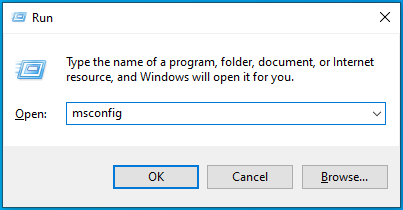
- Press Win + R on your keyboard to open Run.
![Launch Run by pressing Win + R.]()
- Once Run shows up, type “msconfig” and click on OK.
![Enter "msconfig" into the Run app and click on OK.]()
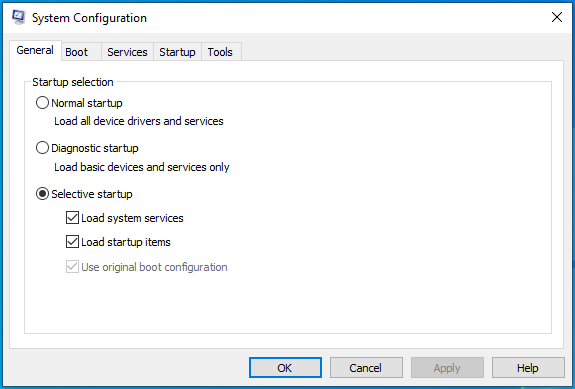
- The System Configuration window will open.
![The System Configuration window will open.]()
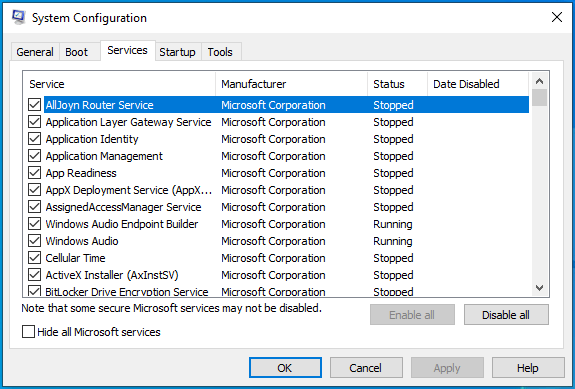
- Head to the Services tab.
![Go to the Services tab in System Configuration.]()
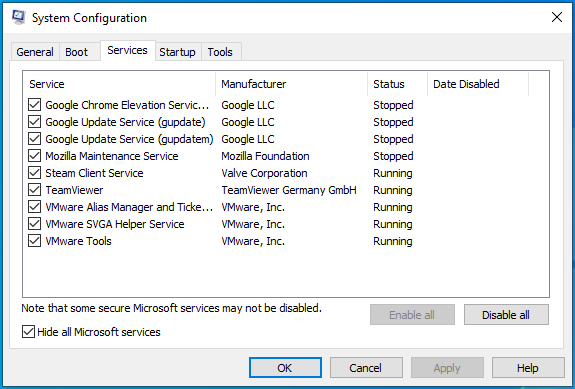
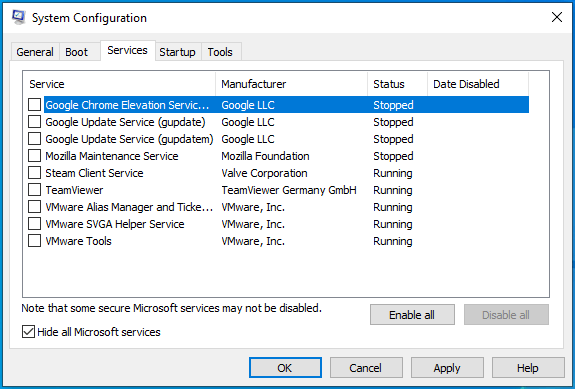
- Tick the box next to “Hide all Microsoft services” and click on Disable All.
![Check "Hide all Microsoft services."]()
- Now, click on the OK button and restart your computer.
![Click on the OK button and restart your PC.]()

After your system starts, run the program to check for the ERROR_ARENA_TRASHED message. If the error doesn’t appear, one of the services or apps you disabled is the cause of the issue.
To find the responsible startup app or service, you have to enable them one after the other and restart your device. Note that you have to restart your PC after enabling each program or service.
Conclusion
You should now use your programs without worrying about the ERROR_ARENA_TRASHED issue. You can add your comments below if you want to share your experience with the error or ask any questions.