

Microsoft users can organize and save information or notes, using OneNote. Thanks to this nifty tool, they can share their notes with other users via the Internet. The original version of OneNote which came with Microsoft 2016 had notes that were locally stored on computer devices. On the other hand, the latest version is no longer updated with features. However, users who need locally stored notebooks can still opt to have it installed on their devices.
With OneNote, you can share your notes with friends, family, classmates, and colleagues. Since the program allows you to grant editing permissions, it promotes multi-user collaboration. The people you share your notes with can fully view and modify the document. That said, the changes will be updated in real time.
When you share your OneNote notebook on OneDrive, you will also have control over who can view or edit your notes. By the way, this is one of the steps on your way to protect you PC from different kinds of threats. If you want to learn how to change permissions for a notebook on OneDrive, you’d be delighted to find this article. Of course, you have to know how to share OneNote notebook on OneDrive. So, it would be best if you learnt how to do that first before trying to change permissions.
Changing permissions for a notebook on OneDrive
Learning how to change permissions is as easy as studying how to share OneNote notebook on OneDrive. You just have to follow the instructions below:
- Click the Search icon on your taskbar.
- Type “onenote” (no quotes), then hit Enter.
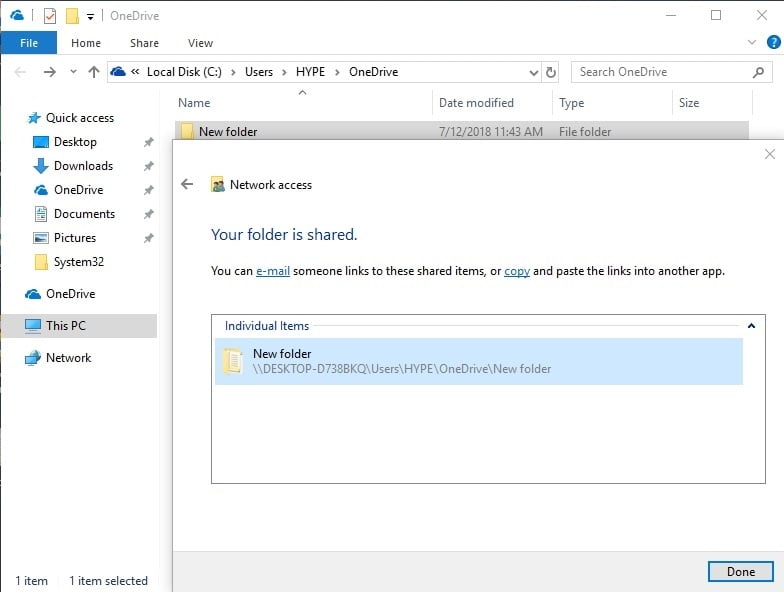
- Once you’ve launched OneNote, open the shared notebook.
![Open your shared folder.]()
- Click File, then select Share and Share with People.
- Go to the Share With option, then select the user for whom you want to change permissions.
- Right-click the name of the user, then select what kind of access you wish to grant.
- Select Can View to give the user view-only permissions.
- Select Can Edit to give the user editing rights.
- If you want to withdraw the user’s access to the notebook, select Remove User.
Inviting people to access your notebook
You can also invite people to view your notebook. All you have to do is send the person an email invitation. Here are the steps you should follow:
- Go to your taskbar and click the Search icon.
- In the search box, type “onenote” (no quotes), then press Enter.
- Go to File, then click Share.
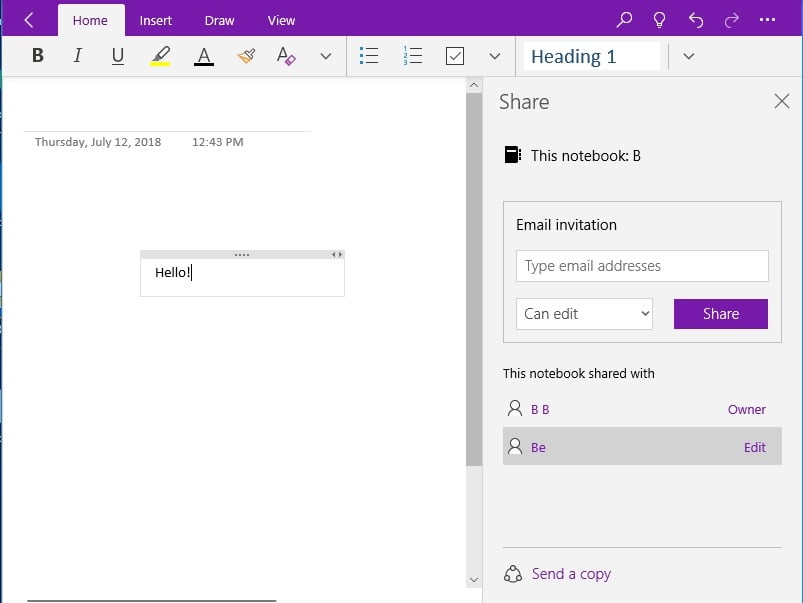
- Under the Share with People option, submit the email address of the person you wish to share your notebook with.
![Invite people to access your notebook.]()
- Go to the right side of the page, then select the type of access you want to grant to the recipient. You can either allow the user to view your notebook or give them editing rights.
- You can also share a message in the blank box.
- Send the email invitation by clicking Share.
Generating a link to your notebook
If you find it too time-consuming to send email invitations, you can simply generate a link and send it to people via a messaging app. As long as the recipient has the link, they will be able to view or edit your notebook. To generate a sharing link, just follow the steps below:
- On your keyboard, press Windows Key+S.
- Type “onenote” (no quotes), then press Enter.
- Click File, then select Share from the options.
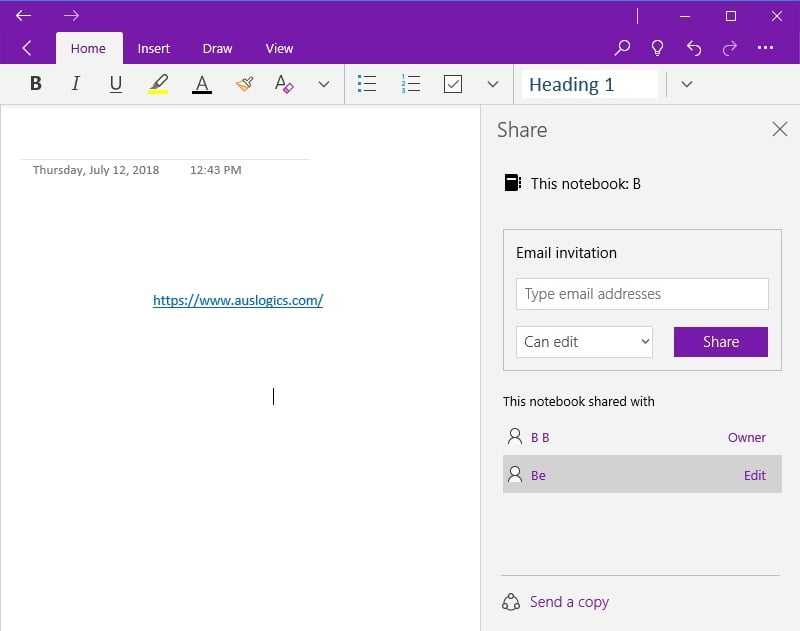
- Click Get a Sharing Link.
- Select the type of permission you wish to attach with the link.
- Click Create Link.
![]()
- You can simply disable the link if you no longer want the participants to view or edit your notebook. You can do that through these steps:
- Click File, then select Share.
- Click Get a Sharing Link.
- Next to View Link or Edit Link, you will see the Disable Link option. Click that to get the link to stop working.
Have you tried these steps on OneNote?
Share your experience in the comments below!