
Reserved Storage sets aside space for system updates, but some users may want more control over their storage or have concerns about Windows 10 System and Reserved Storage being too large.
By following the steps in this guide, you can turn off Windows Reserved Storage and manage your disk space as you like. Just be careful when changing system settings and seek help if needed.
What is Windows 10 Reserved Storage?
Windows 10 Reserved Storage is a feature introduced by Microsoft to ensure smooth system updates and improve overall performance on Windows 10 devices. It sets aside a certain amount of disk space (typically around 7GB) specifically for critical system updates, temporary files, and system maintenance tasks.
By reserving this storage space, Windows ensures that there is enough room to install updates without encountering storage-related issues or running low on disk space during crucial updates.
The Reserved Storage feature helps to maintain the stability and reliability of the operating system, providing a seamless user experience.
Pros and Cons of Windows 10 Reserved Storage
Pros of Windows 10 Reserved Storage:
- Smooth System Updates: Reserved Storage ensures there is always enough space available for critical system updates. It helps maintain system stability by preventing update failures due to insufficient disk space.
Also Read: [FIXED] Troubleshoot 0xC1900101 Install Error in Windows 10
- Improved Performance: By keeping a portion of the storage reserved for system maintenance tasks, Windows 10 can run more efficiently and maintain optimal performance.
- Reduced Fragmentation: Having a dedicated space for system files can help reduce file fragmentation, which can lead to faster file access and overall system responsiveness.
Also Read: What Does Defragging Do: Easy Explanation of Disk Defragmentation
Cons of Windows 10 Reserved Storage:
- Reduced Usable Space: Since a portion of the disk is reserved for system files, users have slightly less usable storage space available for their personal files and applications.
Also Read: How to Get More Disk Space on a PC or Laptop
- Fixed Allocation: The amount of reserved storage is fixed (around 7GB), and users cannot adjust or customize this allocation based on their specific needs or storage capacity.
- Inflexible for Low Storage Devices: On devices with limited storage capacity, the reserved space may consume a significant portion of the available storage, potentially causing more storage constraints for users.
- Not Suitable for All Devices: Some users with ample storage space or those who manually manage updates may not benefit significantly from Reserved Storage, making it a less useful feature for certain scenarios.
Overall, Windows 10 Reserved Storage provides significant advantages in terms of system updates and performance but may not be ideal for all users, especially those with limited storage or specific customization needs.
How to Check if Windows 10 Reserved Storage Is Enabled?
To check if Windows 10 Reserved Storage is enabled on your system, follow these steps:
- Open the “Settings” app on your Windows 10 computer. You can do this by clicking on the Start menu and then clicking on the gear icon (Settings).
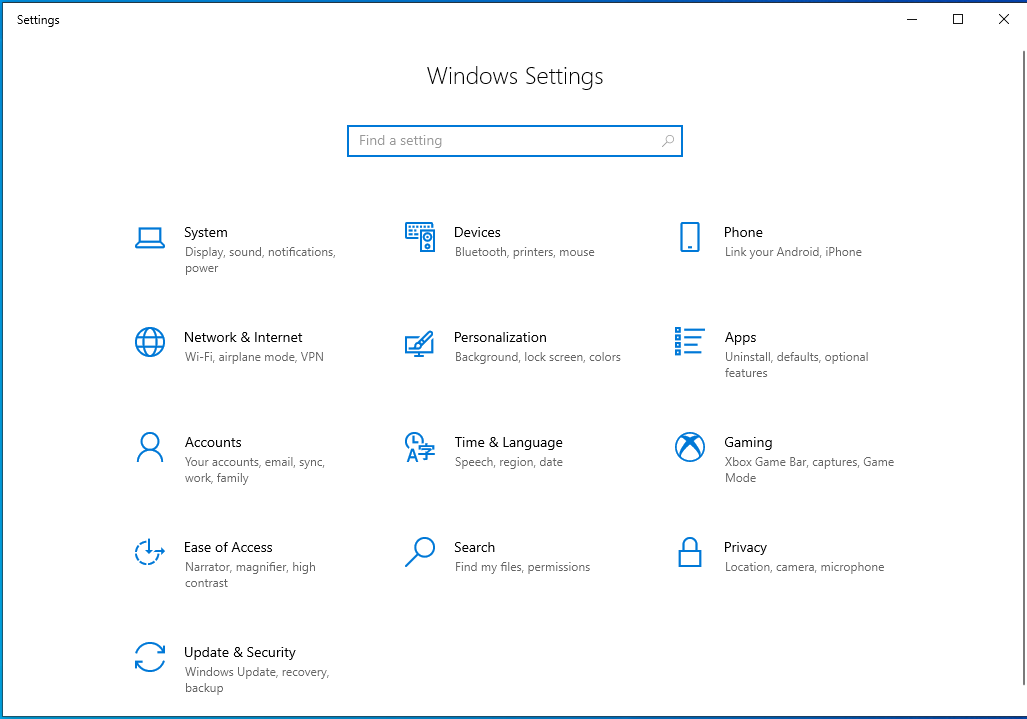
- In the Settings window, click on “System.”
- From the left-hand side menu, select “Storage.”
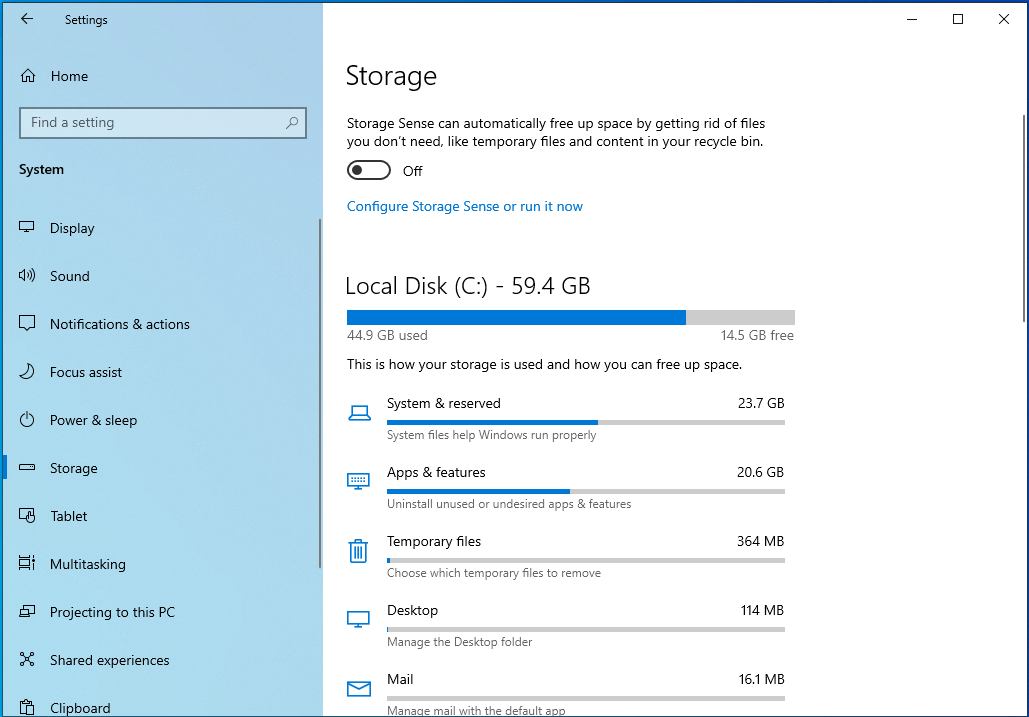
- On the right-hand side, you will see the storage usage breakdown. Look for the “System & reserved” section.
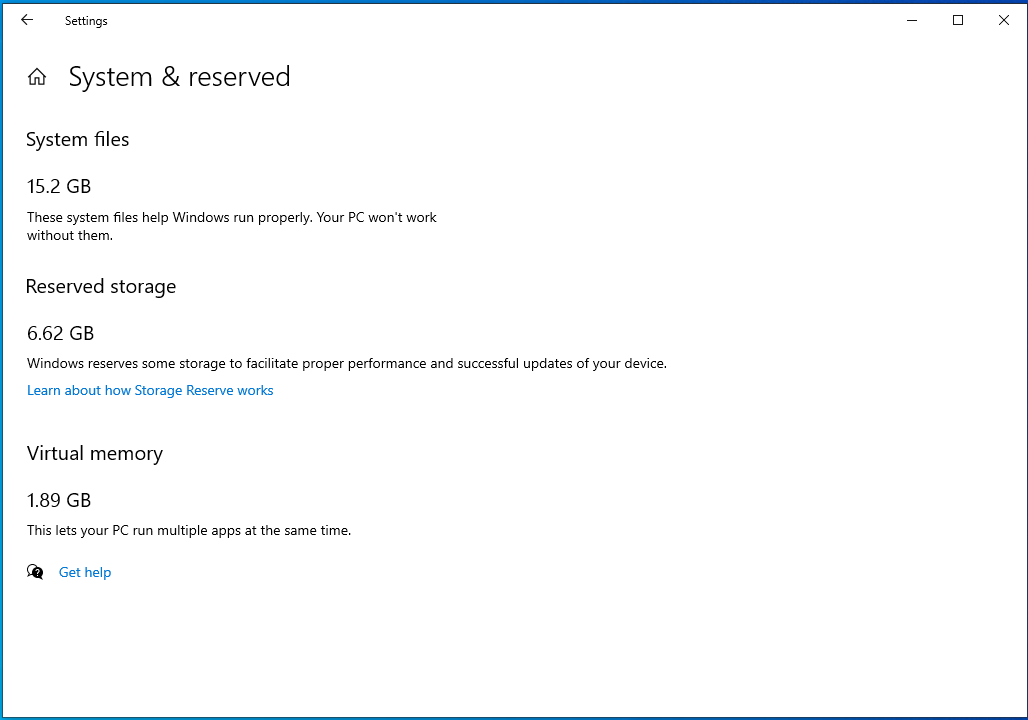
- Under the “System & reserved” section, if you see an entry labeled “Reserved storage,” it means that Windows 10 Reserved Storage is enabled on your system.
If you don’t see the “Reserved storage” entry, it means that Reserved Storage is not enabled on your Windows 10 device. Keep in mind that the availability of Reserved Storage can vary based on your Windows 10 version and the specific hardware configuration of your device.
Read on to find out how to delete Reserved Storage on Windows 10.
How to Disable Windows 10 Reserved Storage?
It’s important to note that disabling Reserved Storage requires careful consideration, as it can affect system updates and stability. Before making any changes, users should assess their specific storage requirements, usage patterns, and the potential impact on system performance. If unsure, consulting with an IT professional or following Microsoft’s official guidelines is recommended.
There are two ways to go about disabling Windows 10 Reserved Storage on your PC.
Here’s how to get rid of Reserved Storage on Windows 10 via Registry Editor:
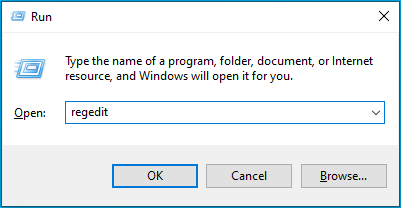
- Press “Windows Key + R” to open the Run dialog box.
- Type “regedit” and press Enter to open the Registry Editor.
- In the Registry Editor, navigate to the following location:
- HKEY_LOCAL_MACHINE\SOFTWARE\Microsoft\Windows\CurrentVersion\ReserveManager
- On the right-hand side, look for a DWORD value named “ShippedWithReserves.
- Double-click on “ShippedWithReserves” to modify its value.
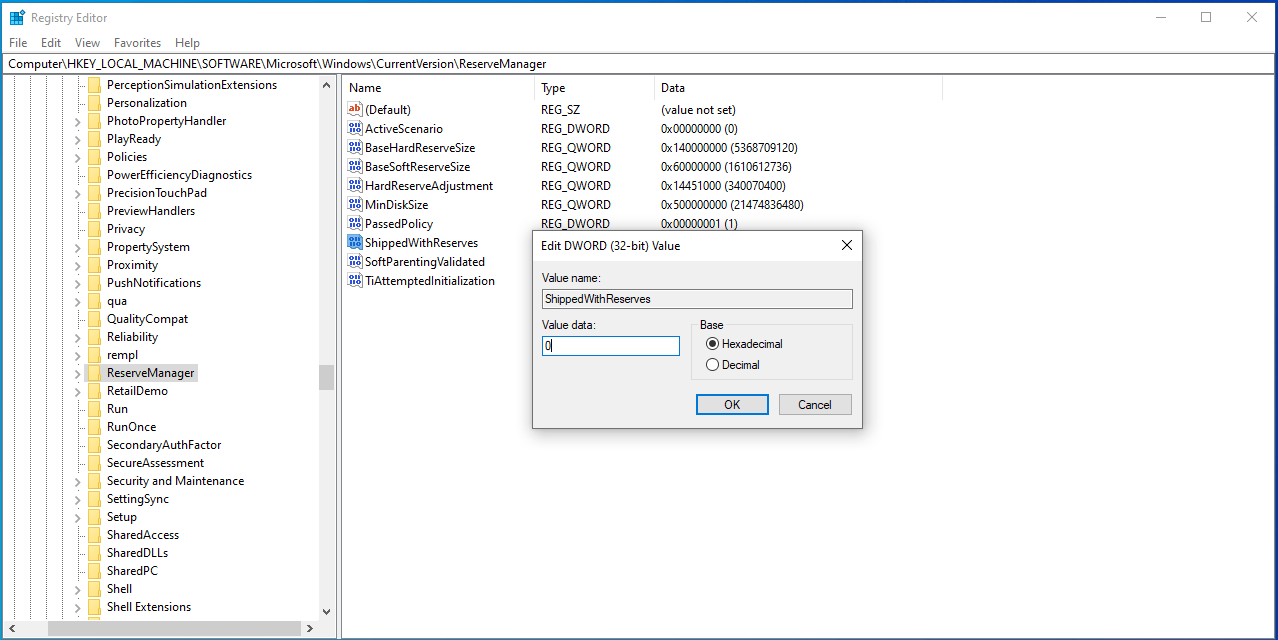
- Change the value data from “1” to “0” and click “OK” to save the changes.
- Close the Registry Editor and restart your computer for the changes to take effect.
- In the right-handed panel, locate the entry named “ShippedWithReserves” and double-click it to open its properties. Set the “Value data:” to 0 and click “OK” to confirm the change. Finally, restart your Windows 10 computer to apply the modifications.
Here’s how to disable reserved storage on Windows 10 via Command Prompt
- To open Command Prompt as an administrator, search for “cmd” in the Windows 10 Search bar. Right-click on “Command Prompt” in the search results and choose “Run as administrator” from the menu.
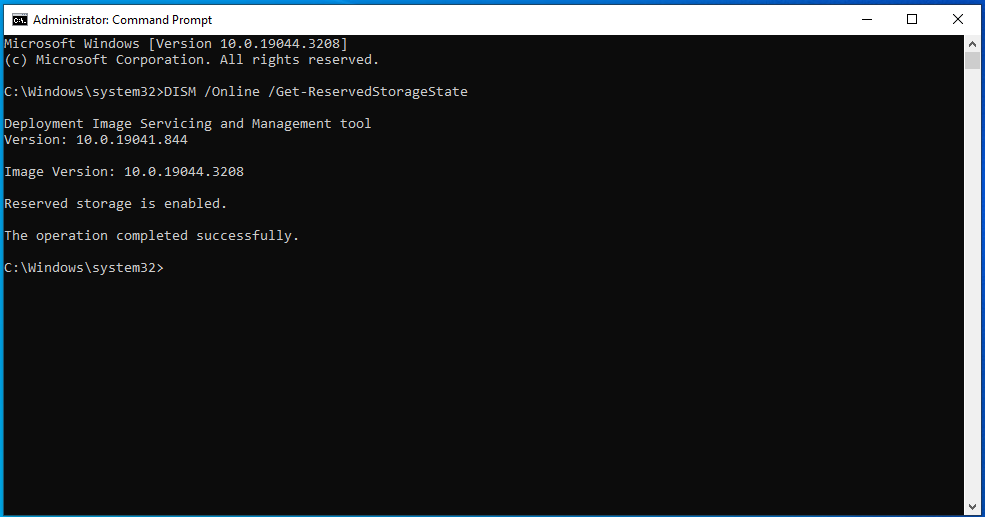
- Once Command Prompt is open, check the Reserved Storage status with the following command:
DISM /Online /Get-ReservedStorageState
- After assessing the status, use this command to disable the feature on your Windows 10:
DISM /Online /Set-ReservedStorageState /State:Disabled
Benefits of Disabling Windows 10 Reserved Storage
As was mentioned above, Reserved Storage is an important Windows Feature if you want to be sure in having enough space for crucial updates. However, there are several key benefits that come with disabling Windows 10 Reserved Storage – especially if you often have trouble freeing up space on your PC.
Disabling Windows 10 Reserved Storage can offer several benefits:
More Usable Storage: By turning off Reserved Storage, you can reclaim the space allocated for critical system updates, providing you with more available storage for your personal files and applications.
Flexibility for Low Storage Devices: On devices with limited storage capacity, disabling Reserved Storage can be advantageous, as it prevents a significant portion of the storage from being reserved, which could otherwise exacerbate storage constraints.
Compatibility and Performance: In certain cases, enabling Reserved Storage might cause compatibility or performance issues on specific devices. Disabling it can help avoid any potential conflicts that might affect the system’s performance.
Advanced Users’ Preferences: Reserved Storage might not be as beneficial for advanced users who manually manage system updates and prefer to control their disk space more actively. Disabling the feature allows them to handle updates and disk management according to their own preferences.
Bonus Tip: Windows Reserved Storage serves a useful purpose on your PC. If you are thinking about disabling it to free up space on your PC, consider using professional PC optimizing software like Ausloics BoostSpeed 13. Auslogics BoostSpeed 13 optimizes PC storage by cleaning up junk files, removing clutter, and freeing up disk space. It also defragments files for faster access and helps identify large files taking up storage. With these features, BoostSpeed 13 ensures a smoother and more efficient computing experience.
Also Read: Tricks to Get the Most out of Auslogics BoostSpeed Free Trial
Conclusion
Disabling Windows 10 Reserved Storage gives you more control over your disk space. Follow the steps provided in this guide to turn it off and manage your storage as you like. Remember to be cautious when changing system settings and seek help if needed for a smooth process.
FAQ
What Is System Reserved Storage?
System Reserved Storage is a feature in Windows 10 that sets aside a specific amount of disk space (usually around 7GB) for critical system updates, temporary files, and system maintenance tasks. It ensures there is sufficient space available for smooth updates and helps maintain system stability and performance.
How to Reduce System and Reserved Storage?
If you don’t want to disable Reserved Storage on Windows, you may be wondering how to reduce Reserved Storage on Windows 10.
Reducing the allocated System Reserved Storage in Windows 10 is not a straightforward process and is not recommended for average users. The amount of reserved storage is generally fixed and managed by the operating system for optimal performance. Attempting to reduce it could lead to system instability or issues with updates.
However, you can free up space on your Windows 10 device by performing regular disk cleanup, removing unnecessary files, uninstalling unused applications, and transferring files to external storage or cloud services. You can also use specialized software like Auslogics Duplicate File Finder to create more available space on your system drive.
Also Read: How to Get More Storage on PC – Clean Up Your PC to Run Faster